Shop FotoBella

Shop for Scrapbooking Supplies by Product Type Shop for Scrapbooking Supplies by Brand Shop for Scrapbooking Supplies by Layout Theme Shop for Scrapbooking Supplies by Color

Search This Blog

Sunday, September 30, 2018

S.S. domestic bliss one picture layout tutorial

Hi all, Jen T. here. Today i am stopping by to share a fun scrapbook page i made using the Simple Stories Domestic Bliss collection and embellishments. I had a blast playing with this collection! Check out below how i made this page


Supplies i used:
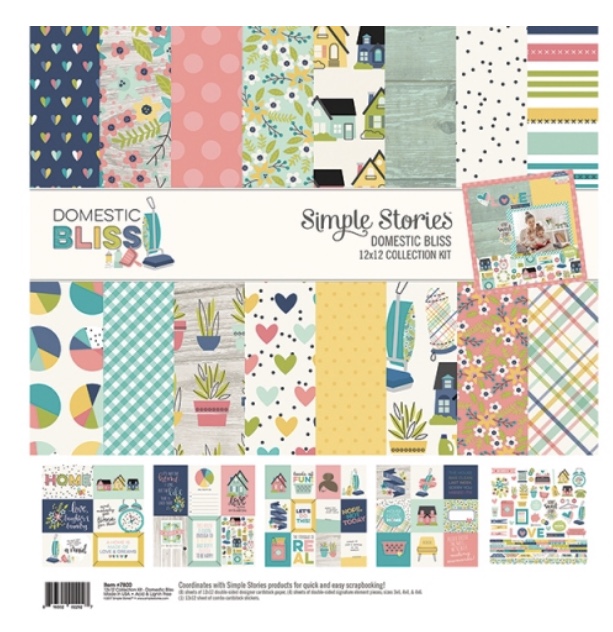
*. Simple Stories domestic bliss collection kit
*  Simple stories domestic bliss enamel dots
*   Simple Stories diy burlap shapes
*.  Simple Stories diy tag foundations-kraft
*.  Simple stories domestic bliss epoxy metal clips
*.  Simple stories domestic bliss washi tape
*.  Simple stories  domestic bliss clear stickers
*.  Simple stories label stickers from my stash
*.  Prima watercolor paints- classics


Tools:
• Paper Trimmer
• Scissors
• Pop-dots
• Score-tape double sided adhesive
• Black sharpie marker 


1. Gather all your supplies
2. Start the simple stories domestic bliss collection kit
3. Take out the black and white speckled paper


4. Take out your water paints and water-brush


5. Wet the turquoise paint onto a piece of plastic packing and smoosh it onto the center of the
black and white speckled paper then repeat with green ( I also mixed the turquoise and green to get the navy green color as well)
5. Next take one of the diy kraft tag and cut on a angle starting from the string hole on both sides
6. Then turn it around and cut on a angle on both sides


8. Find the cutapart sheet in the collection kit that has a 4x6 card of large hearts


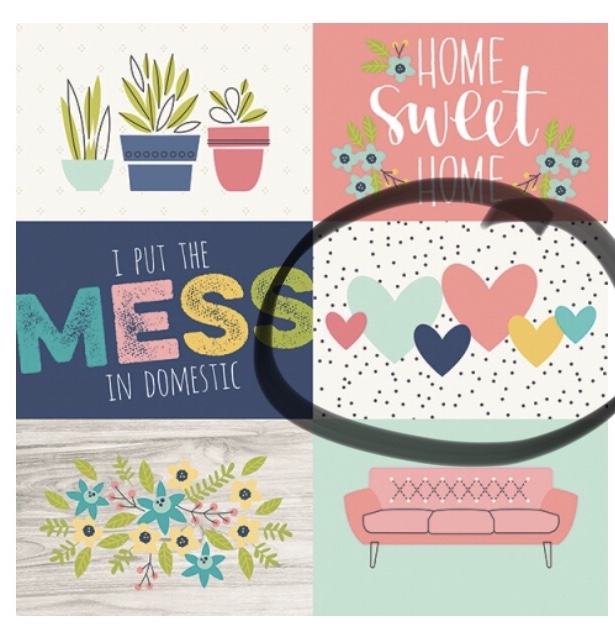
9. Fussy-cut the large hearts out and set aside
11. Find the small colored heart paper and trim it down to just slightly larger then your picture


12. Next adhere that paper to the back of your picture
13. Adhere to the center of your watercolor sploched area
14. Add two kraft kites to the left of the picture and one to the right of your picture and adhere them
15. Add a piece of the scallopped sticker strip from the cardstock stickers sheet in the collection kit and glue below bottm edge of matted pic
16. Tear off some pieces of washi tape and add the the sides of the pic.
17. Take those fussy cut hearts and add some foam dots behind it and adhere to the bottom of pic.
18. Take your stickers and embellies and layer around the frame of the pic as you like
19. Add a camara burlap sticker with an enamel dot to the left corner if you like this look
20. Add a cluster of stickers to the bottom right to offset the heavy embellishments on top of the paper


 21.scatter enamel dots around the page in coordinating colors to finish the look
 22.lastly, trim ¼ in off the top and left of your page ( only if you like this look- personalize your page) and
add a contrasting yellow pattern paper behind toframe the corner of the page


Thanks for stopping by and happy creating!
Jennifer Taylor


Saturday, September 29, 2018

It's National Coffee Day!

Hi FotoBella Fans,
It's Karen here from Art & Soul and I'm calling all coffee lovers!  Grab a cup, sit back, and relax.  I can just smell the aroma now!  I hope you like my card in tribute to National Coffee Day.
You'll see I used the lovely Graphic 45 - Imagine Kit.  A vintage postcard from the ephemera pack fills the majority of the card. Then, I fussy cut a rose and added an avocado bow from the coordinating fiber pack.  I stamped the image with a stack of cups with coral ink. I needed multiple images in order to fussy cut them and form a layered embellishment using foam tape.  Finally, I finished off with an elegant doilie and a pink rose.

A Closer Look:


Graphic 45 - Imagine Supplies: 

Other Supplies:
  • card base (5x7")
  • foam tape
  • liquid adhesive
  • doilie
  • paper rose


Visit Karen at her blog Art & Soul.
www.fotobella.com

Friday, September 28, 2018

Fall Decor


Fall is officially here! Do you have your Fall Decor on point?

Well, here is a decor idea that you can do with your kids.
My niece came over and wanted to craft something with me. I pulled out a small masonite piece and told her we can make a project to hang from her bedroom door. 

Let's start with the best part of the project... letting her stage the photo shoot of the finished project!


From my Carta Bella Fall Break Collection, she chose the prints to use, and the chipboard cutouts to use. I gave the idea it should look like a wreath and glued this rope to the back.


I glued some small pinecones and dried cinnamon flowers to the wreath to add more Fall essence.


We glued a string to the back of the masonite so she can hang it on her door.


Find this collection, embellishments and supplies at FotoBella.com


Monday, September 24, 2018

Happy Family Moments with KaiserCraft Pen & Ink Bundle

     Hello FotoBella fans!  Drea here with another vintage layout featuring the gorgeous KaiserCraft Pen & Ink Bundle from FotoBella.com.


     I really love how the Kaisermist Iridescent Spray (Coffee) brings out the warmer tones in the photo, used on the butterflies and background, after applying Prima Marketing White Gesso to the Tim Holtz Gothic Stencil! Once it all dried, I used my fingers to apply Prima Metallique Waxes (Old Silver and Brushed Iron).


     Then I tore and curled some of the paper, to reveal the bottom page, where I added a border sticker to the top. The chandelier and butterflies were fussy-cut from the black foil specialty sheet, which also includes images of flowers, leaves, old phones and typewriters.


     I created the title from bingo cards cut from one of the papers in the bundle, which has other words and combinations to choose from, and inked the edges with the KaiserCraft Mini Ink Pad (Black).


     I also used the KaiserCraft Mini Ink Pad (Black) on most of the other paper and die cut edges, before machine-stitching the sides.


     The wooden hinge and keyhole embellishments were given a coat of white gesso, a spritz of Kaisermist Spray (Coffee),  a rub of Metallique Waxes (Old Silver and Brushed Iron), and finished around the edges, again, using the KaiserCraft Mini Ink Pad (Black).


     I also used the KaiserCraft Mini Ink Pad (Black) to stamp the roses with the stamp included in the bundle


     Taking inspiration from the Pepsi can in the photo, I dipped and stamped a couple of circles with a Coke can using the Kaisermist Spray (Coffee). Then I finished it up with some of the KaiserCraft Pearls (Pearl), scattered among some buttons inherited from my grandma (the fourth one in the photo with her sisters).


     Thanks for looking, and get the KaiserCraft Pen & Ink Bundle at FotoBella.com


Sunday, September 23, 2018

When You Wish Upon a Star Wall Art - Graphic 45 (Imagine)


Hello FotoBella Fans,
It's Karen and I'm back to share my last project this month featuring the Graphic 45 Imagine Kit.  My project is a 12x12 wall art full of whimsical charm.  To create some additional embellishments, I fussy cut the hot air balloon and some roses & butterflies.  I also added a bit of lace and some glittering bling from my stash for the final finishing touches.  Presenting.......When You Wish Upon a Star Wall Art!

A Closer Look:


TIP: The canvas was an upcycled Halloween wall decoration that contained a string of 6 mini LED lights. I carefully removed the inner section of the canvas with a craft knife in order to reveal the lights and attach my project. So...be on the look in the after-holiday clearance aisle of your local value shop and see what item you can give a makeover.


Here you can just make out the edge of the butterfly all a glow from the LED bulb.

Supplies:

 Other Supplies:
  • paper trimmer
  • craft knife
  • 12x12 canvas
  • lace
  • bling 

All of these lovely supplies can be found at www.fotobella.com


To see more projects from our new design team member Karen, visit her blog Art & Soul.

Saturday, September 22, 2018

First Day of Autumn With Bo Bunny Dreams of Autumn

 Hi Folks!  Christi from Scrapping For Tranquility here, I am honored to be the Guest Designer for fotobella.com this month!  

Today is a real special day for it is the first day of Autumn!  When you think of Autumn you think of cooler days, hooded sweatshirts, Halloween, leaves and I think of ......


yes, pine cones and acorns falling from the trees! So that is what I decided to make for you today!

First I made the acorn

I cut the pieces from my Silhouette Cameo 3 out of Brown Solid Core Cardstock to take the shape of the acorn.  Then using Bo Bunny Dreams of Autumn-Sweater Weather, I made the panels  to go over the acorn "shell".  

If you have not noticed, this is a gift box!

For the lid, I used the opposite side of Bo Bunny Dreams of Autumn-Foxes.  The orange was a perfect coordinating match with the orange dots on the panels.  That is what I love about this Bo Bunny Collection.  It all coordinates so well together.  Taking some fibers I had in my stash, I wrapped it around the base of the lid and then created a triple bow with it.  I really liked the way that looked since all the same colors where in the fibers.  To top it all off, I added 3 small dots of Ranger Stickles-Copper to the stem of the acorn to give it a little bling.  I am truly pleased how it came out!

On to the next!  


The pine cone was not as easy but so much you can do with this!  Again, I used brown solid core cardstock for the base of the pine cone.  Then using Bo Bunny Dreams of Autumn Double Dot Collection-Chocolate Vintage and the brown solid core cardstock, I rotated between the two, rolling the tips of the cardstock to create the pine cone effect.

Again, if you had not noticed


this is also a small gift box or a small hiding place for your goodies!  To finish my project off, I again rotated every other piece and added some bling with some Ranger Stickles-Champagne color.  It gave it just the right amount of sparkle!  If it was winter you could add white to the tips for snow and it would look really nice also for pine cones with snow on them for another effect.

I hope you enjoyed my post and I hope you have a very happy first day of Autumn!

Leave me a comment and let me know what you think!