Halloween is just around the corner! It's ReNae here, with the FotoBella Design Team, and if you're like me, even though your goblins aren't children anymore, you still like giving a little something to your older spooks at Halloween. These little gift bags are perfect for gift cards, gift certificates, and even money for your more sophisticated tricksters!
Today I am sharing a tutorial with instructions on how to make these pretty gift bags.


Supplies List:
Graphic 45 "Rare Oddities"Collection "I want it all" Bundle by FotoBella
(or if buying separately, Rare Oddities 6 x 6 Patterns and Solids paper,Decorative Chipboard, Sticker sheet, Ephemera Cards, Tags & Pockets, Ribbon and Trims, Rhinestones, Enamel Dots, and Sentiment Stamps-optional)
Halloween skull charms
Tim Holtz resin boneyard skulls
Inverted Scallop Circle Die
Circle Die
Scoring Board (to make rosette)
Doilies, or doily die
Star punch or die
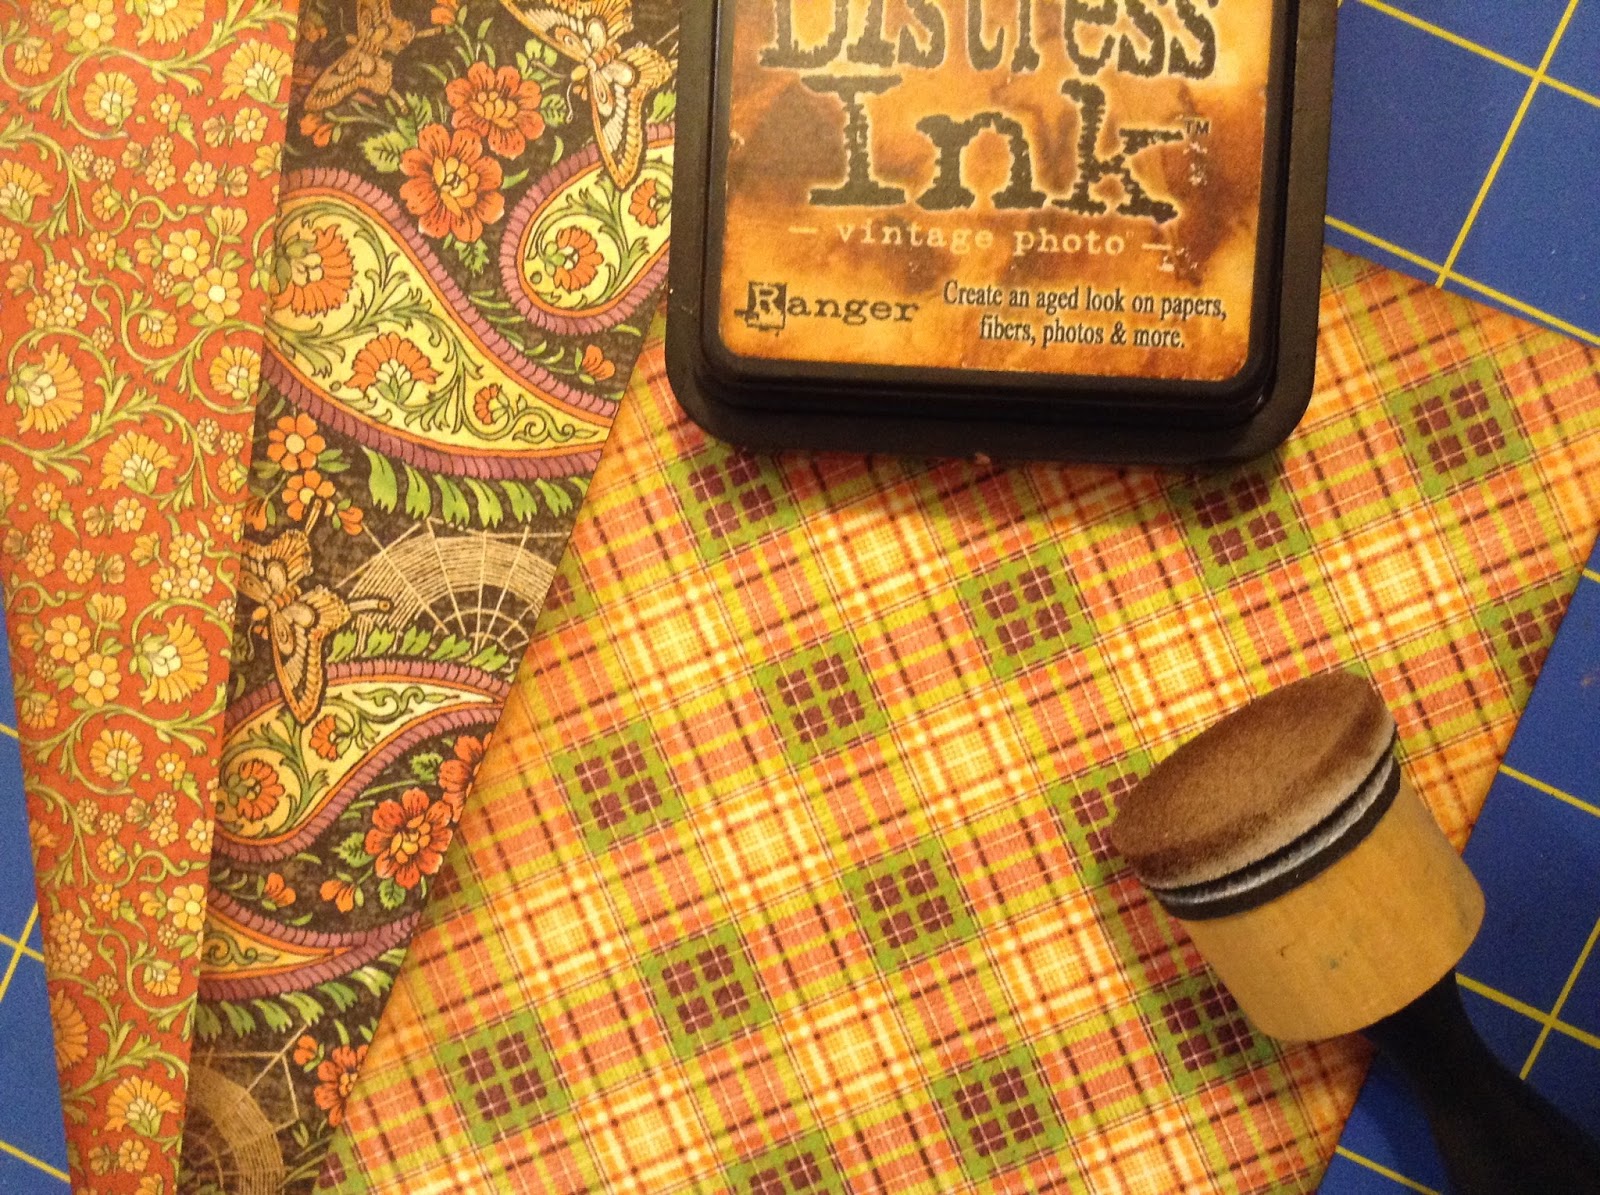
Vintage Photo Distress Ink
Treat Bags
Scissors
Fiskars Surecut Scrapbooking Paper Trimmer
Ruler
Adhesive
Scor-Tape 1/4" Double-Sided Adhesive
Dimensional tape or pop dots
Small clothes pins or clips
Buttons
 |
| Using a scoring board, score a 1 1/2" x 12 " paper strip for your florets |
 |
| Fold back and forth, and assemble your floret. NOTE: Refer to my post "The Beautiful Floret" on the FotoBella Blog to see a step by step tutorial on how to assemble a Floret. |


Assemble the florets and add buttons at center. Next, cut out and glitter some stars.
 |
| Cut 3 rectangles measuring 4 1/2 x 6 3/4 from coordinating patterned paper. |
 |
| Adhere to bags |
 |
| Using Scor-Tape, adhere 2 pieces of patterned paper together, creating a sleeve for the bag. The papers measure 5 1/2 x 5 3/4 (front) and 5 1/2 x 6 1/4 (back) |
 |
| Ink the edges with Vintage Photo Distress Ink. Now it's time to decorate the bags. Using charms, fussy cuttings from the patterned paper, the glittered stars and the rhinestones etc. decorate your bags to your liking. (Here are some photos of how I decorated mine) |


 |
| Here are the finished bags I created. They are so pretty, they're a gift in themselves! |
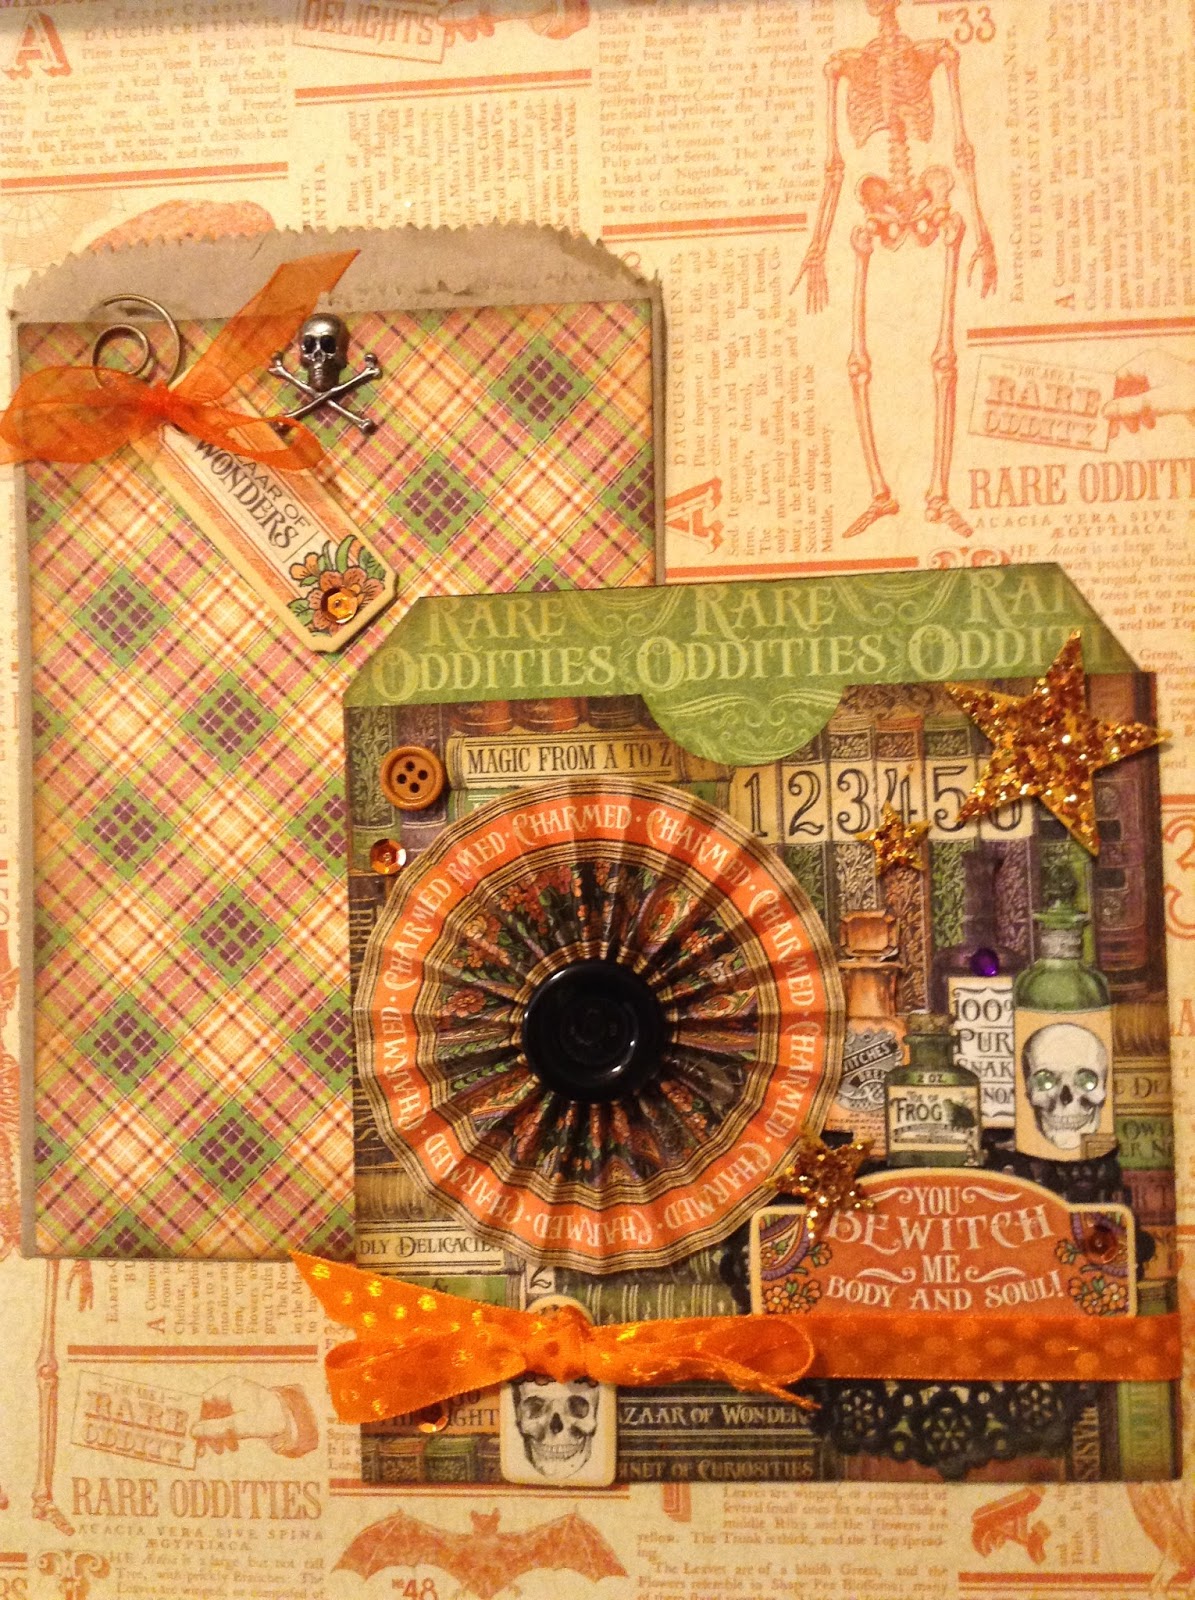 |
| "You Bewitch Me" Bag and Sleeve |
 |
| "Bewitched" Bag and Sleeve |
 |
| "Charmed" Bag and Sleeve |
Happy Haunting!
ReNae