Shop FotoBella

Shop for Scrapbooking Supplies by Product Type Shop for Scrapbooking Supplies by Brand Shop for Scrapbooking Supplies by Layout Theme Shop for Scrapbooking Supplies by Color

Search This Blog

Friday, July 31, 2015

Soak up the Sun Layout

Welcome!  I'm here to share a layout I did with the Carta Bella Kit Soak Up the Sun, from FotoBella.  I love these colors!  I am also excited that my daughters bathing suit this year worked brilliantly with the paper.

I took these photos while we were at the spray park on one of the first really warm days this summer.  I just love that she will ham for the camera.  I never have to ask twice!  She makes capturing her so easy.

I thought this swimsuit paper was so cute.  It works perfectly for summer.


Have a beautiful day! Smiles, Jessica

Wednesday, July 29, 2015

Four "Charming" Projects from FotoBella (A Tutorial)


FotoBella is now carrying Trinkets and Charms that coordinate with many of our beautiful bundles! Recently, esteemed FotoBella Design Team member Jeri Vann showed us some awesome "Anchor" earrings made with charms from her collection. She inspired me to give it a try!

Today I am working with the "Tea Garden" Collection Pack by Basic Grey.  

This gorgeous paper collection is so pretty and features beautiful flowers in lovely summer colors.  The "Tea and Rose Charms" are so pretty!  The pack contains variations of teapots and flowers, lilies and roses.  Each charm varies in size, and the color is faux-silver and very shiny!

You don't have to be a jewelry maker to create pretty embellishments and other projects with these versatile charms!  Today I am going to show you a few ways you can use these charms and how to make a few projects!


The first thing you will need to do is get a few basic items together...and if you have made simple charms in the past, you may already have them on hand!  Let's go through the list...
1. Charms
3. Head pins (with loops on the end)
4. 12 inches silver chain
5. Various beads (pearls, crystals, silver etc) from your stash
6. Bead caps
7. Jewelry tools such as wire cutters and needle-nose pliers
Non-slip work surface ( such as fabric or bead board)
8. Jewelry glue or hot glue ( I like 527 glue)
9. Hardware such as earring wires, clasps, lobster clasps, etc.


Once you have your supplies gathered you are ready to begin!  Our first project is earrings.  You can see that all you will need for earrings are the two rose charms, two jump rings and two earring wires.  Attach the rose charms to the earring wires with a jump ring.  That's it!  Done! 

You can make them more elaborate if you desire, like the ones shown below!

Our next project is a charm bracelet.  Lay out your charms in the order you wish them to appear on your bracelet.  Measure your wrist.  Cut a chain the appropriate length for your bracelet and attach the clasps on each end.  Attach desired charms to the bracelet with Jump rings.  I start in the middle and work to each end, that way it is easier to see how much room you will need. Easy-peasy!


I found little book markers at a local jewelry supply store.  Using a head pin, make a little dangle charm by placing the desired beads and bead caps on the head pin, then wire wrap it at the top to create a loop.  Using a jump ring, attach a charm to the loop at the end of the head pin.  You now have a pretty book marker.  These are fast, easy and beautiful! Great for gifts or stocking stuffers!

Perhaps my favorite charm project and one I make frequently is the "Chunky Charm".  Chunky charms are used as embellishments on mini albums, dangles for handbags and purses, and even key chain embellishments!  They make fantastic gifts and are as individual as you are.  Let me show you how to make one...


Starting with 12 inches of chain, cut the chain into 3 pieces varying in length..  I usually do one at 5 inches, 4 inches and 3 inches.  Attach your longest chain to the Lobster clasp.  Also attach the medium sized chain to the lobster clasp, then attach the shortest chain to the medium length chain.
Cutting the chain

This is the start of your charm.  
Set this aside. You are now ready to create some charms.

Using the headpin, add beads to create small charms.  You can use the bead caps, fillers and various beads to create unique charms.  Add a FotoBella charm to the end of each of your bead charms by hanging it to the loop with a jump ring.  Use every charm.


Starting with the largest charm, begin adding your charms to the chain. I usually put the largest one on the bottom of the longest chain, but you can use  your own taste to determine the placement.  Continue adding your charms until you have added them all.
Here are some of the dangle charms I made.


Here I am checking for balance and placement

Hold your charm up by the lobster clasp...does it look balanced?  You may have to make adjustments at this point but it's easy to move charms around, just undo the jump ring and re-attach it!  Once you are satisfied with the placement, you may want to tie a ribbon or lace tie at the top of the charm.  I like to hang mine on decorative hangers and display them in my home.  

This one graces my dressing table tray!

Charms are versatile and easy to use. At only around five dollars,  FotoBella makes it easy and affordable to create pretty embellishments or jewelry with these beautiful charm packs available for many of our paper collections, or you may simply purchase them on their own! 


Click on the link HERE to see all our beautiful charm packs!  

Happy Creating!
ReNae


Monday, July 27, 2015

Buccaneer Booze Bottle and Message Tutorial

Buccaneer Booze Bottle and Message Tutorial


Supplies:
Anchors Away Sheet
Pirate Ships Sheet
Journaling Cards Sheet
Seaworthy Sheet
Pirate Words Sheet
Title Page
Stickers
Black Marker
Paint Brush
Thick Jute Rope
Thin Jute String

Tools:
 Hot Glue Gun
Water Spray Bottle
Water Tray
Scissors
Hole Punch
Knife


  Grab the Anchors Away Sheet and some water. The easiest way I have found, is to use one finger, under a faucet. Use your finger to trace a 11.5” x 4.5” rectangle on the sheet. Place your finger back and forth under the water, to make sure the rectangle is fully traced. Then you can rub your finger along the wet lines of the paper, back and forth, to wear the fibers thin.
Once the paper has soaked in the water, you can now carefully tear the shape out.


With the spray bottle, spritz the rectangle, let the drops soak in slightly. Dab your paint brush back and forth from the water drops and the Gathered Twigs Distress Ink, to make the paper look dirty and worn. Once you are happy with the look of it, set aside to dry.


Find this Treasure text on the Pirate Words Sheet. Repeat the same water and tearing process as previously.
Use your paint brush and Distress Ink to dirty this piece slightly as well. Set aside to dry and rinse your paint brush out.


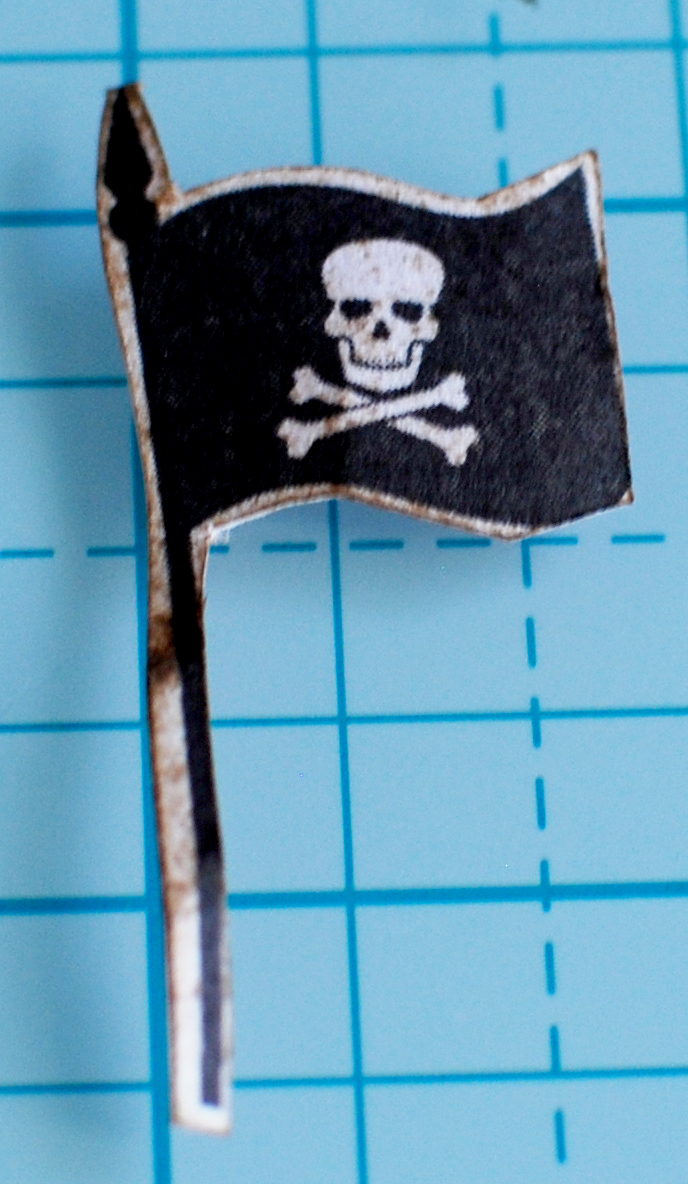
With your knife, fussy cut the Ship and Parrot out of the Title Sheet, and the Pirate and Flag from the Journaling Card Sheet and the Seaworthy Sheet. Spritz with water, crumple, let dry slightly then with the Distress Ink pad, dirty the pieces slightly. Set aside to dry.


 Find an empty bottle. It can be any size you choose. I chose a large, clear bottle. Remove the label and clean the bottle. Set aside if it needs to dry.


 Grab the Pirate Ship Sheet and the Sticker Sheet. In the corner of the sheet, you will place the Buccaneer and Booze stickers. Finished rectangle will be 4.5” x 3”, so allow enough space.


Using the Coffee Stain Stamps and Distress Ink mess up the piece. Randomly stamp, and even smudge them slightly.


Once that dries, repeat your water/tearing process. Create a rectangle around the sticker area, and tear out. Ink the edges, crumple, and set aside to dry.

 
Grab your glass bottle, Thick Jute Rope and plug in your hot glue gun. Start gluing the rope around the center of the bottle, and go around as many times as you like. I finished mine with about 10 wraps.
I then glued some red ribbon and the black Skull Sticker strip around the neck of the bottle. I finished covering the neck with more rope. You can finish the bottle however you like. 


Punch one hole on each side of the Booze label, grab the Jute string and the FotoBella Sailing Charms. 


Thread the string through the holes, and tie the label onto the bottle. Leave some string hanging down on the left side of the label.
Choose some charms you like and tie them randomly on the strings. 


For the Scroll you can get creative with this. Whether you make it into an invitation, game sheet or just a decoration. Mine is simply decoration.
Gather the items set aside, as well as the sticker sheet. Place the pieces on the page how you would like them. I attached everything with hot glue, since the paper will be uneven and stiff.


I then created a dotted line from my Ship, to the Island and then to the Treasure with a black marker.
 

This is a fun way to invite your guest to a Pirate Party, or creating unique center pieces at the party table. Get creative! 


Friday, July 24, 2015

Snapshots of Summer Layout

Hi there!  I hope you are having a great summer.  I'm here to share a layout I did with the Carta Bella Kit Soak Up the Sun, from FotoBella.

I know these aren't true ice cream photos but it was a little one on one time I was having with my oldest.  She doesn't get that has often anymore.  I took her to Starbucks for a chocolate milk and mom some coffee.  She thinks it is a fun treat to go.  I wanted to document our little outing.


Have a beautiful day! Smiles, Jessica

Wednesday, July 22, 2015

Barista Card

Hello friends, Apryl here with you today.  We send cards of all kinds of life events, but how many do we send just to say hi to someone?  With technology these days, it's easy to send a text, email or Facebook message to say hello.  I still think it's nice to get something in the mail.  That being said, here's a simple card you can put together and drop in the mail in no time at all.  Get the Basic Grey Barista I Want It All Bundle from FotoBella.com, grab a few supplies and get to work.  


This card is a simple postcard style.  The base is the grey woodgrain print called "Tea".  I added a few layers with the leaf print, a journal card, a tag and a few leaves.  


I secured the tag with twine and a pearl stick pin, found in the Barista collection and then dressed the whole thing up a bit with some Stickles to accent the flowers and the word "Hi".  You see, a simple card like this can bring smile to someone's face.  Get your Barista bundle today and you can make a bunch of great cards to share with some great people in your life!

Have a fabulous day!