Supplies:
Ritz Vrocade Sheet
Rich Stripe Sheet
Cherry Blossom Sheet
Bits & Pieces Sheet
Puffy Words
Giant Rhinestones
Whatnots
Titles & Accents Stickers
Round Glue Circles
Color Ink Pads
Rhinestone Jewel Strand
Ribbon
Tools:
Paper Cutter
Double Sided Tape
Glue Stick
Hot Glue Gun
Craft Tweezers
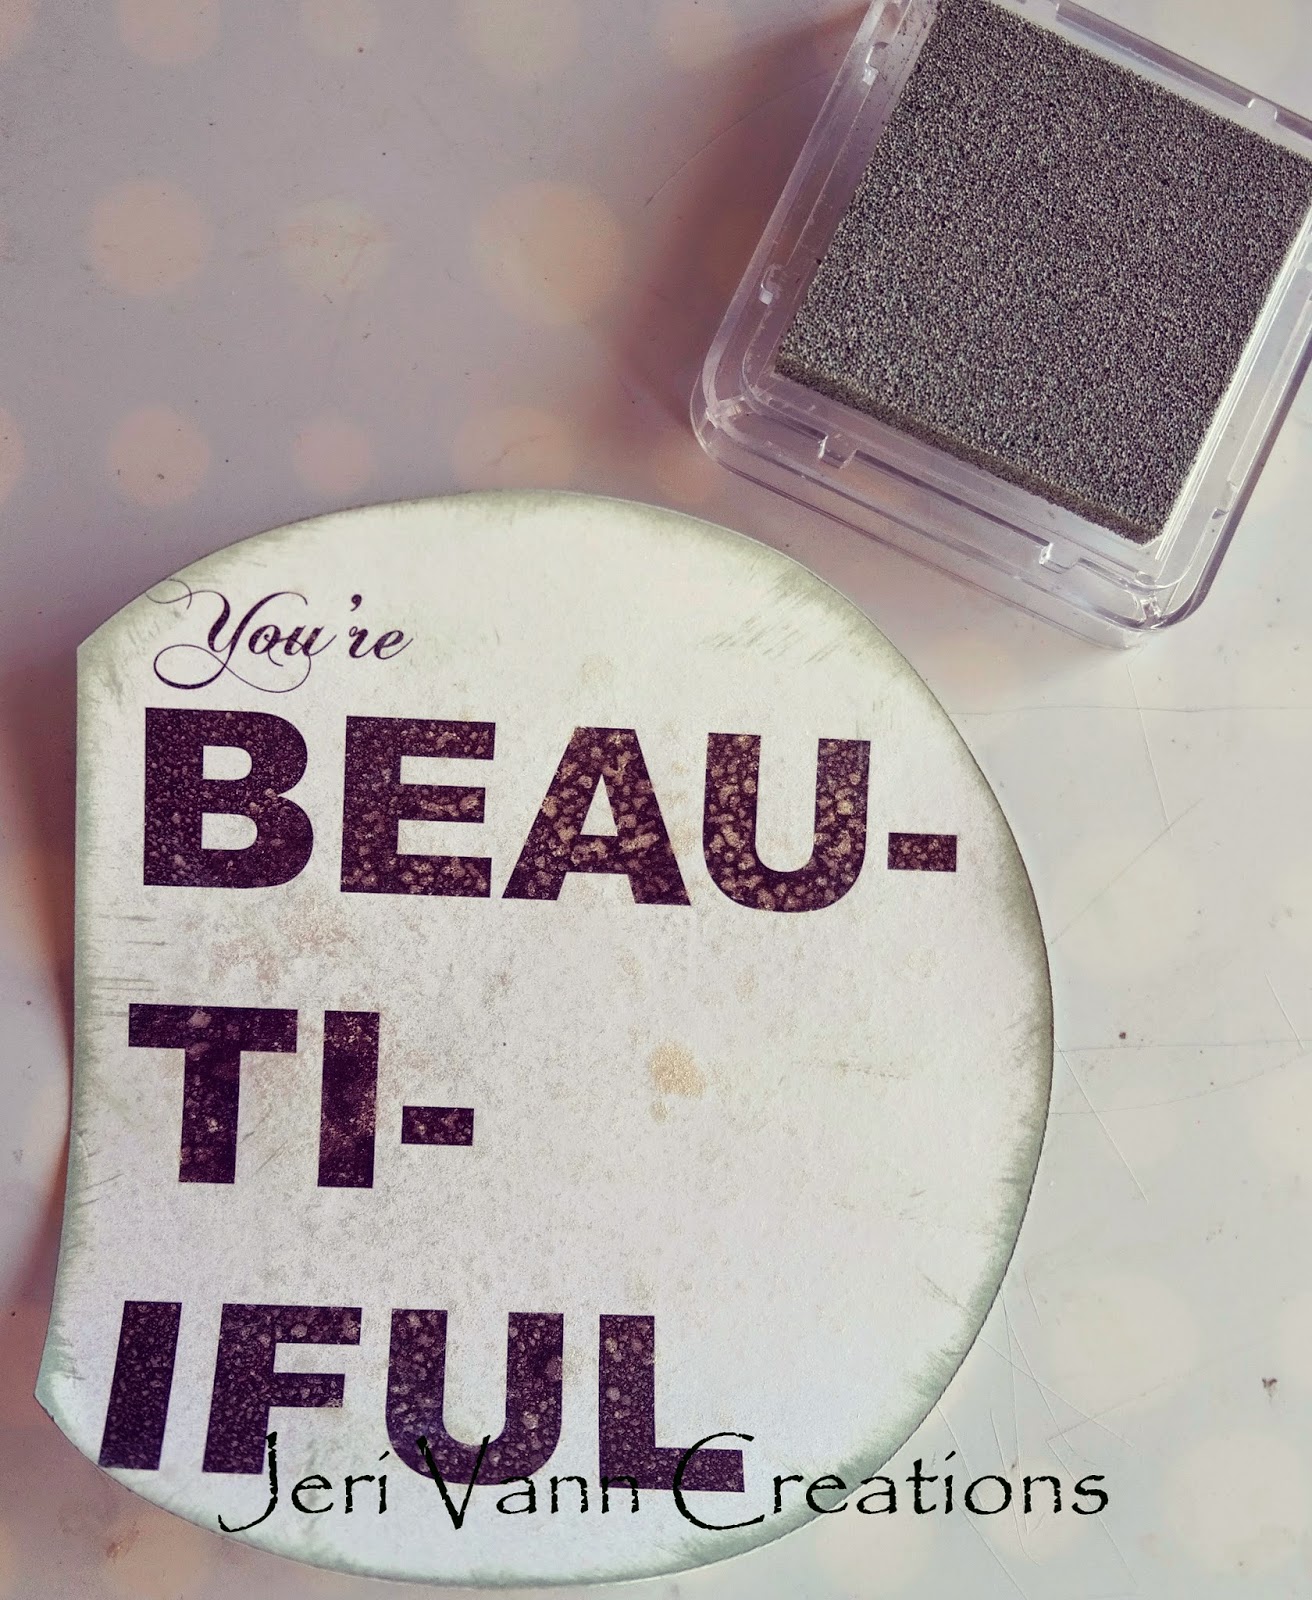
Find
the Ritz Vrocade Sheet and the ‘Beautiful’ section of the Bits & Pieces
Sheet.
Cut
the ‘Beautiful out and use a circle template or circle cutter to cut it into a
4” circle, and leaving the left side straight.
Spray
the ‘Beautiful’ circle with the Biscotti Pearls Mist. Set aside to let dry.
Cut a 10” x 5” piece out of the
Ritz Vrocade Sheet. Fold in half.
Using a bright pink ink pad, ink the edges of
the card and down the center fold.
Using
a lighter pink ink pad, ink all edges, over the bright pink ink. This will
blend the color more, and smooth any hard lines the bright pink might have
made.
Once
the ‘Beautiful’ circle is dry, using a light teal shade ink pad, ink all around
the circle.
ht have
made.
With
double sided tape, secure the circle on the front of the card, ½” in from the
left side fold.
t have
made.
Grab your Rhinestone Strand,
thread it through the Gold Whatnots Bow.
With hot glue, secure the
Rhinestone strand along the straight side of the ‘Beautiful’ circle. Make sure
to cut the strand to fit the height of the card.
Be careful when hot gluing, and just use a tiny
dot, so it doesn’t spread when pressing the strand to the card.
Stick
the Gold Bow Giant Rhinestone to the Gold Bow Whatnots center.
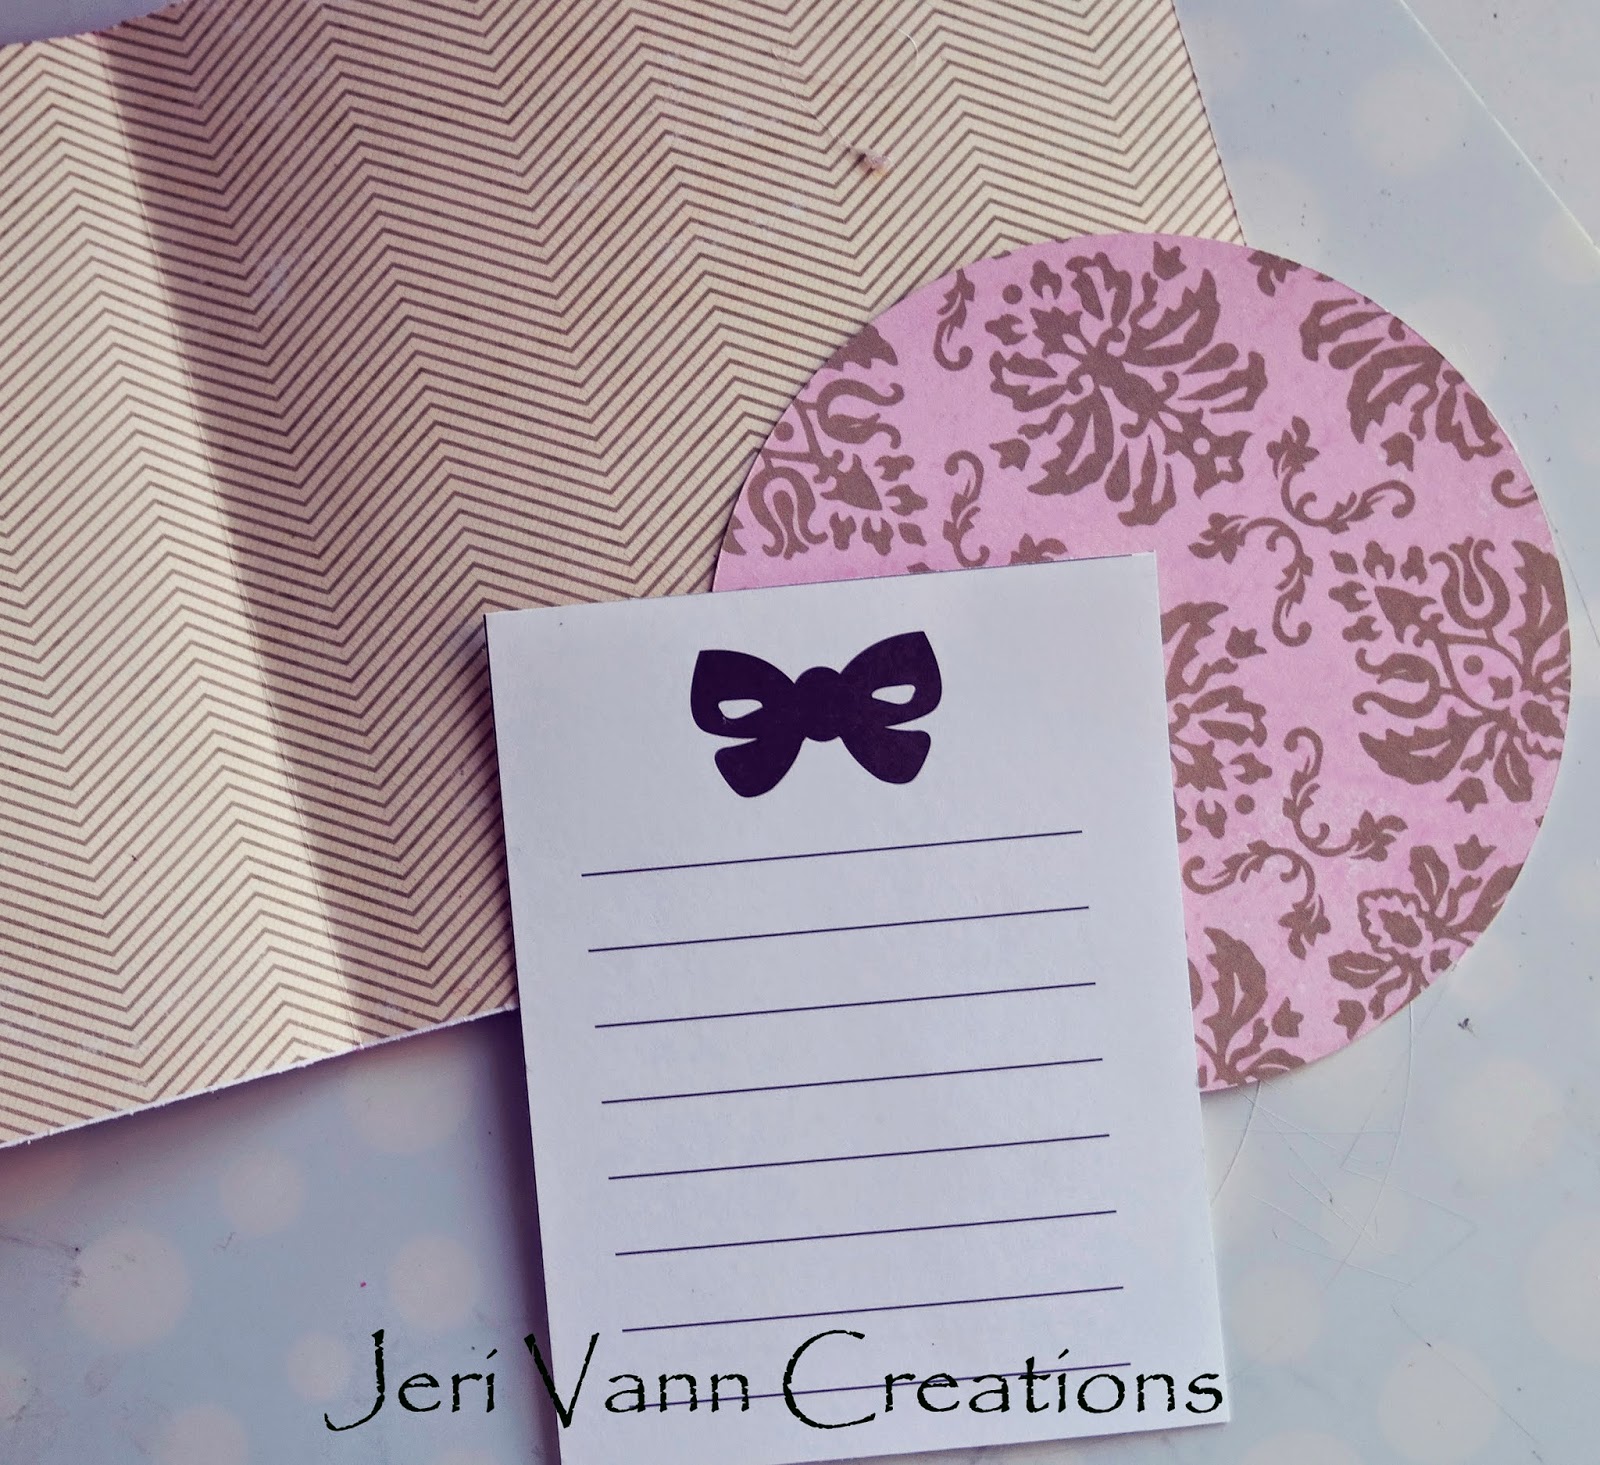
Cut the Lined Bow section of the
Bits & Pieces Sheet.
Cut a 4” circle out of the Ritz Vrocade
Sheet.
Using
a gold ink pad, ink all edges of the inside of the card. With the bright pink
ink pad, ink the circle. Using bright and light teal ink pads, layer up inking
edges of the Lined Bow card.
Cut out a 3.75” x 4.75” piece out
of the Rich Stripe Sheet. Ink the edges with a gold ink pad. Place the Coco
Chanel Sticker to the piece, centered.
Using double sided tape, secure it, centered, to
the right side of the inside of the card.
Using double sided tape, secure
the circle and the Lined Bow card to the right side of the inside of the card.
Stick the ‘Let’s Get All Dolled Up’ Puffy Word,
vertical along the left side of the Lined Bow Card. Add the Pink Heart Puffy
Word to the left side of the word strip.
Place
Glue Circles on the center of the Bow, and down the left side of the circle.
Sprinkle some of the Antique Linen Distress Glitter on them. Press down with
your finger so it covers the full glue circle.
Tap
off the excess glitter.
Find the Rich Stripe Sheet. Cut a
11” x 9” piece. Place the card in the center of the sheet and trace it. Create
the envelope however you think fitting.
I created the envelope so the
side panels are 2” in width, bottom flap is 3.5” and the top flap is 2.5”.
Cut out the corners of the envelope, and use a
straight edge to fold in the flaps.
Because of the height of the Giant
Rhinestone on the card, I placed this inside the envelope, just to make sure
there was enough space to slide it in.
Using a gluestick, secure the bottom flap to the
side flaps. Smooth out with your fingers until they hold.
Choose some matching ribbon that
will fit through the holes of the Black Whatnots Bow. Cut a piece of ribbon,
between 30” to 40”.
Hot Glue the center of the ribbon across the
front of the envelope. Make sure to line it up, so when it wraps around the
back, it lines up with the top fold flap.
Secure
the All Dolled Up Whatnots to the front of the card.
With
the remaining part of the Rhinestone Strand, hot glue it across the front of the
card, centered on the Ribbon.
Hot
Glue the Black Whatnots Bow on the top flap of the back of the envelope. Only
glue the top half of the bow.
Slip
the card inside and wrap the ribbon around the envelope, string the ribbon
through the Bow holes and tie.
Your
Card and matching envelope are finished!