Shop FotoBella

Shop for Scrapbooking Supplies by Product Type Shop for Scrapbooking Supplies by Brand Shop for Scrapbooking Supplies by Layout Theme Shop for Scrapbooking Supplies by Color

Search This Blog

Monday, June 11, 2018

This Is What Happy Looks Like Card Tutorial

Hello friends!
How has your Summer been going so far?
Well, we are now in full 'Wedding Season', and if you are like most people, you struggle with the gifting process. Gift cards are everything to a newly married couple, but make your gift stand out with a hand made, gorgeous card!

Follow this tutorial to make a very sleek, sophisticated wedding card that will stand out!

Supplies
Kaisercraft Indigo Skies I Want It All Bundle
Ruler
Paper Cutter
Adhesive
Prima Glue Pen
FotoBella Rhinestones
We R Memory Keepers Envelope Punch Board
Fiskars Tag Punch


First, grab a white sheet of cardstock and cut it 5.5" x 11". Fold in half, so it's 5.5"x5.5"


Next, cut a 4.75" x 4.75" piece of this floral paper and secure it to the front of the card.


Next, cut a 4" x 2.25" piece of the dark blue paper, and a 3.5" x 2" piece of the wood chevron sheet. Glue them together, as pictured and then secure them to the center of the front of the card.


Find the 'This Is What Happy Looks Like' banner and glue it to the center of the card with your Prima Glue Pen, as pictured.


Now for the fun part! Gather some butterflies. Whether you punch them out, or fussy cut them from the sheets, find the ones you like best. Fold the wings up, and glue only the bodies to the card, so they are 3D. Add as many or as few as you want.


Now for the inside of the card. Find this watercolor sheet and cut a 5" x 5" piece out and glue it to the right side of the inside of the card.


Grab the flower sheet and cut a 1.5" x 5.5" strip. Glue this to the inside, right of the card, as pictured.
Cut a 2.5" x 5.5" piece of the dark blue sheet and secure it on the left inside of the card, centered.

Grab the Wood Chevron sheet and your gift card. Wrap the paper around the gift card, but leaving the top open. Fold it nicely and cut the excess paper off. Then, remove the gift card and glue the pocket together.


Glue it to the center of the left side, once it's all dry.


Now, punch out the Say Yes To New Adventures piece and secure that to the center of the gift card pocket. Again, find some butterflies that you like, fussy cut them, and glue the bodies to the inside of the card.


Next, cut a 4" x 3.25" piece from the dark blue sheet and a 4" x 3" white cardstock piece. Glue them to the lower side of the inside, right of the card. Then find this 3 hard cutout and glue that to the lower corner.


If you wish to add more details, ... do!


I grabbed my FotoBella Rhinestones and added a couple throughout the card design.


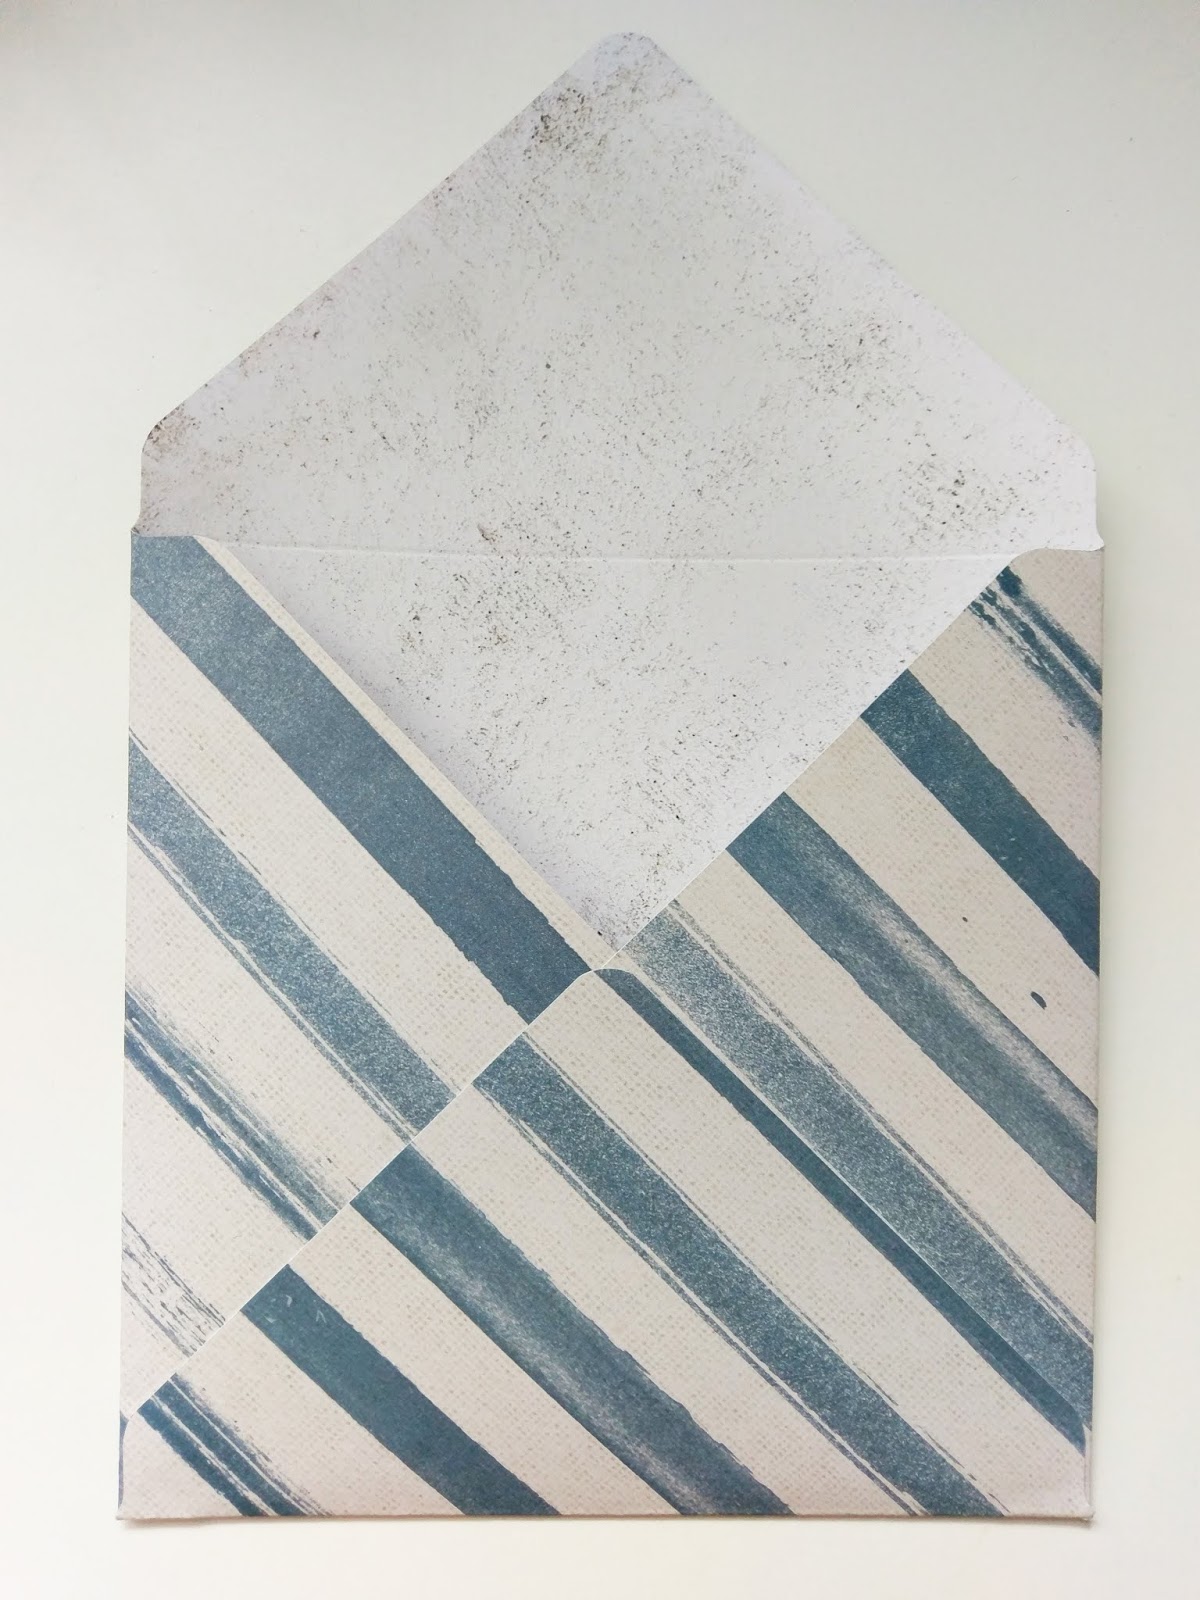
Now, let's make a custom envelope. Grab this striped sheet and your We R Memory Keepers Envelope Punch Board.
Follow the directions on the board to cut a 6" x 6" card.


Glue the flaps closed.


With your Fiskars Tag Punch, punch 3 tags out from different papers.
Then, glue the Congrats tag to the front tag.


Glue the tags to the front of the envelope. Then add some other details, like butterflies and leaves!


Your card and matching envelope is now complete!
Write a heartfelt note and give to the lucky couple!


Thursday, June 7, 2018

KaiserCraft (Misty Mountains) Choose Happiness Layout

     Do you have a happy place, where all of your worries and fears seem to disappear? Drea with the Design Team, and mine has always been the beach. So I found this old photo, and slightly altered the colors in Photoshop, to go with the beautiful new KasierCraft Misty Mountains Scrapbooking Bundle from FotoBella.com.


     Being an Aquarius, I was immediately drawn to the gorgeous amethyst "Agate" paper! So I tore some of the edges, and covered them with Prima Marketing Patina Effect Paste (Brass). Then, to really enhance my birthstone, I made it sparkle with Prima Marketing Glass Glitter (Pearl), adhered with Prima Marketing Clear Gesso, applied with one of my Bo Bunny Palette Knives.


     I also used Clear Gesso as the first step in my stencil work, which matches the design on the background paper. After it dried, I went over it with Distress Crayons (Chipped Sapphire and Seedless Preserves), and blended the colors with my fingers. Then I used the stencil again, to lightly apply Patina Effect Paste (Brass). The straight edges were colored with Dusty Concord Distress Ink, and finished with hand-stitching, done in three colors.  


      The same exact steps that I used with the stencil work, was also done to the wooden title. 


     Finally, I placed the circles of bling, one by one, with FotoBella Clear Rhinestones & Half Pearls, dyed with Tim Holtz Alcohol Inks (Wild Plum and Stream). By mixing both, I got blue and purple, and applied them with a Q-Tip.


     Thanks for looking, and pick up your KaiserCraft Misty Mountains Bundle @ FotoBella.com!


Friday, June 1, 2018

Today is National Donut Day!

It's National Donut Day!  
National Doughnut (Donut) Day originally began as a way to celebrate the female volunteers for the Salvation Army who were serving doughnuts to soldiers in the 1st World War. These ladies were known as "The Doughnut Lassies". 

Today it has become a national phenomenon, with many of the country’s top donut shops offering special deals (or free donuts) to commemorate the holiday! 
*(see link below for deals).
ReNae here, with the FotoBella Design Team, and since I love making cards, and I love donuts, I decided to try my hand at a Donut Card!  These cards were fun and easy to make, and the paper I chose from Stamperia made the Donut Cards look great!
These papers are all so beautiful and the beautiful 
was perfect to use as the icing on the Donuts!
 I used it on the inside sentiment too!
Here are my finished Donut Cards 
These were so fun to make I made TWO!  
Look at how perfect the pink Stamperia paper is for the icing!
To make my Donut Cards:
I used a 4" Circle Die, a small
1 1/2"circle die for the Donut hole, and a 3 1/2"
Scalloped Circle Die for the icing.
I cut 2 donut shapes, and 1 icing shape for each card.
Stamped the sentiments with a stamp from my stash,
 and glued the two pieces together.
I adhered seed beads on the icing 
and punched a "bite" from the side of the donut 
with a scalloped circle punch.
Easy!

Arent they adorable?  They look good enough to eat!

 *Want FREE Donuts? Just click HERE! 
and
Happy Donut Day from FotoBella!