Shop FotoBella

Shop for Scrapbooking Supplies by Product Type Shop for Scrapbooking Supplies by Brand Shop for Scrapbooking Supplies by Layout Theme Shop for Scrapbooking Supplies by Color

Search This Blog

Saturday, January 31, 2015

My Mind's Eye Just Sayin' Gift Bag

If you have any plain gift bags in your stash that could use some spiffing up than this is the tutorial for you!  My Mind's Eye Just Sayin' I Want It All Bundle has some great paper that does most of the work for you.  


Here is the contents of bundle that comes from FotoBella.  As you can see it includes all the goodies of the Just Sayin' Collection.  


In this tutorial I use a wine bottle gift bag.  


Select the "About You" glittered paper and size it to the bag so that the saying covers that bag.  


Trim it down to the right size and glue to the front of the bag.  


To embellish, use the 12x12 chipboard sticker sheet, the Mixed Bag and the enamel dots.                  


Place the gold glitter heart and the pink chipboard heart in a layered fashion below the flowers on the page.


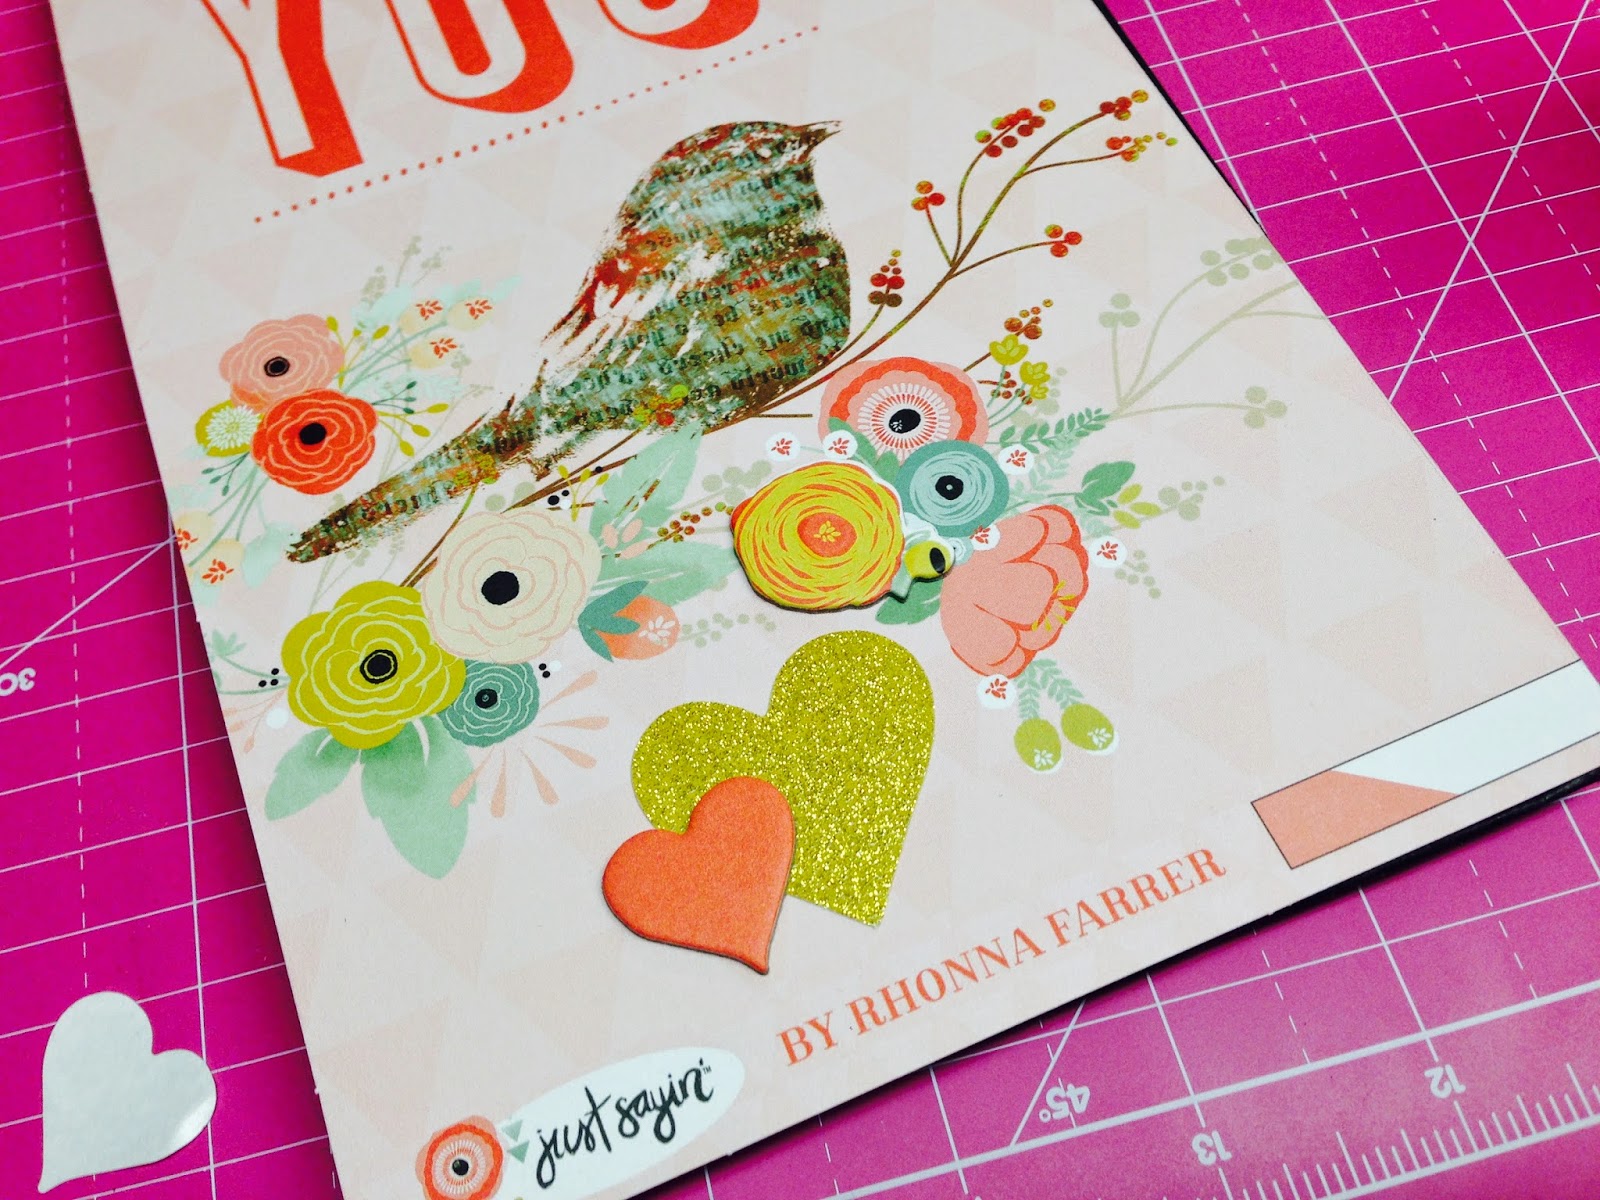
Layer the chipboard flowers to add dimension to the floral print pattern.  


Use the enamel dots to embellish the paper.  I used the gold triangles to inlay on the existing triangle pattern of the paper.  


I also added enamel dots to the center of some of the flowers. 


At the bottom of the page I added the "Having Fun" tag.  


Using Tangerine tickles, I outlined the word "about" to make it pop.


The Diamond stickles were added to the birds feathers and some of the flowers. 


Finally I inked the edge of the paper with Tahiti Quick Quotes Ink.  


Add some tissue paper and a bow to the bag and you've got yourself a custom wine bottle gift bag.


Check out the Just Sayin' bundle and see for yourself how easy this project is.  

Have a fabulous day!


Thursday, January 29, 2015

A Bo Bunny Rose Cafe' Scrapbook Layout

I found an old photograph of my Grandparent's wedding. and decided that it would be a perfect picture to feature on a scrapbook page!  I love the romantic styles the women wore in the 1930's, and the patterned paper from Bo Bunny's Rose Cafe coordinated perfectly!
With some pearl trim and vintage lace from my personal stash, I completed the look to create a one-of-a-kind heirloom piece I can one day pass on to my children and their families!

I chose the Ephemera pack from Rose Cafe with all it's beautiful images and sentiments, and the layered chipboard banners in coordinating colors, to make this page look just right!

Remember at FotoBella, it is easy to find just the right embellishment 
to help you create heirlooms 
your family will treasure for years to come!

Happy Creating!
ReNae


Tuesday, January 27, 2015

Happy Day with Bo Bunny Star-Crossed

Hello FotoBella fans!  Apryl with the Design Team here with the fabulous bundle from FotoBella that I've been working with, Bo Bunny Star-Crossed.  I love the dark red color in this collection!  The ephemera is just fantastic as well.


I've been saving this photo of my youngest daughter and I for just the perfect scrapbook paper, and this is it!  The photo goes so well with this color scheme.  It is one of my favorite photos of us and I wanted to do it justice.


A close up of some of the embellishments from glitter chipboard stickers. playing cards and journal cards.  I did my journaling around the heart on the playing card for something a little different.  


Right here,  my favorite embellishment.  My heart has wings!  Love it!

Hope you enjoyed this fun layout!

Stop by FotoBella.com to take a look at this bundle and be sure to have a fabulous day!


Monday, January 26, 2015

Bo Bunny's Rose Cafe' Tag Tutorial

Bo Bunny Rose Cafe' Collection has some amazing embellishments which include Layered Chipboard Stickers and Buttons, Noteworthy Die Cuts, a Film Strip Sticker, and Ephemera. 
Today I am featuring a tag made with these products.  It's easy, fun and so pretty!


The Rose Cafe Embellishments were thoughtfully arranged to create this cute little tag! 
I even used the packaging!  To make this tag all you will need are pop dots, some glue and a stapler!
Links to the products used can be found at the end of this post.
Open up all your embellishment packs, and set aside the packaging.
The packaging becomes the "tags" we will use for our project!
When you lay everything out, you can see how many wonderful choices you have!
There are dozens from which to choose!
I selected the above embellishments for my tag. 
Take out the pieces and lay them on the table next to your work area.
 
Select the larger tag. It is the packaging from the Layered Chipboard.  
Starting in the upper-right corner, add the die cut and layered chip board elements.  Here, I cut out the word "Dreamer" from a die cut banner and inserted it inside of the chipboard piece.  Add buttons to the bottom-right of the tag, and tie a ribbon through the hole at the top.
Using the rose die cuts, embellish the flower image with more roses.
I used pop-dots to add dimension.
 
Place the "Paris" banner over the top of the pink banner and adhere them to each other.
(Do not glue down to the tag yet)
Staple the Film Strip to the tag, then adhere the Paris banner to the tag.
I made a criss-cross pattern with the stapler to add interest.
Continue adding embellishments to your tag.
Here I have added a chipboard token next to the blue buttons.
Add the flowers, chipboard buttons and metal embellishments as shown.  (Note: Since I had used the gemstone from the ephemera pack in an earlier project, I substituted with a green pearl) 
In the upper-left section, add two chipboard banners and place a flower and button as shown.
Adhere the "Fun Times" die cut above the Dreamer chipboard piece.
Add the rest of the pieces as shown and you are finished!
Isn't it pretty? I love all the colors and the dimension!

The embellishments can be found on the FotoBella website by clicking the link below each product.  


Hope you enjoyed this fun project!

Please leave me a comment and photo showing me YOUR Rose Cafe' Tag!
Until next time, Happy Creating!
ReNae

Saturday, January 24, 2015

A Little Something Layout

In the midst of this cold winter season, how about a little Spring to make you smile?  The My Mind's Eye Just Sayin' I Want It All Bundle is full of Spring colors and bright inspiration.   


Although, this is feminine in color and design, I found a Spring photo of my son that worked with this collection!  I think it's the fact that he's holding a snuggly and looks so cute, that I was able to pull off the floral pattern as the background.  


In the Mixed Bag of embellishments I was able to find the top hat and the gold crown to add that masculine touch it needed.  I used chipboard to create layers with the embellishments and give the layout some dimension. 


It's still ok to add a little bling to this layout, right?  I love the gold glitter in the Just Sayin' line.  To see more of this collection, visit FotoBella.com and check out the My Mind's Eye Just Sayin' I Want It All Bundle.  

Have a fabulous day!


Thursday, January 22, 2015

Bo Bunny Star-Crossed Valentine Wreath

How about a fun Valentine decor project?  It's Apryl with the Design Team with a really fun wreath to share.  I found a plain metal, heart wreath in the dollar bin at Target and immediately dropped it in my cart, knowing it had great potential when partnered with my FotoBella I Want It All Bundle Bo Bunny Star-Crossed Collection!


I really loved how the wreath turned out and if I'm being honest, I surprised myself with the results!  


With the help of my Silhouette, I cut out the word "Love", the love birds, cupid and the red flower.  I also embellished with the chipboard stickers from the collections.  


Isn't it gorgous?!?  Forgive me for not being very modest about this project, but I can't stop staring at it!  The ribbon was left over from Christmas and matched perfectly.  For some more bling, I used the Diamond Stickles to glitter up the feathers on the dream catcher. the word "Love"  and I also added some rhinestones to the flower and dream catcher.  


Ahhh cupid has struck again.....I'm in love!

Get your Bo Bunny Star-Crossed Bundle and if you want this wreath, seriously run to Target right now!  

Have a fabulous day!