My Happy Place Double Page
Layout
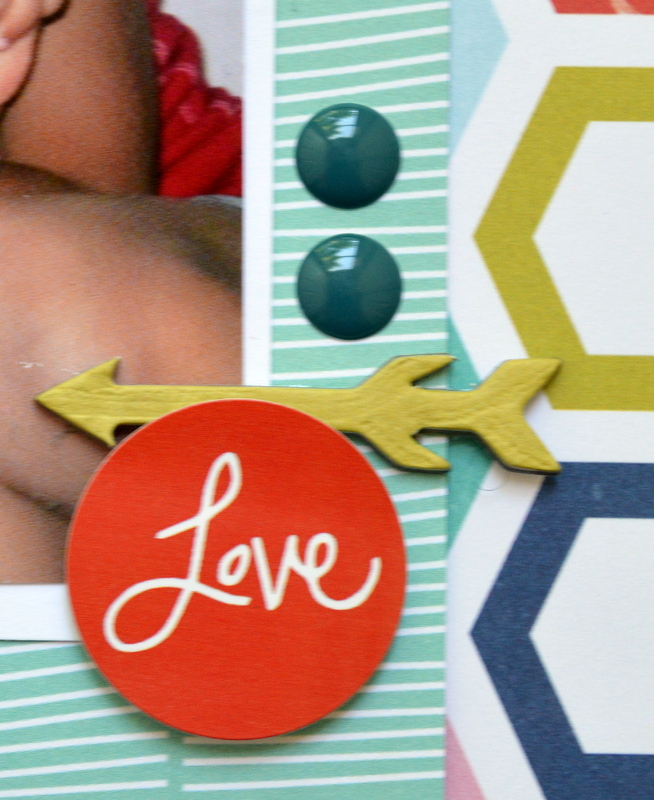
Supplies:
Sandcastle Sheet
Neptune Sheet
Sail Away Sheet
Playtime Sheet
Drift Sheet
Beach Bliss Sheet
Seaside Sheet
Boardwalk Sheet
Noteworthy
Brads
Stickers
Chipboard
Pencil
Plate for Circle
Double
Sided Tape
Photo Sizes:
1 @ 5” x 6”
4 @ 4” x 4”
Tools:
Knife
Ruler
Hot Glue Gun
Scissors
Start
with the Sail Away Sheet and a large circle stencil. I used a plate. Draw the
circle lightly.
With
some water, wet the tip of your finger and trace the circle. Continue around
until the whole circle line is damp. Let set for a few seconds.
Carefully
start to tear the sheet on the wetted circle line. Continue to tear, until you
have finished separating the circle.
Using
a spray bottle or water from the tap, slightly dampen the circle. Let the water
seep into the page, and then start to crumple the paper. Set aside to dry.
Grab
your 5 photos and the Playtime Sheet. Using double sided tape, secure one photo
at a time to the paper, and then cut the paper with about a ¼” border around
the image. Do the same for the rest of the photos, you might need to use some
of the 2nd Playtime Sheet as well.
Check
on your circle to see if it is dry enough.
Grab the Sandcastle Sheet
and place the circle on the right side of it. Once you have it placed how you
prefer, secure it with either hot glue or double sided tape.
Turn
the page over. Place a ruler or a straight edge on the edge of the paper. With
your knife, carefully cut the excess of the circle. Be careful not to damage
it, as you will be using it on the other half of your double page layout.
Turn
the page so the right side is up, and grab the Neptune Sheet. Place this next
to the left side of the layout, and line up the circle. Once you have it
placed, secure it with hot glue or double sided tape.
Using
a Tim Holtz Distress Ink that matches your photo borders, ink all the edges.
Starting
on the left layout, secure the large photo on the page where you like.
Find the ‘Happy Place’ Noteworthy,
and secure them above the photo.
Head
over to the right page of the layout. Place your remaining 4 photos on the
page, closer to the left side. Once you have them placed how you like, secure
them with double sided tape.
Find this ‘Sunshine’ saying
on the Sandcastle Sheet, and secure to the bottom right corner.
Gather
some Die Cuts you like. Also cut some of the fun squares out of the Boardwalk
Sheet, and punch some circles from Seaside, Beach Bliss and Drift Sheets. I
used a 2” Circle Punch, but you can use whatever size you like. I also cut 3
‘Tag’s’ out of the pages as well, for layering.
Set
them up on the sheet, and move them around until you like them visually.
Pull
some extra ones to use on the right layout, and switch them up until you like
how both collages look.
With the ‘Summertime’
Sticker, place this at the bottom right of the photo.
Pick
a few of the cut outs from both sides of the layout. Spray these with water,
let the water soak in, and then crumple them.
Set aside to dry.
Once
all are dry, you can ink the edges of the cut outs.
Start placing them back on
the layout pages.
I
recommend just placing the pieces down without securing them, until you are
happy with the look of it.
Once
happy with how it looks, start to secure the pieces down with double sided
tape. I added some Brads to the tags.
I also chose some of the
Starfish, and smaller Die Cuts to add layer and detail. Secure these down to
both pages.
Head
over to the right layout side and secure details down once you are happy with
the look of it.
Start
adding layers and details. I added Chipboard Stickers and Buttons.
I
also added Starfish to my layout title.
Step
back and look at your completed My Happy Place Double Page Layout.