Shop FotoBella

Shop for Scrapbooking Supplies by Product Type Shop for Scrapbooking Supplies by Brand Shop for Scrapbooking Supplies by Layout Theme Shop for Scrapbooking Supplies by Color

Search This Blog

Sunday, July 29, 2012

Scrapbooking Photo Tip - Get in the Shot

Thought I'd share a few photo tips that may get you thinking about the photos you take with scrapbooking in mind. Most of the time our photos of a certain moment are what prompt a great scrapbook page - well that and some really cute scrapbook supplies!!

Personally, I like the look of a finished scrapbook page that includes some great photos. I don't always scrap with awesome photos, but if I keep the final goal in mind (how I envision my finished layout)  when I'm taking the photos, I am usually happy with the results.


Get in the shot


It will be great for the kids to be able to look back on all the memories as they get older, but won’t they also want to see YOU in the picture? I prefer to stay behind the camera myself, but every now and then it’s a great idea to dust off that camera manual and use the self-timer or a remote to make sure you are in the picture!


Wednesday, July 18, 2012

Love 2 Craft Projects Featured


Kristie has out-crafted herself with her latest round of design team projects. For this week's projects she used the Love 2 Craft I Want It All! Full Collection Bundle by We R Memory Keepers. 


If you love We R products as much as we do, you'll want to check out our We R Memory Keepers I Want It All! Membership. Members receive the featured bundle as well as a 15% off FotoBella.com coupon each month. What could be easier than that?

Don't miss Kristie's "You & Me" layout steps at the bottom.


You & Me


1.Place the "Artist" die cut on the yellow side of the "Spools" paper, trace around the edge.

2.Save the salvage edge from the "artist" paper t use as an accent


3.Cut one of the ruler shapes from the "Measuring tape" Paper


4.Cut one 9"x4 1/2"peice of the "Artist" paper


5.Line these three pieces up as shown


6.Using teal colored ink use the "polka dot" stamp to stamp the background


7.Cut a 9"x6" piece from the "Calico" paper


8.Place calico pieces as shown


9.Cut a 5 1/2"x8" piece of the green vinyl place as shown


10.Use a 4"x1" piece of the "artist" paper on the lower left as shown


11.Add layered chipboard pieces as shown


12.Add "make stuff image cut from "Sentiments" paper

Monday, July 16, 2012

Education Day at CHA Summer 2012

Today was a great day filled with classes!

I started the day at Tool School Fun! at 8 am.

We R Memory Keepers is know for it's tools. Today we got a sneak peak at some of the new We R tools coming out later this year and the new collection Hall Pass, which will be featured in FotoBella's I Want It All Membership in August. We then put them to use in a great mini album.


Next I was off to "Building a Better Blog" taught by Julie Fei-Fan Balzer (one of my favorite people to talk to here at CHA). You can thank Julie when  you see some new features here on our blog.

At noon, I was luck enough to be chosen from the wait list for a 4 hour class by Ranger - All Mixed Up. In this great class I was able to rediscover my love of paint and die. We learned great techniques from  from Ranger's signature designers Claudine Hellmuth and Dyan Reaveley.  They each brought their unique styles and shared great tips on how to explore our own inner artist.


After finishing these great projects, I raced over to the Innovations Sneak Peek, where we got to see Tim Holtz in action with his new Ranger Metallic Distress Inks, check it out on our YouTube channel. As well as some other fun new products, including mirror board that you can cut with your manual die cut machine!


I wrapped up the day at a 6pm class with some great card making techniques with Flower Soft.


It was a great day... a long day.. but a great day! Please make sure to comment and let us know which of these new products you would like to see at FotoBella! I look forward to the show floor opening tomorrow and seeing all the great new products.

Wednesday, July 11, 2012

BasicGrey Konnichiwa Design Team Projects

This week's creative design team projects were completed by Jeri using the Konnichiwa - I Want It All! Full Collection Bundle by BasicGrey. Jeri has also included a step-by-step tutorial to create a handmade  Gift Box out of this beautiful paper.


This scrapbooking kit includes 24 sheets Premium 12x12 Heavy Weight Paper (2 each of 12 patterns), Element Stickers, Alphabet Stickers, Titles Stickers, Wooden Buttons, Stitched Brads, Mixed Brads, Die Cuts and Transparencies, Die-cut Paper and Canvas Flowers, Chipboard Shapes and Alphas, Layered Stickers, Fabric Flowers, and Felt Trims.


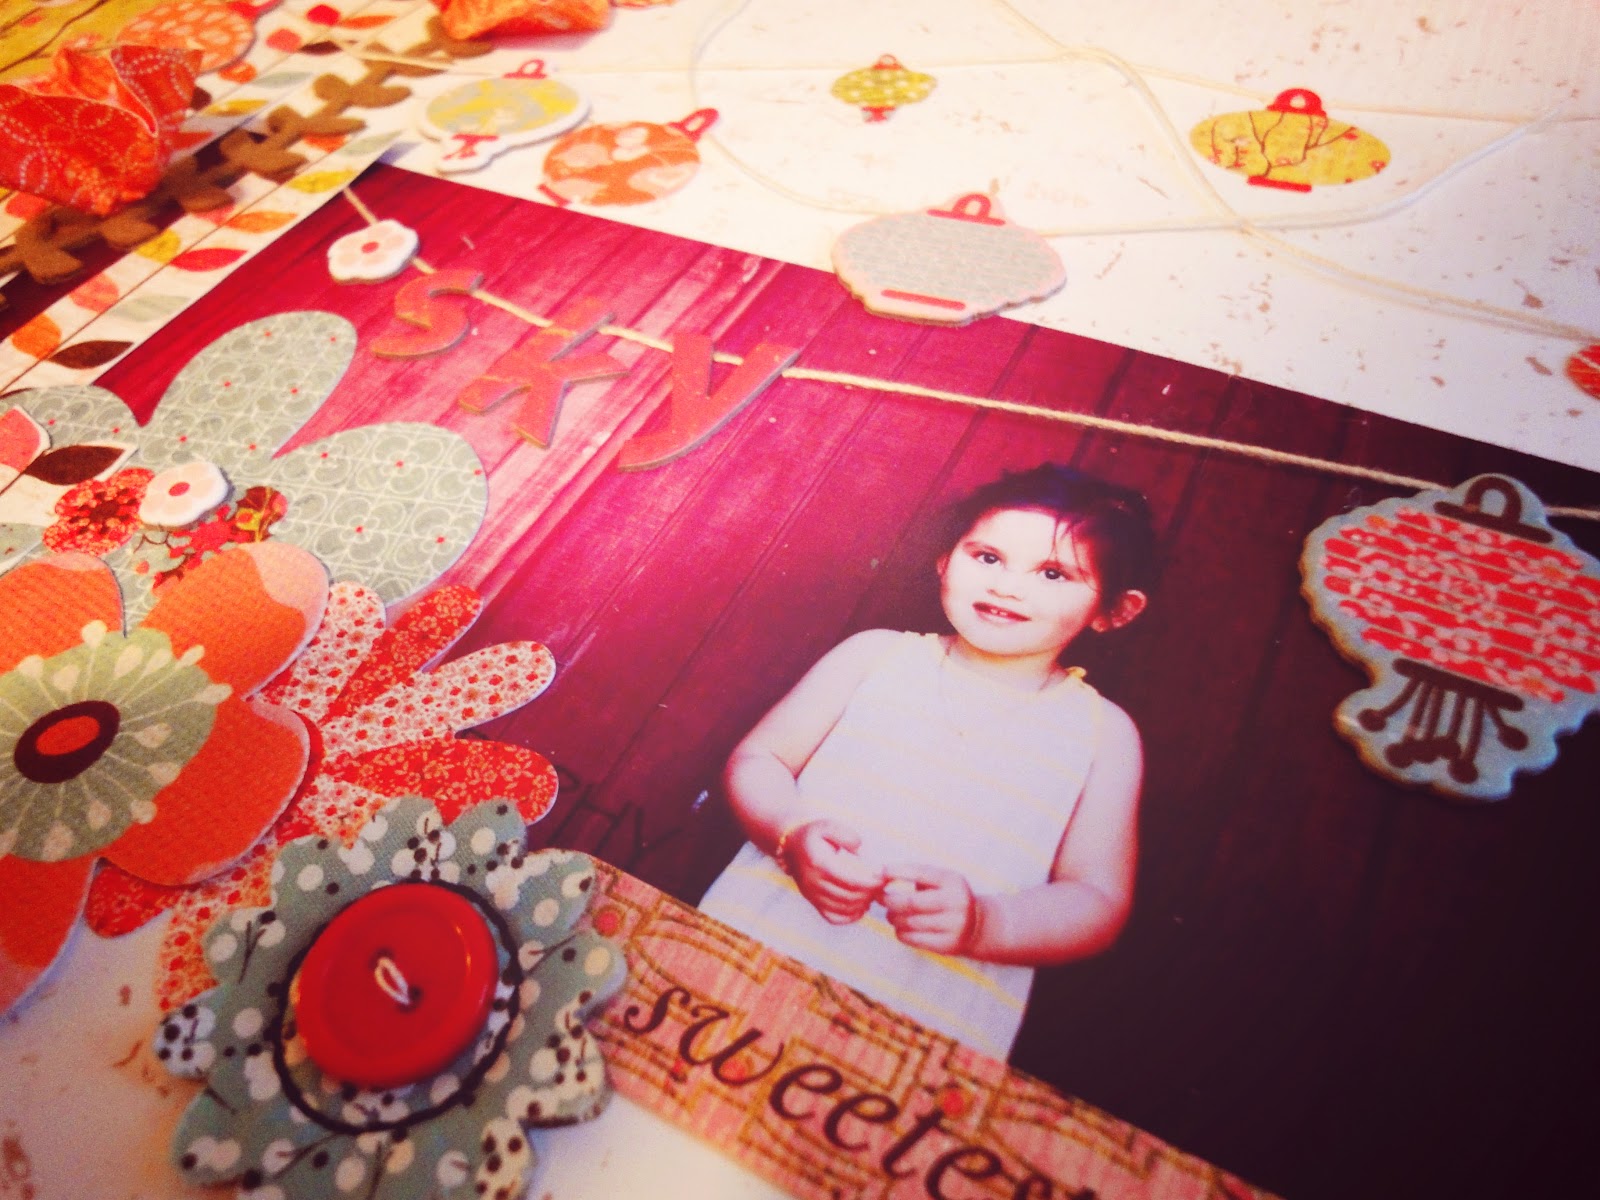
Picture it! Delicate clouds of white lotus fill the sky. Outdoor street markets are alive with dangling lanterns and vivacious colors. Original, angled rooftops and architecture line the streets … You must be in Japan! Welcome. Or, more appropriately, “Konnichiwa!” Fill your mind with wonderment and the beautiful spirit that is found in this unique collection of mesmerizing fuchsia, cherry blossom pink, bonsai-tree green and soft sky blue.


Quick & Easy Gift Box


I love making custom packaging for gifts. I find its more personal, more meaningful and you can make it as simple or detailed as you want. You can also customize packaging specifically for someone, which will definitely get you kudos!

I found a double-sided page I loved, and drew out the main box and the sides.


Cut out the pieces. Since this is cardstock, I recommend using a straight edge to help you make perfect folds. On each end piece, cut out the bottom squares from each corner. This will help the piece fold and sit better.


Then pinch the top part of the side piece.


Use the straight edge to fold the main box piece. 


Proceed to glue a side tab to the box. I used a simple glue stick. Make sure to line the pieces up evenly so you cannot see unevenness in the finished box. 


Go ahead and attach the other side piece. Fold the bottom of the box up, and glue the small bottom tabs of each side piece.


You can then glue the side tabs to the front box flap. This is a little more difficult, so make sure to be patient and line them up.  I used a round ruler to make a curved edge on the box flap and cut.  Then decide where you would want your ribbon to be, depending on the size of ribbon you use. Measure and make sure they are centered.  You can then fold the flap onto the box and line those holes up. I punched holes, and pushed the ribbon through from the inside.


Fold the flap down, and push the ribbons through the holes. Close the box and tie the bow! Adorable custom gift box!