Soleil Mini Album Tutorial
Supplies:
Variety of Pages
Flags
Stickers
Chipboard Stickers
Die Cut Shapes
Layered Stickers
Die Cut Flowers
Faceted Beads
Stamps
Ink Pads
Half-Hard Silver 20ga Wire
Tools:
Paper Cutter
Double Sided Tape
Hot Glue Gun
Wire Cutters
Round Nose Pliers
Round Corner Cutter
First,
find 2 chipboard or cardboard pieces for the front and back cover of your mini
album. Cut them 5”x4”.
Choose your favorite page for the
cover. Cut it a little bigger then the chipboard.
I used ModPodge to adhere the paper. Then fold
and crease the paper flaps around the other side of the chipboard, and snip the
corners so they lay flat.
Smear some ModPodge on the paper
and fold around the chipboard. I used some clips to hold the paper in place.
The ModPodge dries pretty quick, so you don’t need to wait very long.
Continue this for all 4 sides.
Pick
out some pages you want to use throughout the album. Cut them the same 5”x4”
size.
Using ModPodge, glue a cut paper
to the inside of the chipboard cover. I added some details with some stamps and
Soleil Stickers.
Start adding layers. Here I used a
Die Cut Flower and Stickers.
Picture is 2.25”x2”. I have used a round corner
cutter on all the pictures throughout the mini album.

Onto the next page. Always lay
your album pages out, so you can best decide which papers you want next to each
other.
Again, add layers. Here I used
Paper Scraps, Die Cut Pieces and Chipboard Stickers.
Picture is 3.5” x 2.75”.
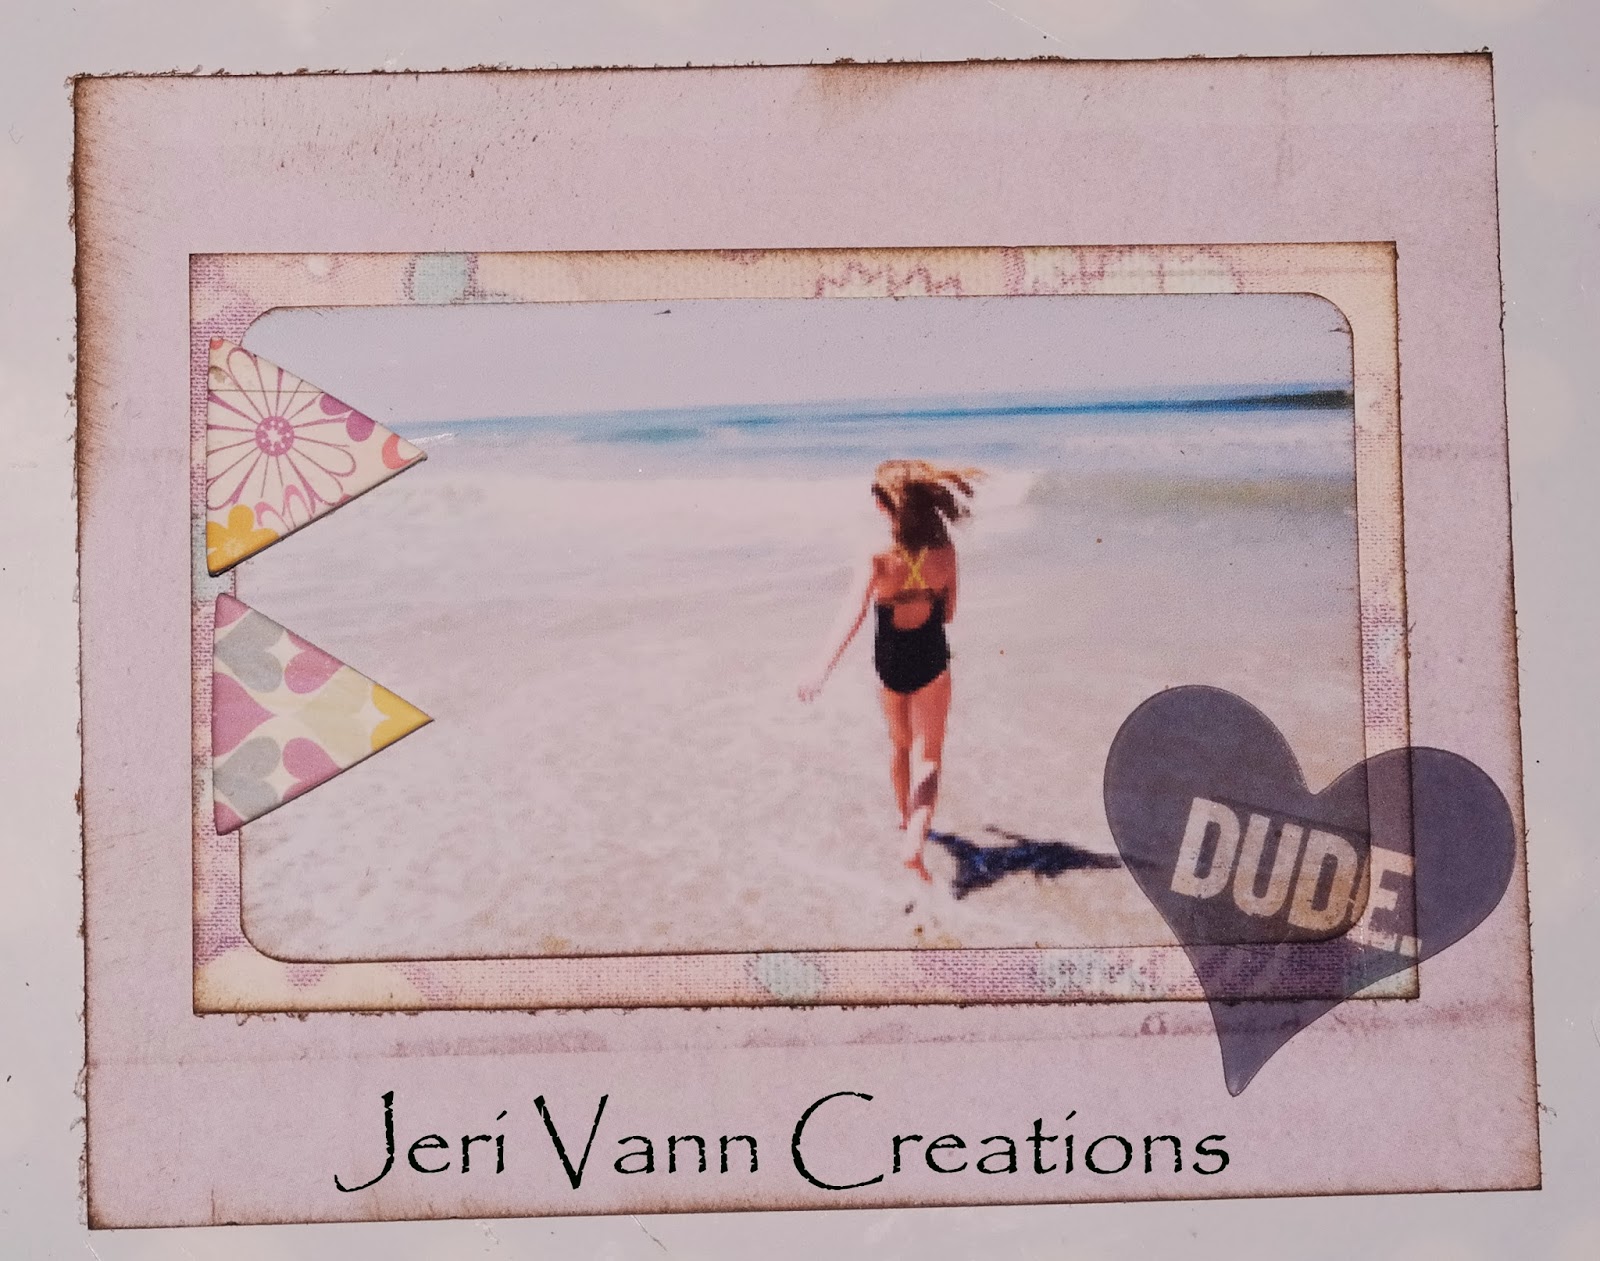
For this page I used Paper
Scraps, a Flag, Die Cut Pieces and Chipboard Stickers.
Picture is 3” x 2.25”.
For this page I used Paper,
Chipboard Stickers and Transparent Die Cut Piece.
To add dimension and draw your
eye, I inked the edges of all layers.
Picture is 4” x 2.25”.
On this page I used Paper and
some Die Cut Pieces.
I added some inked edges.
Picture is 2.5” x 3.5”.
This page I used some Die Cut
Flowers and Layered Chipboard
Picture is 2.75” x 3.5”.
On this page I layered some paper
scraps and added a Chipboard Sticker.
Picture is 2.5” x 3.5”.
For this fun page I used some
Paper, Die Cut Pieces, Sticker and Transparent Die Cut Piece layered on top of
the arrow sticker. I felt the triangle pieces got lost in the background print,
so I inked the edges to make them stand out.
I used two pictures on this page. Bottom picture
is 2.25” x 1.75”, and top picture is 2.5” x 2.5”.
This page includes inked edge
Paper, Transparent Die Cut, Sticker and some Chipboard Stickers.
Picture is 2.5” x 2.75”.
And the last page includes Paper,
Flags and a Sticker. I removed the toothpicks from the Flags.
Pictures are 1.75” x 1.75”, 2” x 1.75”, and 1.75”
x 1.5”.
On
one sheet, mark where you want the holes to be. I put mine ¾” in from top and
bottom edge. With a hole punch, punch each hole on each page. Make sure they
line up with each other.
Next,
grab your wire, wire cutters and round nose pliers.

Cut a piece about 9” long. Use
something round and wrap the wire around it.
Thread it through the album pages and make sure
all the pages are upright, in order and end up in the round area you just made.
Next, start wrapping the wire and
make a bow. I added some faceted beads to the end and then wrapped the wire
ends up and around. Make sure to tuck the wire ends in somewhere, so they do
not cut anyone.
Repeat this for the second hole.
When first creating each page, do
not feel pressured to finalize it before moving on to the next. I love creating
the base of each page, then going back through them. Placing them in order and
then touching up your details.
I went back through and added additional
Stickers, Die Cuts and other embellishments.
I
love the Die Cut hearts, but I didn’t see one in the print that I wanted for
the cover. So I dabbed it on a purple ink pad, and then inked the edges with
some brown.
For the cover, I used the large
Chevron Print Die Cut Flower and hot glued this to the lower right corner. I
glued the heart at an angle and then glued the Chipboard Stickers on top.
And the Soleil Mini Album is finished!