


It’s Kim with the FotoBella Design Team.
I made this “You are Fabulous” mini matchbook album using the
My Mind’s Eye Sweetest Thing – Lavender - Fabulous mini bundle.
Believe it or not, you can make the album from only 1 sheet of paper!
Just imagine the gifting possibilities…Oh, what you can do :)
If you click on the link above, it will take you directly to the page to purchase this versatile mini bundle. You can create this adorable matchbook album and still have plenty of product left over for another project or two. The kit contains:4 sheet of double-sided patterned papers (2 each – “Fabulous” Flowery paper & “Fabulous” Berries paper), 1 “Fabulous” title, 1 “Fabulous” journal card, 1 sheet of “Fabulous” label stickers, &1 sheet of “Fabulous” layered stickers.
OR, you can get all of these goodies and MORE with the
by clicking above.
Below is the tutorial for the “You are Fabulous” matchbook mini album.
I hope that you enjoy it and make lots of mini memories during the upcoming holiday season!
Be creative every day,
Kim

Supplies needed:
- My Mind’s Eye Sweetest Thing – Lavender - Fabulous mini bundle
o “Fabulous” Flowery Paper – side B
o “Fabulous” Berries Paper – side B
o “Fabulous” layered Stickers
o “Fabulous” label Stickers
- Dry adhesive/tape runner
- Dimensional tape
- Baby powder
- Ribbon or seam binding tape
- Buttons
- Clear gemstones
- Brown baker’s twine, embroidery floss or thin ribbon
- Colorbox chalk ink pad – Creamy Brown (if desired)
Note: I have chalked the edges of the paper throughout the project. It is not noted, but you can choose to do the same or leave it “as is”.
Tools needed:
- Paper trimmer
- Scissors
- Stapler
- Bone folder, scoring blade or scoring tool


Step 1
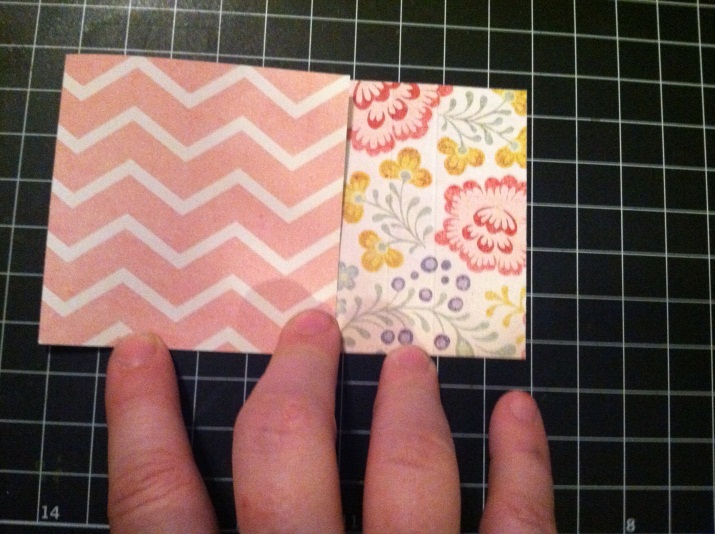
Cut a 3” strip off the top of the Flowery paper (side B, chevron pattern). Make sure to note the direction of your cut. You should be cutting horizontally with the pattern of the chevron paper, not vertically up and down. Set the larger piece of paper aside.


Step 2
Cut 4” off the 3”x12” piece of paper. Score the remaining 3”x 8” piece of paper at 3”, 3 ½”, 6 ½” & 7”. Fold along the score lines forming a “matchbook” (chevron pattern out) and set it aside.
Step 3
Taking the larger piece of paper, place it in front of you. It should be 9”H x 12”L. Score this piece from top to bottom at 3”, 6” & 9”.


Turn your paper ¼ turn so that it is now9”L x 12”H. Cut it at 3” & 6”. You will now have 3 pieces of 3”H x 12”L paper scored at 3”, 6” & 9”. Accordion fold each piece.


Step 6
Cover the inside front cover with adhesive. Make sure to only cover the 3” square, not the entire inside of the album. Adhere one end of the long accordion folded strip to the inside front cover of your book (Flowery pattern to Flowery pattern). Make sure to align the edges of the papers for a seamless look.


Repeat the same process with the inside back cover. Make sure to only cover the 3” square on the back cover with adhesive, not the spine or the “flap” of you matchbook. Adhere the back piece of your accordion folded paper to the back cover. Be careful not to put it on the “flap” of the matchbook or too close to the spine.


Remove the “You are Fabulous” round/banner sticker from the layered sticker sheet. Dust the back of the shorter banner with baby powder to remove “stickiness”. Open the flap of the album and place the sticker on the center front of the album as shown. Trim the excess banner off the end that is covered by the flap. Close the flap and place the extra piece on the front as shown. (You can embellished the sticker with a small bow if desired)

Complete pages 1 & 2 as shown
a. The 2½” x 2½” photo mat is cut from the Berries paper – side B
b. “The sweetest thing” sticker is cut from the layered stickers packaging
c. Staple the sticker first before adhering it to the page
d. Embellish the balloon layered sticker with a small gem

Step 10
Complete page 3 & 4 as shown
a. The 1½” x 3” photo pocket is cut from the Berries paper – side B
b. Only put adhesive on the sides and bottom of the pocket before adhering it to the page
c. The 2½” x 2” tag is cut from the Berries paper and embellished with a small stapled ribbon
d. The “Date” sticker is attached with dimensional tape
e. Embellish the lace sticker with a button and 3 small gems

Step 11
Complete page 5 & 6 as shown
a. The 2½” x 2½” & 2½” x 1½” photos mats are cut from the Berries – side B
b. Cut the lace doily sticker in between the pink doilies as shown; adhere the smaller portion to page
4 under the photo mat and the larger portion on page 5 over the photo mat
c. The “be the best you can be” sticker is stapled first and then attached with dimensional tape
d. Add a small gem on top of the pink doily on page 4
e. Add a button with a bow on page 5

Complete page 7 & 8 as shown
a. The 2¾” x 2¾” mat is cut from the Berries paper – side B
b. Embellished the “I Love You So Much” sticker with a small gem
c. The 1½” x 5/8” banner is cut from the Flowery paper; embellish with a medium gem
d. The other 2 banners are from the labels sheet

Step 13
Complete pages 9 & 10 as shown
a. The 2¾” x 2¾” mat is cut from the Berries paper – side B
IDEAS
a. For some added texture, tie some ribbon around the spine of the book (behind the pages and
around the outside)
b. You can add a small piece of sticky velcro tape under the flap to keep it shut a tiny dot of adhesive
also works too.
perfect for gift giving (or keeping for yourself).

Fab.... Kim-!
ReplyDeleteI always love anything mini... and this is perfect for the grandparents for a little Holiday Brag book.... Thank you for your talents and inspirations.
Warmly
Sarinda
Absolutely Darling, Kim! :)
ReplyDelete