Happy Thanksgiving!
As paper crafters, we love to make handmade cards for the Holidays, including our Christmas Cards. And inside those cards, we include a Christmas letter. But here's an idea...what if we combined the two? This is ReNae with the FotoBella Design Team and I wondered, Instead of making a separate card and letter,
What if we sent out Christmas Pocket Letters this year?


Pocket Letters are "all the rage" right now! The Pocket Letter trend began early this year by designer Janette Lane. (see Janette's video here) Using a 9-Pocket page protector, and pretty patterned papers along with some little goodies, you can create your own Christmas Pocket Letter!
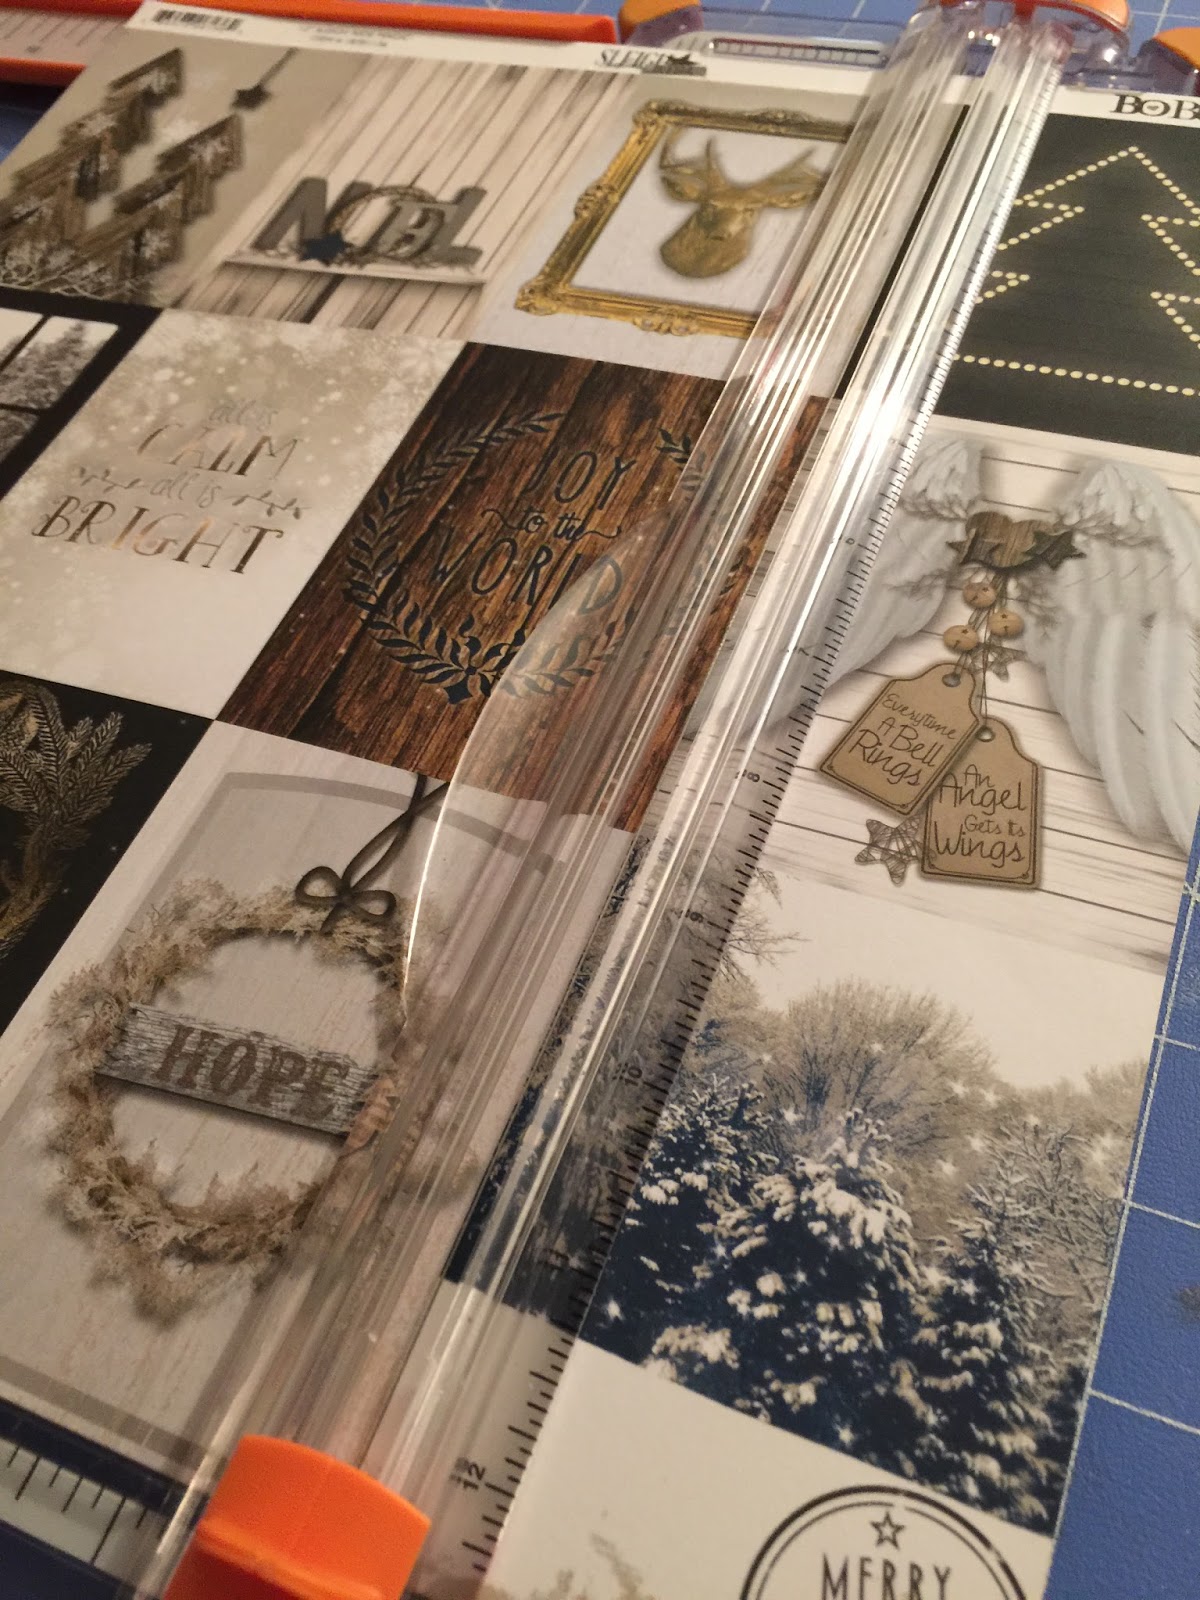
Today I'll show you how I put together this delightful pocket letter using Bo Bunny's "Sleigh Ride" I want it all Bundle" by FotoBella. You will LOVE all the amazing paper, buttons, brads, ribbons and other embellishments included in the Sleigh Ride Bundle!
To make a Pocket Letter like mine follow these simple steps:
 |
| From the Patterned Paper, select the images you want for your pockets. I used the ones pictured below. Cut 9 rectangles at 2.5 x 3.5 inches. (You will need to cut the journaling cards down 1/4 inch on all sides to get the proper measurement) |
 |
I also used paper from the "Noteworthy" pack. There are lots of cute images from which to choose. (Note: If you wish to decorate the back of the pocket letter like I did, cut 18 rectangles)
|
 |
Cut 9 rectangles at 2.5 x 3.5 inches.
(You will need to cut the journaling cards down 1/4 inch on all sides to get the proper measurement) |
 |
| Round the corners of the cards using a corner chomper. |
 |
Slide your cards into a 9-pocket clear plastic pocket page.
(These are available almost anywhere, including dollar stores and office supply stores.) |
 |
Arrange your cards on the front of the pocket page
as desired
|
 |
| Decorate the back of the pocket letter. |
 |
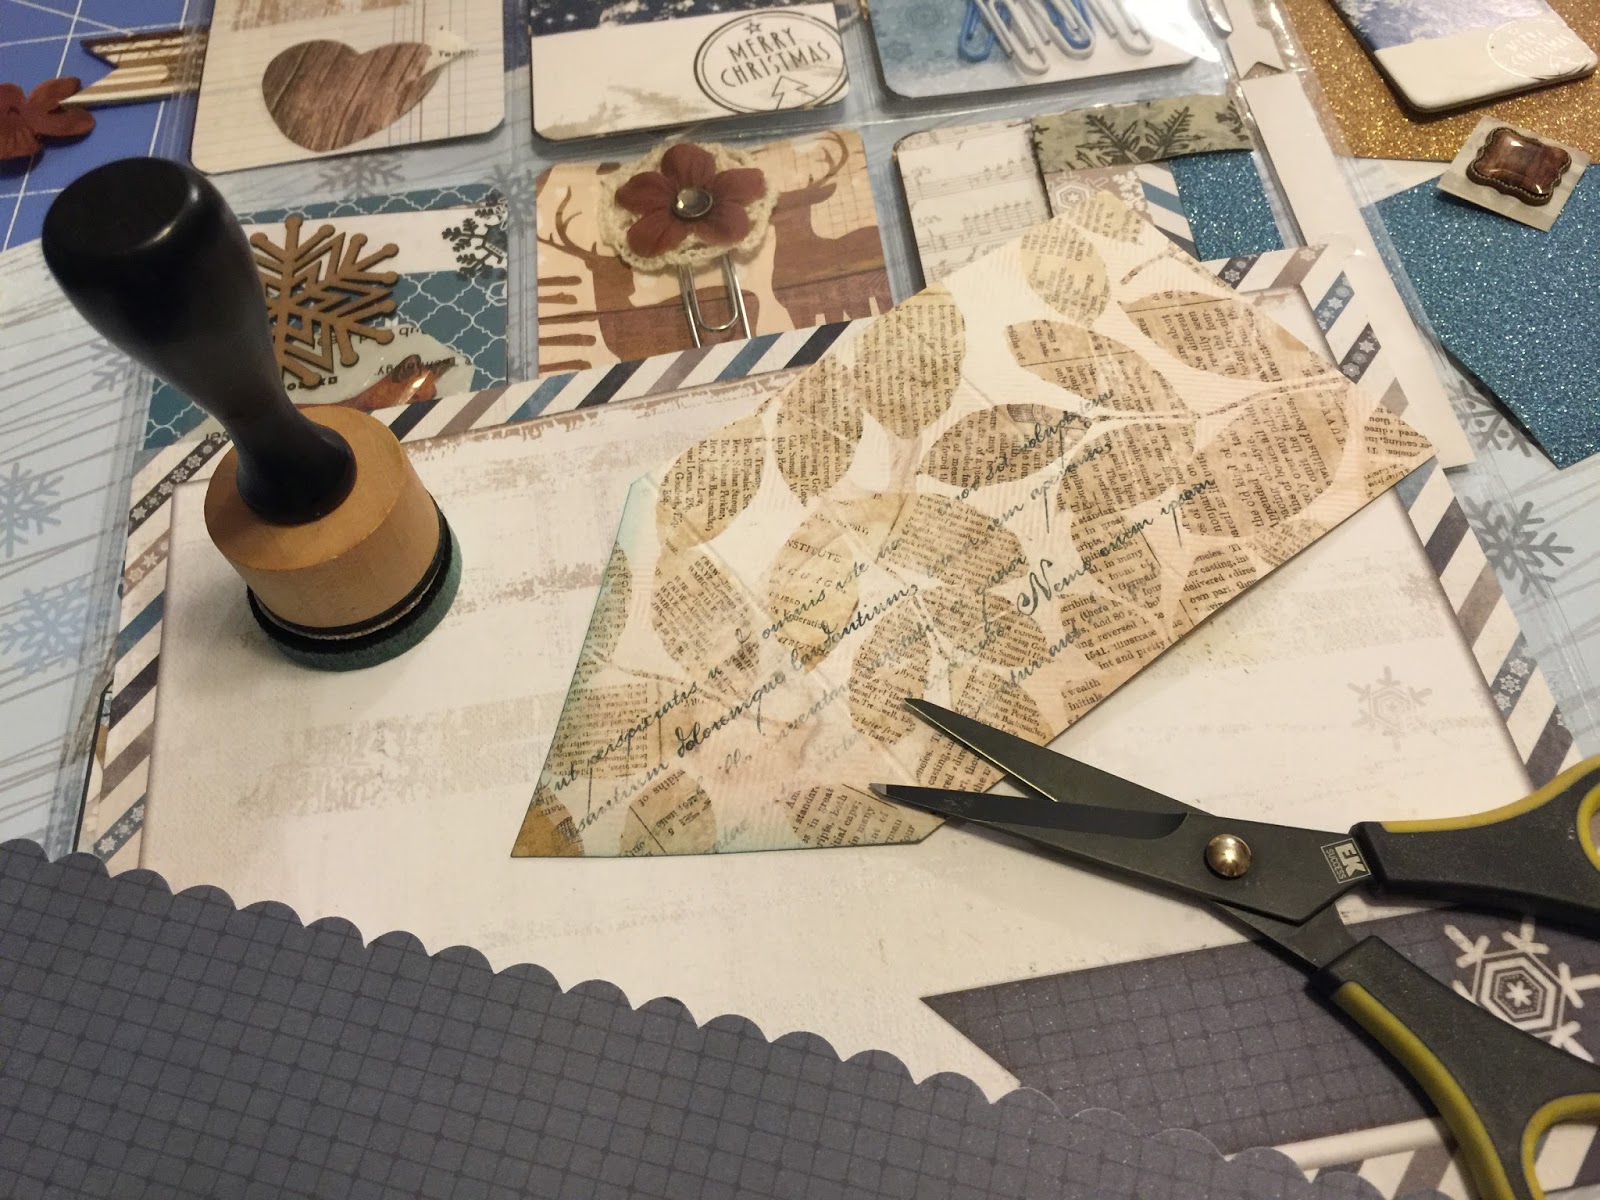
For the tiny letter insert, score one of the 6 x 3" papers at 2" and 4".
You will find this size in the Ephemera pack. |
 |
| Trim one end of the rectangle into a point to create your tiny letter. |
 |
| Write a short note to the recipient, and use a paperclip for the closure |
 |
| And the large Sticker sheet all make great embellishments! |
 |
| Use scraps from your stash to make embellishments |
 |
| Here I made decorative clips using items from the Bundle! |
 |
| The clip fits nicely inside one of the pockets! |
 |
| Here I created a little banner and adhered it to the outside of the pocket letter sleeve. |
 |
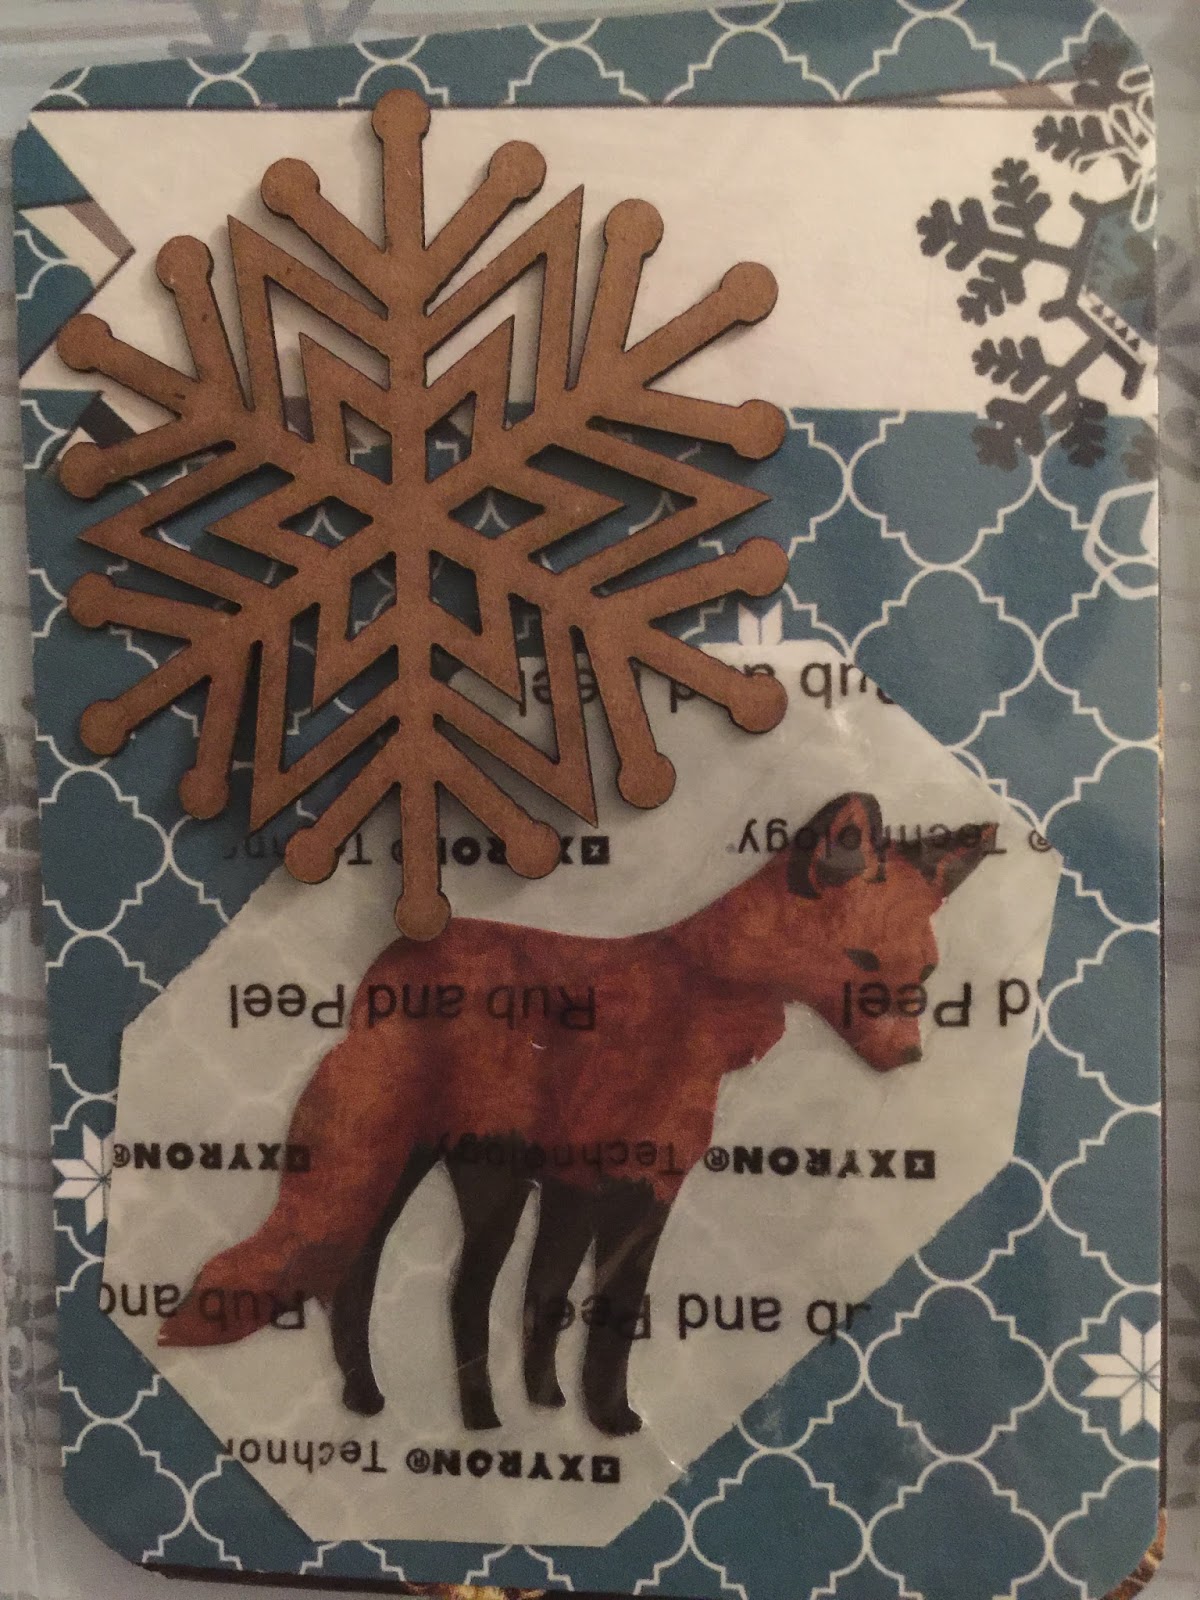
| I added a sticker to the outside of this pocket. Cute! |
 |
| Using the items in your bundle, continue decorating each pocket as desired. |
 |
| Decorate both the inside and outside of the pockets! |
 |
Add a little wash tape to the side, tie a bow using the ribbons (included in the Bundle)
and you are finished! |
You're ready to fold it up and mail it!
You can always substitute photos for patterned paper, your recipient would love that!
Here are close-ups of the individual pockets.
With so many beautiful embellishments in the
I had lots of options for decorating them!


So Beautiful I love this xxxxxx
ReplyDeleteThanks!!! It was a lot of fun!
DeleteI love this!!!!! The pics of the how to is awesome too!!!!
ReplyDeleteI wish you could see it in person😊
DeleteWonderful idea. Love the colors.
ReplyDeleteYes, a nice change from red and green!
DeleteOH my! So much yumminess in this pocke letter. Love Bo Bunny papers, beautiful layout
ReplyDeleteOops pocket letter😊
DeleteThank you Susan!
DeleteThis is beautiful. One of the best I have seen. I love the theme and colors you used on it :-)
ReplyDeleteI liked the rustic woodsy theme too!
DeleteBeautiful. . Love the colors
ReplyDeleteGood for winter, not just Christmas
DeleteThanks for showing how to make the pocket letter.
ReplyDeleteNow I can make a pocket letter, the I want to do for a a long time.
Oh Telma I'm so glad!
DeleteBeautiful job! Love it!
ReplyDeleteThank you Stacy!
DeleteThis is beautiful
ReplyDelete😊
DeleteThat was supposed to be a Smiley face!
DeleteI LOVE Bo Bunny papers. What an awesome Pocket Letter. You gave great directions. I am sure anyone would feel great getting this PL.
ReplyDeleteI hope the recipient thinks so LOL!
ReplyDeleteThis is so sweet. I love winter and this collection is perfect for that theme.
ReplyDeleteYes Patty, I agree! This is not just a Christmas or holiday paper collection, it's perfect for anything winter! The papers in his collection a really pretty, and have a lot of snowy scenes, and snowflakes, and outdoorsy-type pages.
Delete