


Hello Crafties.....
Sarinda here from the Fotobell.com Design Team.
I wanted to share a 3"x3" pocket calender for the new year.
There are a few steps to this project... But don't let that scare you away.
I just wanted to make sure I covered all the details for you.
I had a lot of fun making this one and hope you will too.
Enjoy-!
Sarinda
Supplies:
·
Sticker
sheet
·
Enamel
Dots
·
Chevron
Paper
·
Round
Paper
·
Glue
·
Orange
bakers twine
·
Small
letters and numbers
One sheet of Kraft
cardstock
Photo Sizes:
·
N/A
Tools:
·
Silhouette
Cameo

1.
Get your Silhouette ready and make sure you have
downloaded the current software version. This is important.
2.
Find the correct files. Open up the
Silhouette store window and look for these files and purchase them.

Find
both the calendar downloads. Just so you
know that this is really easy and Silhouette has a step-by-step instructions in
the program. All you have to do is just follow.

4. Find the Pattern paper with the circles load
it into the Silhouette machine. Open another two windows in the Silhouette
software. Find the download for the book and pages. Click on the one with the
pages. Scale everything down to 3”x 3”. Ungroup everything, Highlight one of
the pages and make a duplicate then rearrange everything on your page to
accommodate the new page. (I chose to omit the single square) Then Cut.

5. Find the Part two to the 3D album the box.
Scale everything down to 3”x 3”. Ungroup everything. Move the cover panels to
the side. Load the Kraft cardstock into your Silhouette and cut out box.

6. Go back to Silhouette software page and move
the box to the side. Move the covers of the box into the print field. Select
one of the long rectangles and make a copy of it, This will make three in
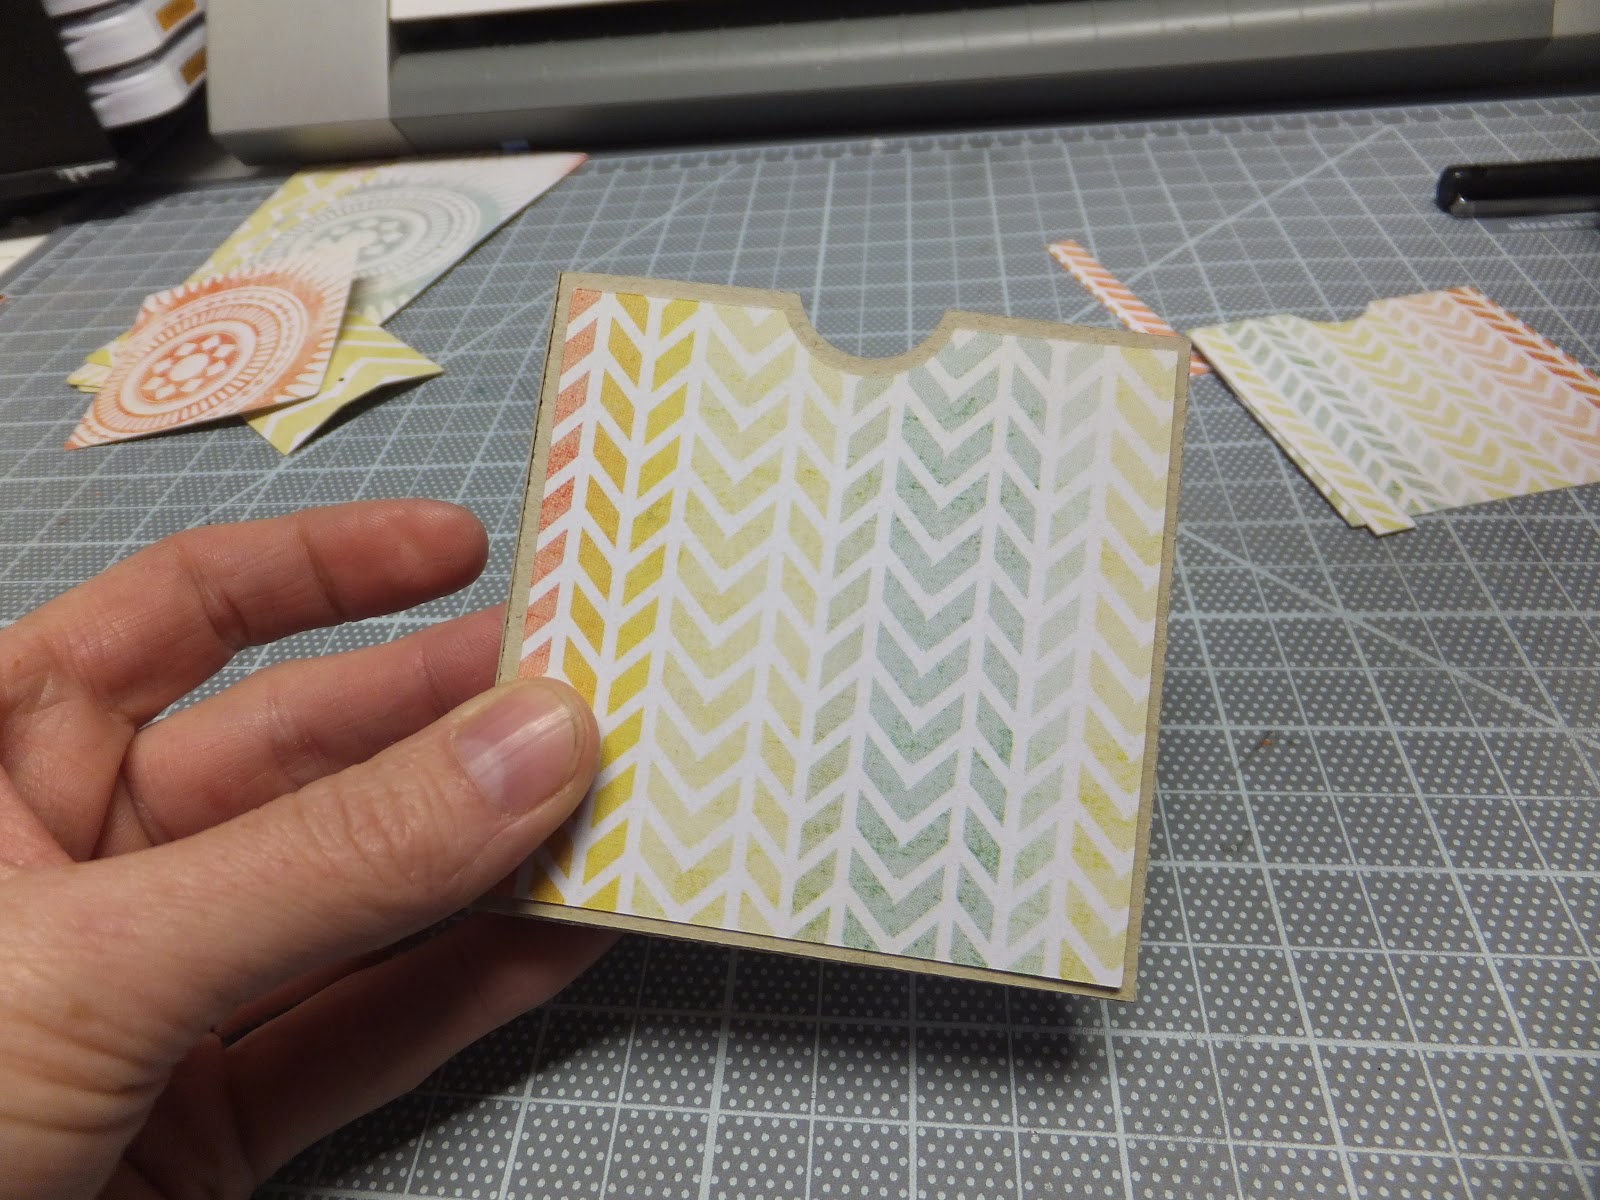
total. Find the chevron paper load it into the Silhouette and cut.

7. Here are all your cut outs…. 4 pages, three
rectangle strips, two covers, binding yellow chevron, 2 Kraft box pieces. Note:
I discarded the orange rectangle.

8. Assemble the box. Crease all perforated
areas to one side. Then glue the sides of the box together and hold. Then glue
the bottom flap inside the box.
9. Glue the cover panels to the box as well as
all three of the rectangles.

10.
Find your cut out pages. You will notice that there is one center that is wide,
two with medium centers and one with a small center. Crease them and stack them
with the largest on the outside and small in the center.

11. Find the largest one and this is your cover.
Take the yellow chevron binder and glue to the front of your book.
BE
SURE TO LINE UP THE HOLES.
Note:
Once everything was how I wanted it
I
put some glue down the center of the pages to hold it better. Then add it back to your stacked pages.

12. Take a fair amount of twine and lace it
through the bottom holes starting on the inside of your book. So that the ends
will be on the outside of the book.


13. Lace the other side. Tie in a bow with a
double knot.


14. Find your calendar cut outs and start gluing
January to the first page of your book and so on.

15. Decorate the cover of your box. Find the “You
& Me” tap sticker and place it on the right side. Also locate two photo
corners: Place one on the upper left side and one on the lower right side.


17. Find the Enamel dots. Use one large orange,
one medium yellow and a small pink place in the bottom left corner.
Keep Track with the coursework writing service and Pocket Calendar: My Mind's Eye Tangerine Together Bundle
ReplyDelete