


If you're as ready for Spring as I am, you will LOVE this new paper collection by Stamperia called Spring Botanic. Creating with this collection is one sure way to get rid of the winter blahs!
Today I am sharing three shaker cards I designed using this beautiful collection and I'll also share an easy and fun tutorial to help you create beautiful shaker cards.
 |
| Dragonfly Shaker Card |
 |
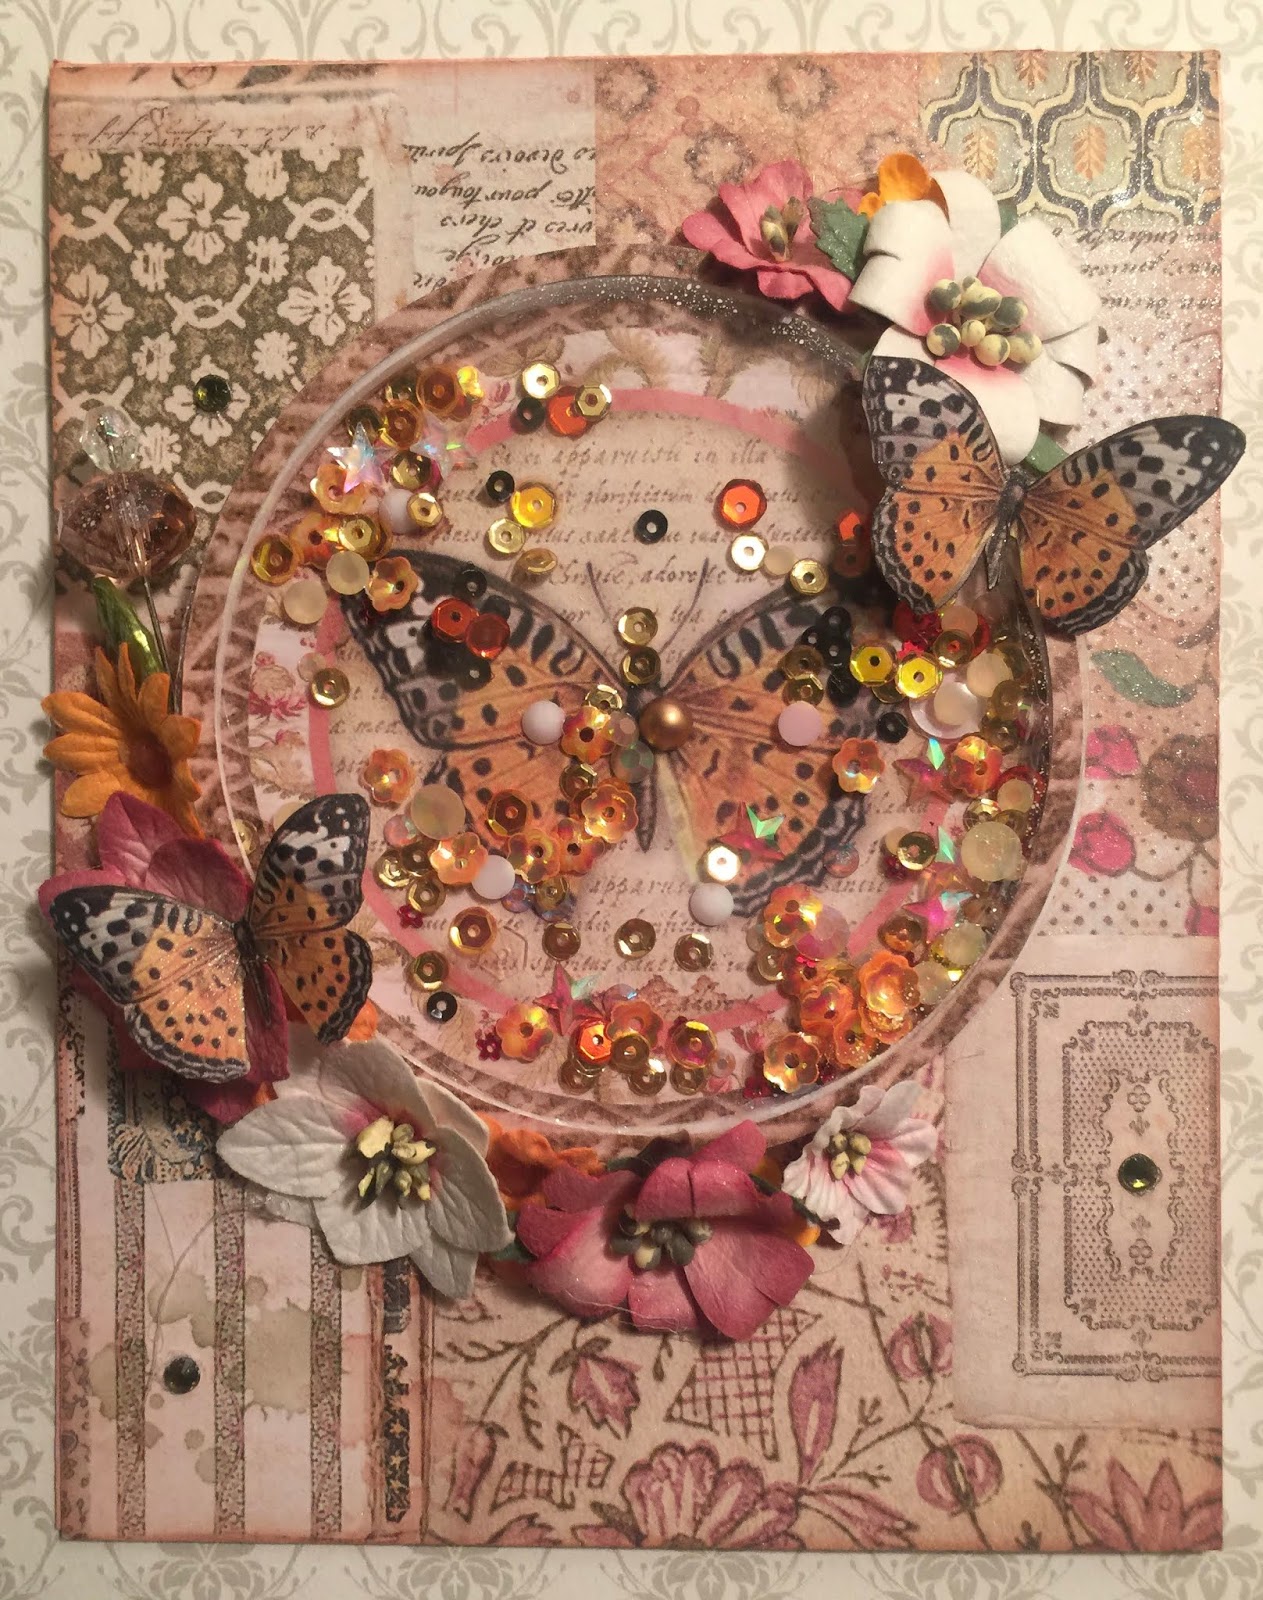 |
| Butterflies Shaker Card |

 |
| Rosa Shaker Card |

If you choose to create shaker cards here is an easy tutorial to help make it easy.
Start by finding the paper with the five round images...

Start by finding the paper with the five round images...
 |
| 1. Using a circle die, cut out the image of your choice. I chose the butterfly image above. With the same die, cut out a circle from acetate. Set both aside. |
 |
| 2. Tape the die used in step #1 and tape the next smallest die to it as shown, creating a border. Cut out a frame from fun foam. This is so much easier than trying to create a circle frame from foam tape! Using a die means no breaks in the foam, and no escapees from the shaker card! (Note: discard solid foam circle or retain for future project) |
 |
| 3. Use the same taped dies to cut out a paper frame for the shaker. |
 |
| 4. Use "My Prima Planner" Glue pen to adhere the acetate to the foam circle. |
 |
| 5. Using the Prima glue pen, adhere the paper image to the center of the card front as shown. Next, adhere the paper frame to the top of the acetate circle. |
 |
| 6. Place the shaker bits of your choice to the inside of the circle image, then adhere the foam circle frame to the top of the image, trapping the shaker bits inside. Place a heavy book on top allowing the shaker element to dry flat. |
 |
| 7. Add the elements to your card and decorate as desired! I fussy-cut the small butterflies from the paper collection, and used flowers and ribbon to complete my card. |
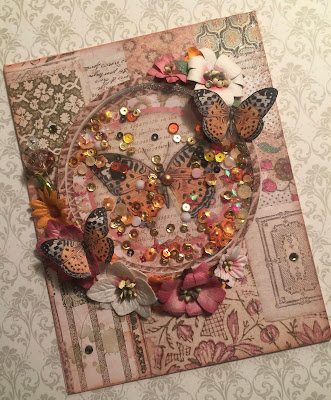 |
| Finished Shaker Card |

I hope you enjoyed this post.
We hope you create your own shaker cards and
would love to see what you create!
Be sure to post photos on our instagram page #fotobelladotcom .
Happy Creating!
ReNae
Wow ReNae! These are just stunning! I honestly can't even pick a favorite because each card is just so gorgeous and unique!
ReplyDeleteThank you!!! This collection is beautiful so anything you create is sure to be amazing!
ReplyDelete