Shop FotoBella

Shop for Scrapbooking Supplies by Product Type Shop for Scrapbooking Supplies by Brand Shop for Scrapbooking Supplies by Layout Theme Shop for Scrapbooking Supplies by Color

Search This Blog

Showing posts with label paper craft. Show all posts

Thursday, July 11, 2019

Bo Bunny (Sweet Clementine) Buttons

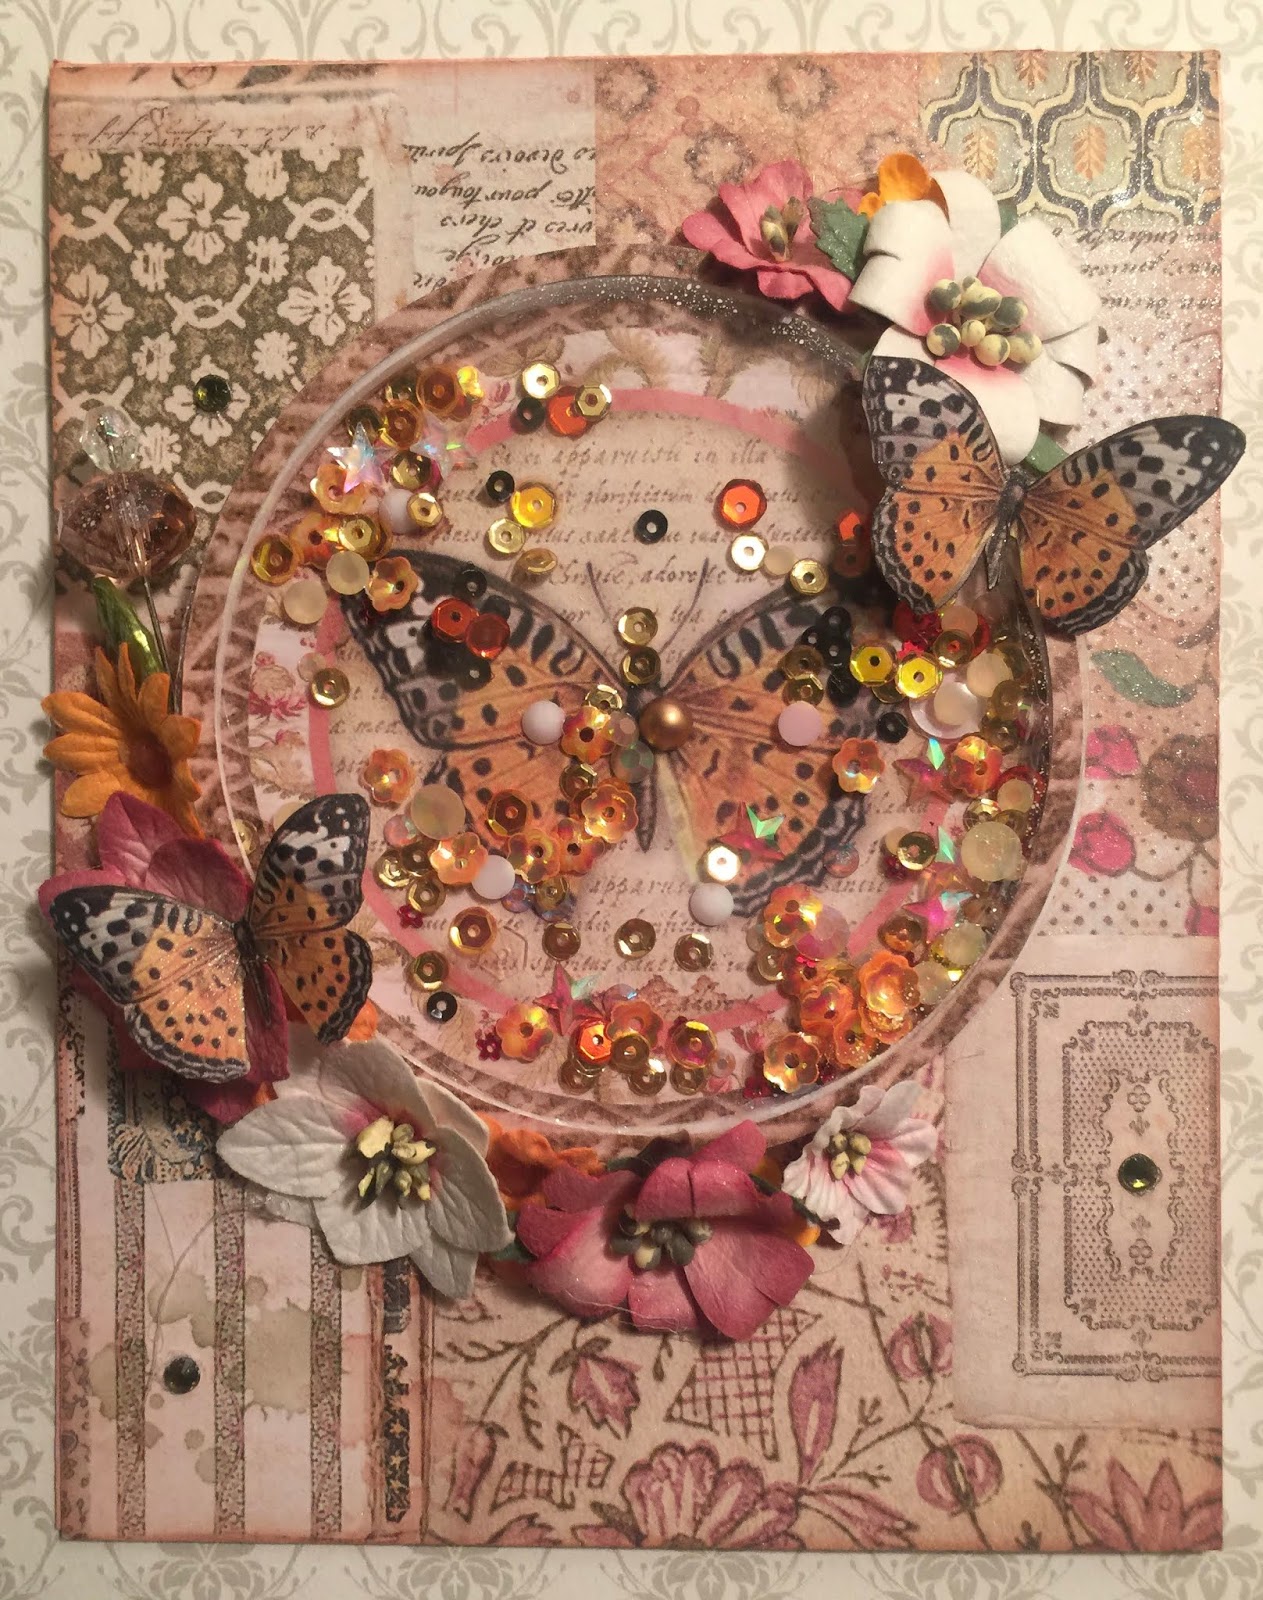
     Hello! I hope you're enjoying your Summer so far! Drea here with a set of buttons featuring the Bo Bunny (Sweet Clementine) I Want It All Bundle from FotoBella.com. I just LOVE buttons, and thought this would be a fun addition to a layout, as lids for jars, boxes, or tins, or even made into a set of cards!  


*****************************************
                                                                       
Featuring:


        Additional Supplies:

Bo Bunny Small Doilies 
- Scissors for fussy-cutting
- Glue
- Clear Embossing Powder
- Hole Punch
- Thin ribbons
- Cotton Swab 
- Needle and embroidery threads (Optional)

1. Cut circles from the paper pack at 4 1/2", and cover the edges with Black Gesso using a palette knife. Set aside to dry. 


2. Grab four white doilies, and cut inner circles out from two of them. 


3. Cut circles from paper pack at 2 1/2". I just used the same patterns as the larger circles, with some of the backs. But I did fussy-cut the scallop on the top right, but would rather have used a circle instead, as most of it got covered anyways. Adhere the framed doilies to two of the circles, and after covering the other circle edges with Black Gesso, adhere on top of the whole doilies. 


4. Punch four holes onto each inner circle to measure about 1 1/4" apart. Just punch one circle, and use it as a guide for the others. Then use a cotton swab to apply Black Gesso to the holes. 


5. Attach thin ribbons through the holes to create a "stitch", and glue to the backs. 


6. Attach the largest circle brads to the centers. 


7. At this point, I decided to add some hand-stitched twine to the framed doilies, but it's optional. 


8. Glue doilies to the larger circles from the first step. 


9. Fussy-cut florals and butterflies from the fronts of the "bouquet" and "memories" papers. Curl up some of the edges, and adhere to the buttons along the bottom and sides. 


10. Adhere small floral chipboard piece to the bottom left sides. 


11. Curl butterfly wings up from the Noteworthy pack, and cover it with two coats of embossing powder to match the shine from the brads. Finally, adhere to the tops, and your buttons are ready to use!


The orange one is my favorite!


     Here's the scallop one. 


The butterfly on the red one was colored in the middle with Distress Ink (Picked Raspberry), before adding the embossing powder. 


     Close-up of the last one, which is my second favorite!


     There's so many possibilities with these buttons! I hope you'll give them a try using the Bo Bunny (Sweet Clementine) I Want It All Bundle from FotoBella.com!

Tuesday, July 2, 2019

Bo Bunny (Sweet Clementine) Beautiful Bloom Layout

     Hello! Drea here, to introduce you to the fabulous Bo Bunny (Sweet Clementine) I Want It All Bundle from FotoBella.com, if you haven't seen it already! I created a layout of this beautiful bloom that was grown with love, by my dear friend and former FotoBella Design Team member, ReNae. As soon as I saw this photo she posted to Facebook, I knew her stargazer lily had to be featured, and the colors were spot on with this collection, that can be used for Spring, Summer, and even Valentine's Day. 


     My design inspiration came from the birdcage in the corner, which led to the striped paper framing the photo. Then I cut strips from the (Sublime) paper, and inked the edges with Distress Ink (Black Soot). Before adhering them to my page to create more stripes, I embossed the lace with the Kaisercraft Lace Stamp.


     The butterflies, yellow birdcage, heart, and titlework all have a beautiful shimmer from the specialty foil in the Chipboard Stickers. 


     The doily heart was fussy-cut to create a frame for the Chipboard heart. 


     Then I used the banner from the Noteworthy pack to stamp and emboss "Stargazer", and the Thickers' to spell LILY, which also has a stripe of the specialty foil on them. 


     A fun way to play with color, patterns, and stripes using the Bo Bunny (Sweet Clementine) I Want It All Bundle from FotoBella.com! Thanks for looking!


Tuesday, May 21, 2019

Graphic 45 Kaleidoscope Box

     Hello! Drea here, and the fabulous Graphic 45 Kaleidoscope 12 X 12 I Want It All Bundle from FotoBella.com has all of my faves, from peacocks to elephants, along with my favorite colors (teals, greens, blues, and purples). The gorgeous Papers and Chipboard were perfect to create this square box, measuring 9"X 5"!


     I couldn't decide between the purple or blue paper along the bottom, so I used both on each side with the Kaleidoscope Patterns & Solids.


     All of the gold was done with Prima Marketing Metallique Wax (Vintage Gold) added to Black Gesso, including the Finnabair doily stencil on the lid. Originally I added the stencil to the purple paper, but decided to add another layer using the green for some more contrast. 


     The hinges were made from a cereal box using the Chipboard (red fabulous tag) as a stencil to create the shape, and the Prima Marketing (French Riveria Anchor and Shell) Stencil to make the rope design on the sides. The iridescent rhinestones reflect the beautiful colors, and have been in my stash for a long time now. 


     To the front side of the lid, I added the colorful Chipboard piece, embossed twice with Lindy's Gang (Clearly Clear) Embossing Powder, also used on the oval piece on top to make it look like glass.


         Thanks for your visit and pick up the Graphic 45 (Kaleidoscope) 12 X 12 I Want It All Bundle at FotoBella.com!


Monday, April 8, 2019

Carta Bella Spring Market Layout

Hello Everyone,
It is Olivia here with an adorable sweet layout.  The Carta Bella Flower Market Paper Collection is just perfect with the light spring colors and flowers.  The top tags are stickers that are from the Paper Collection.  The Journal piece of "Beauty" is combining the Flower Market Frames and Tags Chipboard Ephemera and the paper collection.


You can't go wrong with this paper collection for those lovely spring memories especially for those little girls in your life.  (psss don't tell my teen I dug this old photo out and showed it to the world lol).


Supplies used:
Carta Bella Flower Market Collection 
Carta Bella Flower Market Ephemera 
Carta Bella Flower Market Frames and Tags Ephemera 

Wednesday, April 3, 2019

Simple Stories (Simple Vintage Traveler) Art Journal

     Now that it's Spring Break, it's the perfect time for travel, or to just play with the Simple Stories (Simple Vintage Traveler) Collection from FotoBella.com! Drea here, with my head up in the clouds again, with this art journal page.


     After priming my page with Prima Marketing Gesso (White), I painted it with a coat of Art Alchemy Sparks Paint (Mermaid Sparkle), followed by Art Alchemy Sparks Paint (Magical Pond),  and another coat of (Mermaid Sparkle), for a beautiful water color and sheen. 


     The vintage map pieces were torn from the same paper in the 12 X 12 Collection Kit and the 6 X 8 Pad. Then I distressed the edges with water and Distress Inks (Old Paper, Frayed Burlap, Bundled Sage, and Tattered Rose). After adding strips of Washi Tape, I  made the clouds with a palette knife, using Prima Marketing Gesso (White).


     To show my love of flying and being in the air, I added the planes and hot air balloons from the Collage Bits & Pieces, Bits &Pieces, and 6X12 Chipboard!  


     I barely put a dent in my dies, and with so many to chose from, "The Sky's the Limit" on what you can create with the Simple Stories (Simple Vintage Traveler) Collection from FotoBella.com


Thanks for looking!

Wednesday, March 27, 2019

Meet The New 2019 FotoBella Design Team

Meet the new 2019 FotoBella Design Team

Hello! Hello!

First of all, we would like to thank everyone who applied for the FotoBella Design Team! We received so many incredible applications! We have enjoyed seeing your amazing creations and had a really hard time narrowing it down.


We would like to welcome the new FotoBella Design Team!!


Annie Williams


Drea Slee


Olivia Marmara


Check back daily to see their amazing and super creative projects.


Monday, March 25, 2019

Shakin' things up with Spring Botanic!

If you're as ready for Spring as I am, you will LOVE this new paper collection by Stamperia called Spring Botanic.  Creating with this collection is one sure way to get rid of the winter blahs!
Today I am sharing three shaker cards I designed using this beautiful collection and I'll also share an easy and fun tutorial to help you create beautiful shaker cards.
Dragonfly Shaker Card

Butterflies Shaker Card

Rosa Shaker Card

Wednesday, March 13, 2019

Stamperia Spring Botanics are Always in Bloom!

Spring flowers are always in bloom when you use 
Stamperia Spring Botanics paper collection in your projects! 
You can create a beautiful home decor project like this filled with blooms, blossoms, bugs and other signs of spring just by using tags from the Spring Botanic paper collection, some paper flowers, some decorative metal findings, old jewelry, buttons and anything else you want!
It was a really fun project and it will look pretty anywhere 
in the home, or even out on the patio!

 Here are some close-ups.  


You can find the Spring Botanic Paper Collection pack and other Stamperia products at FotoBella.com.  We'd love to see what you create so be sure to share it with us on Instagram at #fotobelladotcom or on our Facebook page!
Happy Creating!
~ReNae