


Hello!!
Jeri here from the FotoBella Design Team!
I have a wacky double page layout tutorial for you today. The BoBunny Life In Color I Want It All Bundle sure brings out the animal in you with all its fun prints and sayings!

·
Adventure Sheet
·
Old School Sheet
·
Nature Sheet
·
Life In Color Sheet
·
Graphic Sheet
·
Utopia Sheet
·
Life In Color Clear Stickers
Other Supplies
·
Water
Tools:
·
Paper Cutter
Images:
·
4; 3.5” x 6”
1. Grab
the Adventure and Old School Sheet from your Bundle. Spray a few paint spritz
on them. I used a copper and a tangerine color to match the pages.

2. Print
out your favorite 4 images, approx. 3.5” x 6”. With this dark blue dot sheet
from the Collection Kit, cut out 4; 4” x 6.5 pieces to back your images.

3. With
some dark blue ink, ink the edges of the blue dot pieces.

4. Once
dry, secure your images to the blue dot pieces with adhesive.

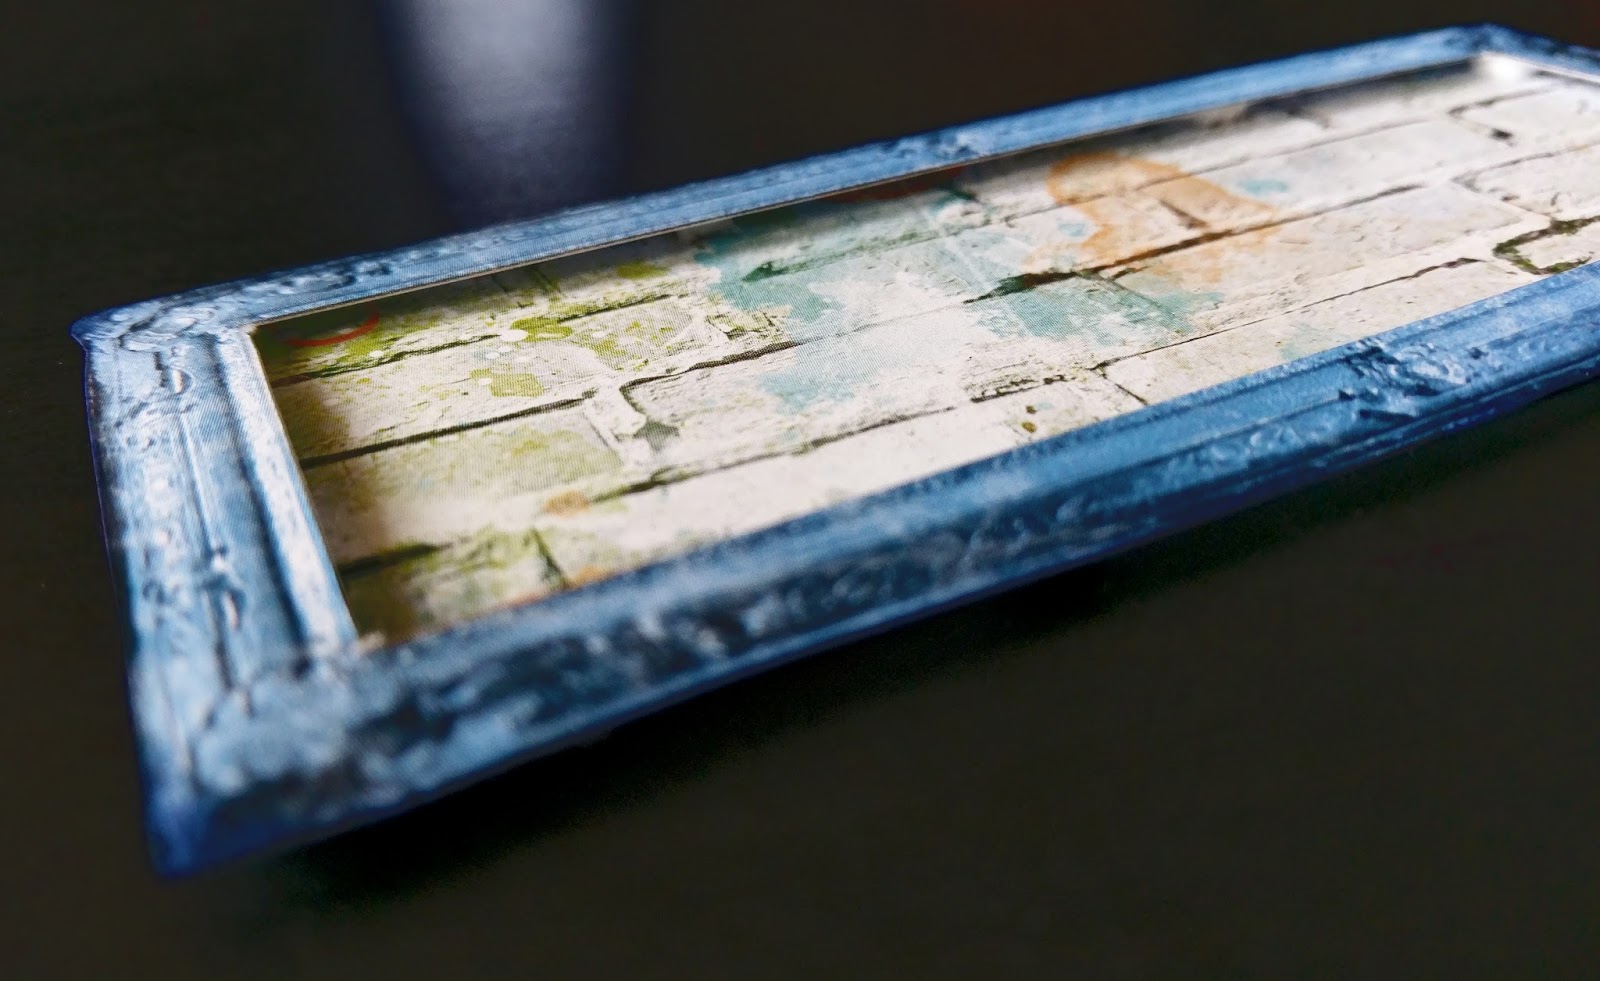
5. Cut the blue frame out of the Utopia Sheet, and a piece,
slightly smaller from the Brick Life In Color Sheet.

6. With
some 3D Adhesive Dots, line the edge of the brick rectangle.

7. Carefully place the frame on top of the 3D Dots, making sure
you can see them, but your frame sits up off the bricks.
8. With
some alphabet stamps and brown ink, stamp ‘Bunch of Animals’ on the right side
of the bricks.

9. Then,
add a few of the Clear Stickers to the left side. I added some chevrons, a star
and a cheetah sticker.

10. Using
your finger and some water, trace a few large shapes from the Brick sheet. Let
the water soak in a bit, and then gently tear them out. These pieces with be
layered widthwise under your photos.

11. Start
to set your images and the brick tear pieces on the layout base sheets. Place
them how you love them. Once you lay everything out you can decide if you want
to tear more parts and layer more.

12. I
decided to tear some pieces from this dot print and layer them under the images
as well. Once you are happy with your placement and layers, secure all parts to
the layout sheets!

13. TIP:
secure the torn sheets slightly in from the edges, so the wrinkled edges stick
up off the page and give more dimension and detail.

14. Fill
in the space how you wish! I cut another frame from the Graphic Sheet, and
added the ‘hi’ letters from the die cut package with some 3D dots for a bit more
detail and dimension.


Thank you for stopping by.
I hope this has brought out your wild side, rush over to FotoBella.com to get your hands on this Bundle and start creating!

No comments:
Post a Comment