


Ok, so who is familiar with paper weaving? The last time you may have done it is in first grade maybe? Making a fancy place mat with construction paper? Apryl with the FotoBella design team sharing a tutorial on how to make a card, weaving paper. The collection featured is Basic Grey Sun Kissed from Fotobella.com. Follow along to see how to get started in your own paper weaving adventure, I bet you'll like what you see.
Supplies: Basic Grey Sun Kissed Collection
Paper: Cadence, Wildflower, Droplet, Wingspan; Title Sticker Sheet, Die Cuts, Black & White Card Stock
Tools:
· Dark Brown Ink
· Scissors
· Ruler
· Stickles
· Adhesive
· Scallop Circle Punch 3”
· Circle punch 2 ¼”

1. Cut strips of paper approximately 1/4" to 1/2” wide by 12” long. **The width of the strips may vary based on the type of paper cutter you have and how accurate you are with your cutting. Try cutting a few strips with scrap paper to practice until you get the desired look you want. The width of the strips will determine how tightly you need to weave the paper strips and the total number of paper strips you will need.

2. Cut the 12” strips in half so that they measure 6”.

3. For the base of the card, cut a piece of white cardstock so it measures 8” wide and 6” long.

4. Fold the card stock in half so that the face of the card measures 4” wide and 6” long.
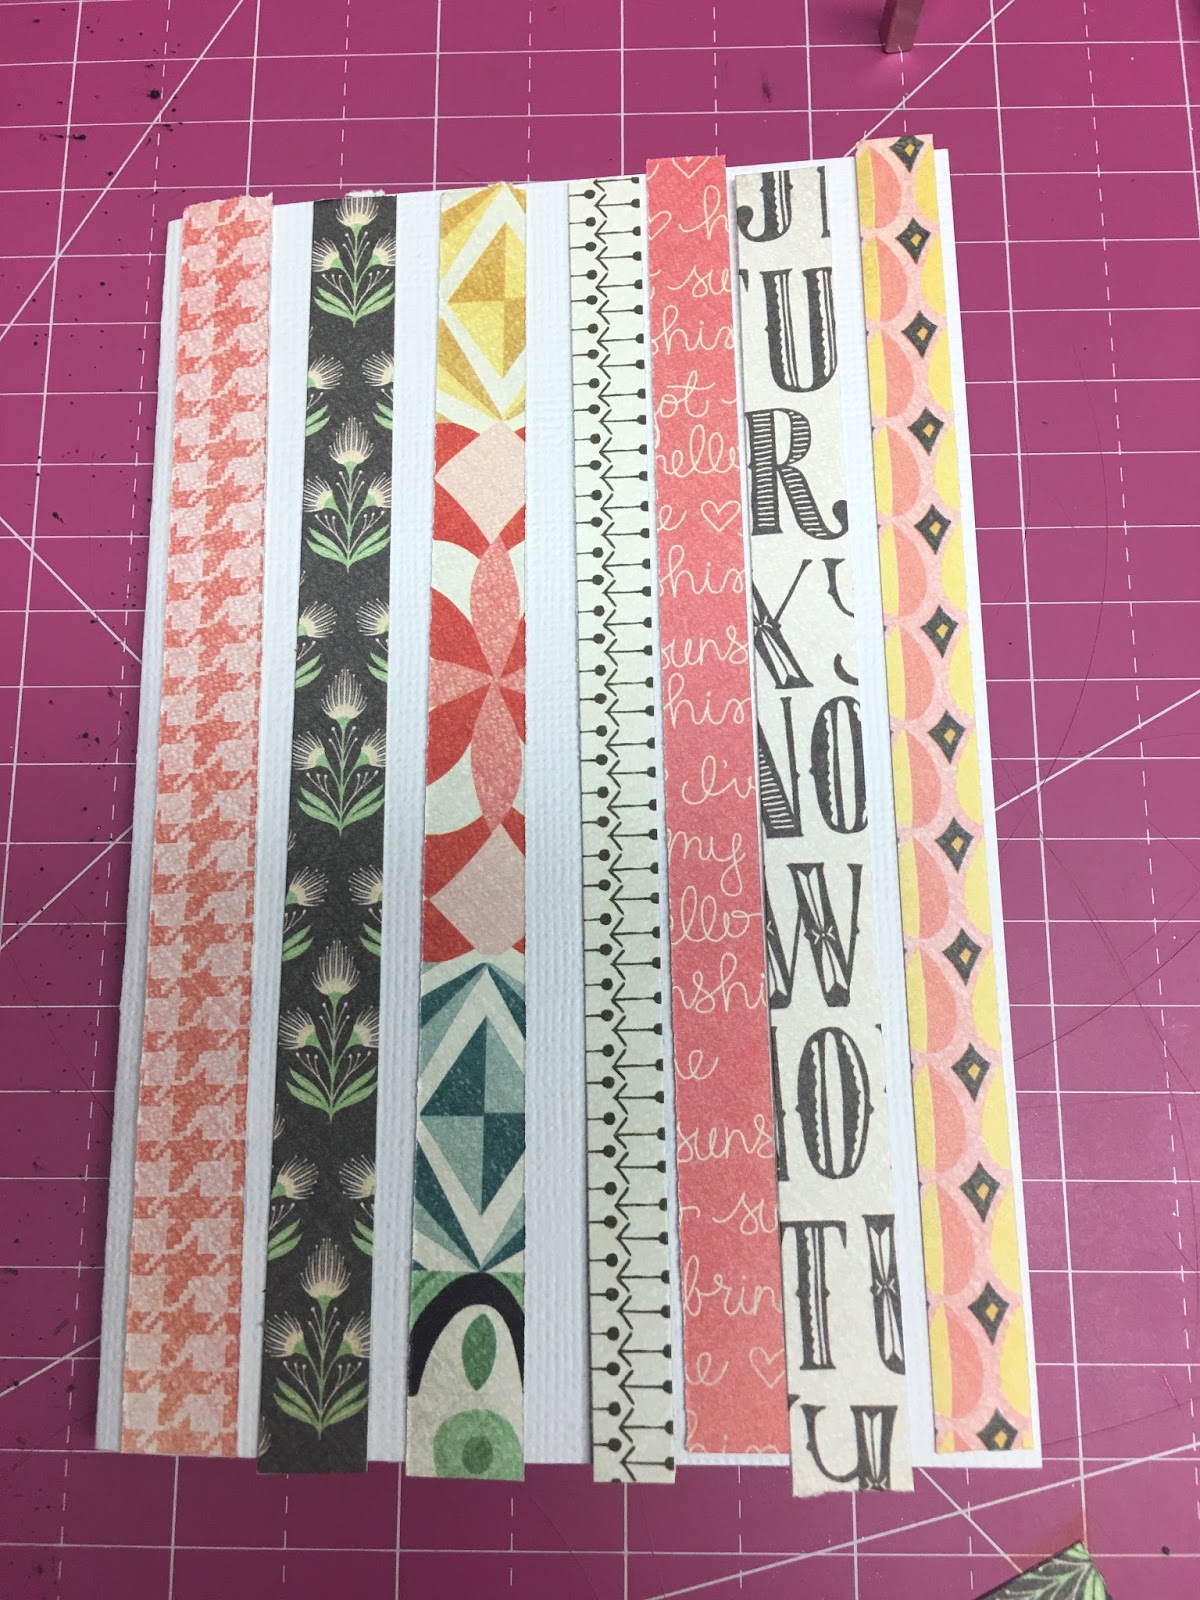
5. Line up the strips of paper vertically along the face of the card in the pattern and color sequence that you like.

6. Holding the bottom of the strips with one hand begin weaving the first strip along the top, horizontally. The weaving is done by going under one strip and then over the next, repeating the pattern across the strips of paper, until the end.

7. The second strip should be woven in the opposite pattern than the first strip (ie: over, under, over under..) Once the first couple horizontal strips are woven in, place a ruler to hold the top while weaving in the rest of the paper strips.

8. Continue weaving the paper all the way to the bottom of the card, adjusting the spacing and alternating paper patterns along the way.

9. Based on how I did my spacing I had 8 vertical strips of paper and 13 horizontal strips. This will vary based on how tight you space and weave the paper. The goal is to cover the whole face of the card. **The results may vary depending on the width of the strips and how tightly you weave the paper.

10. Flip over the weaved paper and apply glue back and forth across the rows of paper.

11. Adhere the weaved paper to the front of the card. Line it up so all the edges line up with the base of the card, The horizontal strips will hang over on both sides and need to be trimmed down.

12. Flip the card over and cleanly trim off the excess paper strips, using scissors and following the edge of the white cardstock.

13. Once the edges are trimmed this is what the front of the card should look like.

14. Go around the edges and glue down any strips that are loose. You want everything completely glued down to the card base.

15. Punch a 3" scallop circle out of black card stock and a 2 ¼” circle out of white card stock.

16. Layer the white circle on top of the black scallop. Place the pink vellum die cut on top of the white card stock. The purpose of backing the vellum with the white card stock is so that the vellum piece shows up better.

17. What it should look like with all the shapes layered.
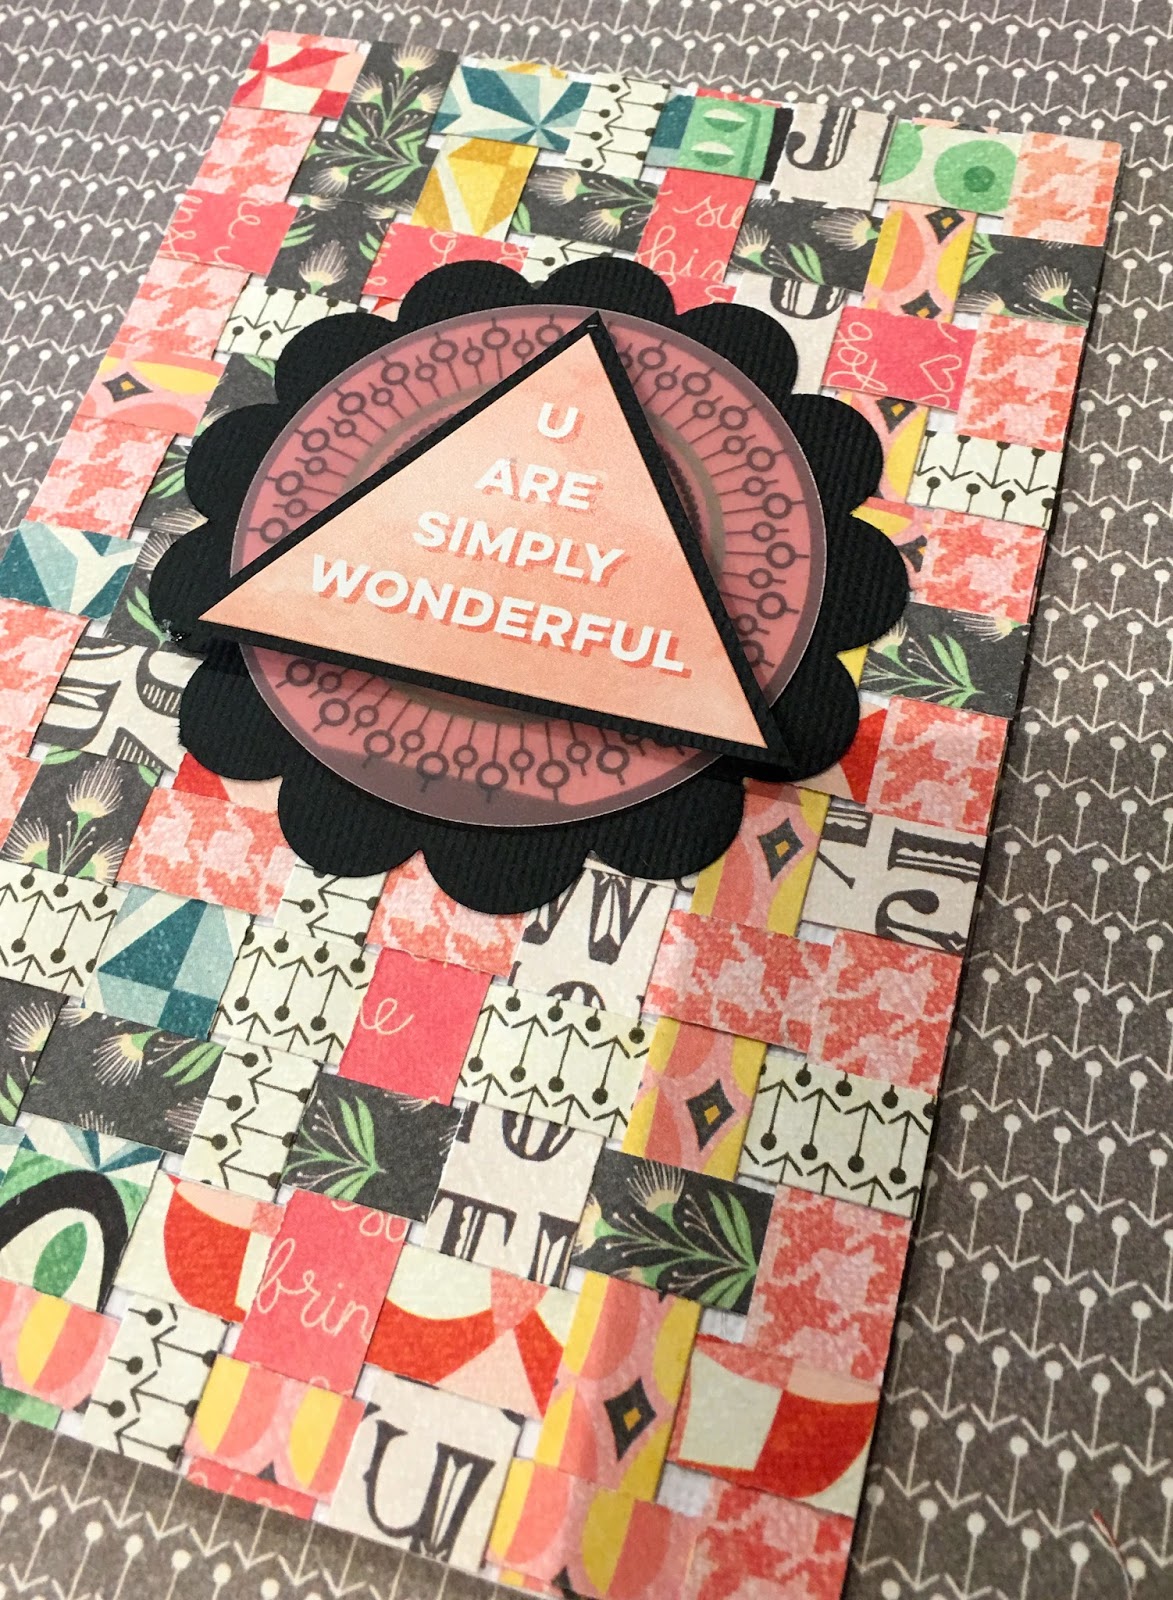
18. Select the Triangle Sticker from the Title StickerSheet with the sentiment “U Are Simply Wonderful” and layer on to the white card stock. Once layered, the white card stock circle should not show.

19. Using Black Diamond Stickles, embellish the tiny circles on the vellum die cut to add some sparkle. Use the Silver Stickles to outline the black scallop circle.
And drumroll please....

You can make this too! Save this tutorial, visit Fotobella.com for your Basic Grey Sun Kissed supplies and get busy paper weaving!
Have a fabulous day!

No comments:
Post a Comment