Shop FotoBella

Shop for Scrapbooking Supplies by Product Type Shop for Scrapbooking Supplies by Brand Shop for Scrapbooking Supplies by Layout Theme Shop for Scrapbooking Supplies by Color

Search This Blog

Saturday, May 6, 2017

National Scrapbook Day with the FotoBella Design Team

Today we get to celebrate one of our most favorite days!
National Scrapbook Day!

Our creative FotoBella Design Team decided to inspire you today, with all projects based around the 'UPCYLE' theme. You know, to reuse, to repurpose things that are otherwise considered trash potentially, because they are no longer needed for their original purpose.

This idea also goes along with our current mood, as we just celebrated Earth Day.
It is always a great idea to recycle, reduce and reuse.
Here are a few scary statistics found on www.treehugger.com

  • 12 feet: The height of a wall from Los Angeles to New York City that could be made from tossed office paper every year.
  • 4.4 pounds: The amount of trash generated daily, on average, by every American. Packed in cubed feet it would be the height of the Leaning Tower of Pisa.
  • 300: Laps around the equator that could be made in paper and plastic cups, forks, and spoons disposed of annually.


Just think of all the scrapbook pages you could make with those supplies! (total heart eyes)


Now that I have your creative mind going,... here are the incredible upcycled projects from the team to inspire you even further:


Jeri's Cowboy Layout
Upcycled items: cardboard slices from the center of a bubble wrap roll, small cuts of old chicken wire fencing, old jute rope, scraps of burlap, cut of ribbon, a camera jewelry charm and some random gold seed beads found laying around.


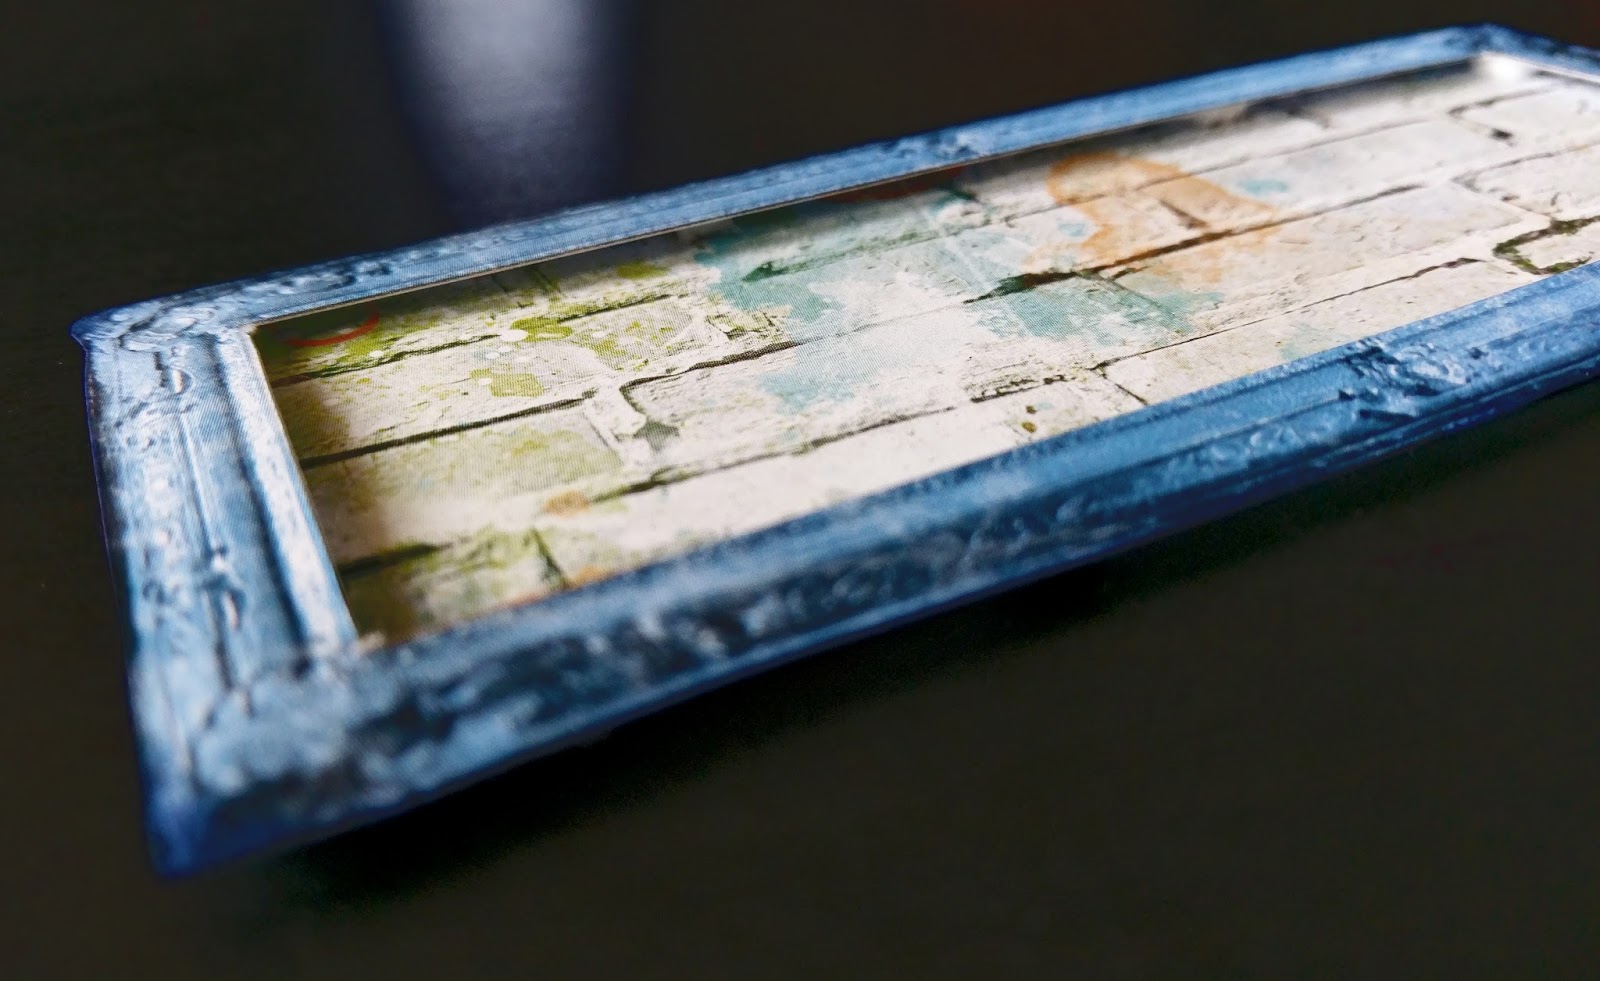
Drea's Desk Containers
Upcycled items: Old Coffee Containers, Wallpaper
Items from FotoBella.com: Prima Marketing Art Alchemy Metallique Wax "Vintage Gold" Prima Metallique Wax "Rich Copper"


See her full tutorial here


ReNae's Upcycled Cigar Box
Upcycled items: Cigar Box

Jessica's Picture Mobile
Upcycled items: Old CD
Items from FotoBella.com: Kaisercraft Wildflower, Bo Bunny Aryia Clear Sticker Sheets Prima Love Clippings Flowers, Petaloo Green FlowersPrima Wild and Free Flowers 


Apryl's Upcycled Bottle
Upcycled items: Empty Wine Bottle, Tulle
Items from FotoBella.com: My Mind’s Eye Just Sayin’ Collection , Just Sayin Mixed Bag
Other items: Spray Adhesive, Glitter, Modge Podge


We hope you are inspired and excited to start crafting today.

Happy National Scrapbook Day
from us at


Tuesday, May 2, 2017

Panda Kisses Layout

Hello Crafters! Jeri here with the FotoBella Design Team

Have any of you fallen in love with the new BoBunny Life In Color I Want It All Bundle yet?
I sure have!!

Here is my Panda Kisses Layout using this darling Life In Color Collection


Honestly, I thought my nephew could not be any cuter....

....until....

He turned into an adorable Panda and blew some kisses my way!! 

Total heart breaker right here!


If you love the wild animals in your life, you NEED this BoBunny Life In Color I Want It All Bundle, grab it at FotoBella.com!


Thursday, April 27, 2017

Bo Bunny Game On! Soccer layout

Soccer and sunglasses go hand in hand for this cute little girl out on the soccer field!  Apryl with  the design team sharing another fun soccer layout using BoBunny's Game On! Collection from FotoBella.com  After designing this layout, I realized it pairs up well with the previous layout I did, so it most likely will be the page one of a double layout in the album.  


I kept the design consistent by staying with the soccer ball print paper and torn edge of the blue paper.  Inked the edges with dark brown ink (Quick Quotes Java) and added the dark blue rhinestones along with a few pearls.  There's alway a way to add the glam factor :)  


Here you can see the pennant banner is accented with rhinestones.  


The embellishment collage is a mixture of the chipboard stickers and pieces from the Noteworthy packet.  The journaling I added to center of the medal and created my own journaling box below the collage by outlining it with some doodling.  BoBunny has created the perfect collection for highlighting your children's sport photos.  You should check it out at Fotobella.com.  You'll find that it will work for many sports, not just soccer.  

Thanks for stopping by today and have a fabulous day!  


Tuesday, April 25, 2017

Voyage Beneath the Sea


There are all kinds of treasures found "Beneath the Sea"and deep-sea divers and treasure hunters have searched for centuries for long-lost antiquities, rare gems lost in a shipwreck, even GOLD!

When those rusty rare treasures are found, it's cause for celebration!  

ReNae here, with the FotoBella Design Team, and I found a treasure of my own this week!  I wanted to make a Trading Card Block this week.  Looking to the FotoBella website for inspiration, I found that we still carry the "Voyage Beneath the Sea" paper by Graphic 45.  This collection came out last year, and is hard to find.  Yet FotoBella has 8 products still in stock from the collection! This includes coordinating card stock that matches the collection perfectly!


So let me tell you how I made this beautiful Artist's Trading Block!

After I painted the block with a combination of Adirondack Paint Dabbers Sunset Orange and Mountain Rose), I adhered blue patterned paper to all sides of the block. Next, I altered some metal pieces and adhered them to the sides of the block.


 I used a combination of paints and embossing powders.
 I LOVE the way they turned out!

I fussy-cut out the beautiful Mermaid, painted the back side of her with the orange paint, and placed her strategically inside of an orange sea shell.  (I cut her in such a way to free her arm, allowing her to hold on to the beads.)

I adhered little glass drops to the bottom of the block 
to give the illusion of water!

Little waves cut with dies add to the allure...

I moved things around until they were just right.


Here is the finished product!


If you've been searching for treasure of your own, that hard to find paper collection no longer in the stores,  I invite you to check out our website! We probably have it! You can shop by THEME here.

FotoBella has an extensive collection of NEW patterned paper too, ephemera, dies and die cuts, mixed media products and paints... everything you need to create a treasure of your own!  
Happy Creating!
ReNae

Saturday, April 22, 2017

Celebrate Earth Day

     Greetings and happy Earth Day from all of us at FotoBella! Earth Day has been celebrated since 1970, and is an annual global event recognized by over 192 countries. 
There are so many different ways to celebrate, and things we can do everyday to protect our planet!

Drea from the FotoBella Design Team, and I scrapped this photo that I took of beautiful Big Sur, CA onto a leftover piece of cardboard from a frozen pizza, using lots of other recyclable items.


     Yes there were grease stains on the cardboard, but I ripped off the top layer and gave it a coat of Prima Marketing Heavy White Gesso
Wanting to extend the water from the photo onto my background, I used Prima Marketing Clear Gesso to attach ripped pieces of leftover tissue paper. I started with colored tissue, but it was too dark, so I added a few more layers of white tissue paper to tone it down. Then I went over it with Distress Crayons, using Peacock Feathers and Mermaid Lagoon from Set #1, and Chipped Sapphire and Peeled Paint from Set # 2, blending the colors with Prima Marketing Water Brush Pens. To attach the torn white strips, I used a heavy coat of Prima Clear Gesso again, and sprinkled it with Prima Marketing's Glass Glitter (Pearl) while wet.


     I simply added some twigs to extend the trees along the bottom, adding some Petaloo Burlap Flowers (Teal) and a Petaloo Darjeeling Mini Mix (Teastained Cream) flower colored with Distress Spray Stains (Lucky Clover and Broken China).


     The same sprays were used to color the other Petaloo Darjeeling Mini Mix (Teastained Cream) flower that's in the center of this cluster.


     When I printed this photo out, it cut off the best part of the view which is the McWay Falls, a stunning 80 foot waterfall that falls onto a beach in a cove, and the main reason why I wanted to extend this photo. So I crumbled up pieces of newspaper (which I had to dig into my trash can for) to make my rocks, and covered them with Prima Marketing Heavy White Gesso. Once dry, I used my finger to paint them with Ranger Dyan Reaveley's Dylusions Paint (Slate Grey), and used a toothpick with Ranger Dyan Reaveley's Dylusions Paint (White Linen) to give them some detail. Tucked among the rocks are some green fibers to mimic the grass and trees.


     I sprinkled real sand to a wet coat of Prima Marketing Heavy White Gesso mixed with Distress Spray Stains (Antique Linen and Vintage Photo). The waterfall was made with a torn strip of white tissue paper applied with Prima Marketing Clear Gesso, and covered with Prima Marketing Glass Glitter (Pearl) which I also added to the bottom of this pool of water I made with Ranger Glossy Accents.


          After coating the top with white gesso, I used a paint brush to apply Distress Spray Stain (Broken China). Once dry, I used my finger to create clouds with Ranger Dyan Reaveley's Dylusions Paint (White Linen) before adding the recycled netting. I finished it up with a piece of rope that was once wrapped around a glass pillar candle, and was almost the exact size that I needed.


     I had so much fun using recyclables, most of which would normally be trash, and turning them into treasure with some mixed media supplies from FotoBella!  Thanks for looking!


Thursday, April 20, 2017

Happiness and Sunshine Layout

Hello. Jessica here with the FotoBella Design Team
I'm here today sharing another layout I did using the  Bo Bunny Make a Splash Collection.  I just love this picture of all of us wearing our shades.  It was such an easy layout to create using this collection.  You have to love those fun palm trees.


Thanks for stopping by and looking.  Make sure you hop over the FotoBella website and check it out.

Jessica

Tuesday, April 18, 2017

Bunch Of Animals Double Page Layout Tutorial

Hello!!
Jeri here from the FotoBella Design Team!
I have a wacky double page layout tutorial for you today. The BoBunny Life In Color I Want It All Bundle sure brings out the animal in you with all its fun prints and sayings!


·         Adventure Sheet
·         Old School Sheet
·         Nature Sheet
·         Life In Color Sheet
·         Graphic Sheet
·         Utopia Sheet
·         Life In Color Clear Stickers

Other Supplies
·         Paint Sprays
·         3D Adhesive Dots
·         Double Sided Tape
·         Water
·         Stamps
·         Brown & Blue Ink Pads

Tools:
·         Scissors
·         Paper Cutter

Images:
·         4; 3.5” x 6”

1. Grab the Adventure and Old School Sheet from your Bundle. Spray a few paint spritz on them. I used a copper and a tangerine color to match the pages. 


2. Print out your favorite 4 images, approx. 3.5” x 6”. With this dark blue dot sheet from the Collection Kit, cut out 4; 4” x 6.5 pieces to back your images.


3. With some dark blue ink, ink the edges of the blue dot pieces. 

4. Once dry, secure your images to the blue dot pieces with adhesive.  


5. Cut the blue frame out of the Utopia Sheet, and a piece, slightly smaller from the Brick Life In Color Sheet. 


6. With some 3D Adhesive Dots, line the edge of the brick rectangle.


7. Carefully place the frame on top of the 3D Dots, making sure you can see them, but your frame sits up off the bricks.  


8. With some alphabet stamps and brown ink, stamp ‘Bunch of Animals’ on the right side of the bricks.   


9. Then, add a few of the Clear Stickers to the left side. I added some chevrons, a star and a cheetah sticker.   


10. Using your finger and some water, trace a few large shapes from the Brick sheet. Let the water soak in a bit, and then gently tear them out. These pieces with be layered widthwise under your photos.   


11. Start to set your images and the brick tear pieces on the layout base sheets. Place them how you love them. Once you lay everything out you can decide if you want to tear more parts and layer more.  


12. I decided to tear some pieces from this dot print and layer them under the images as well. Once you are happy with your placement and layers, secure all parts to the layout sheets!   


13. TIP: secure the torn sheets slightly in from the edges, so the wrinkled edges stick up off the page and give more dimension and detail.   


14. Fill in the space how you wish! I cut another frame from the Graphic Sheet, and added the ‘hi’ letters from the die cut package with some 3D dots for a bit more detail and dimension.   


Thank you for stopping by.
I hope this has brought out your wild side, rush over to FotoBella.com to get your hands on this Bundle and start creating!