


FotoBella bundles are always so much fun to play with! This month I got My Mind's Eye Chalk Studio 2 I Want It All Bundle, with a soft palette that's very striking with all of the chalkboard elements. I started by making this card with much love for my in-laws!


Supplies From Bundle: Tools:
Paper and Accessories Kit Any type of scallop border punch
Tags Hole Punch
Other Supplies:
Glue
Sheer Ribbon
Flower
Black Cardstock
Directions:
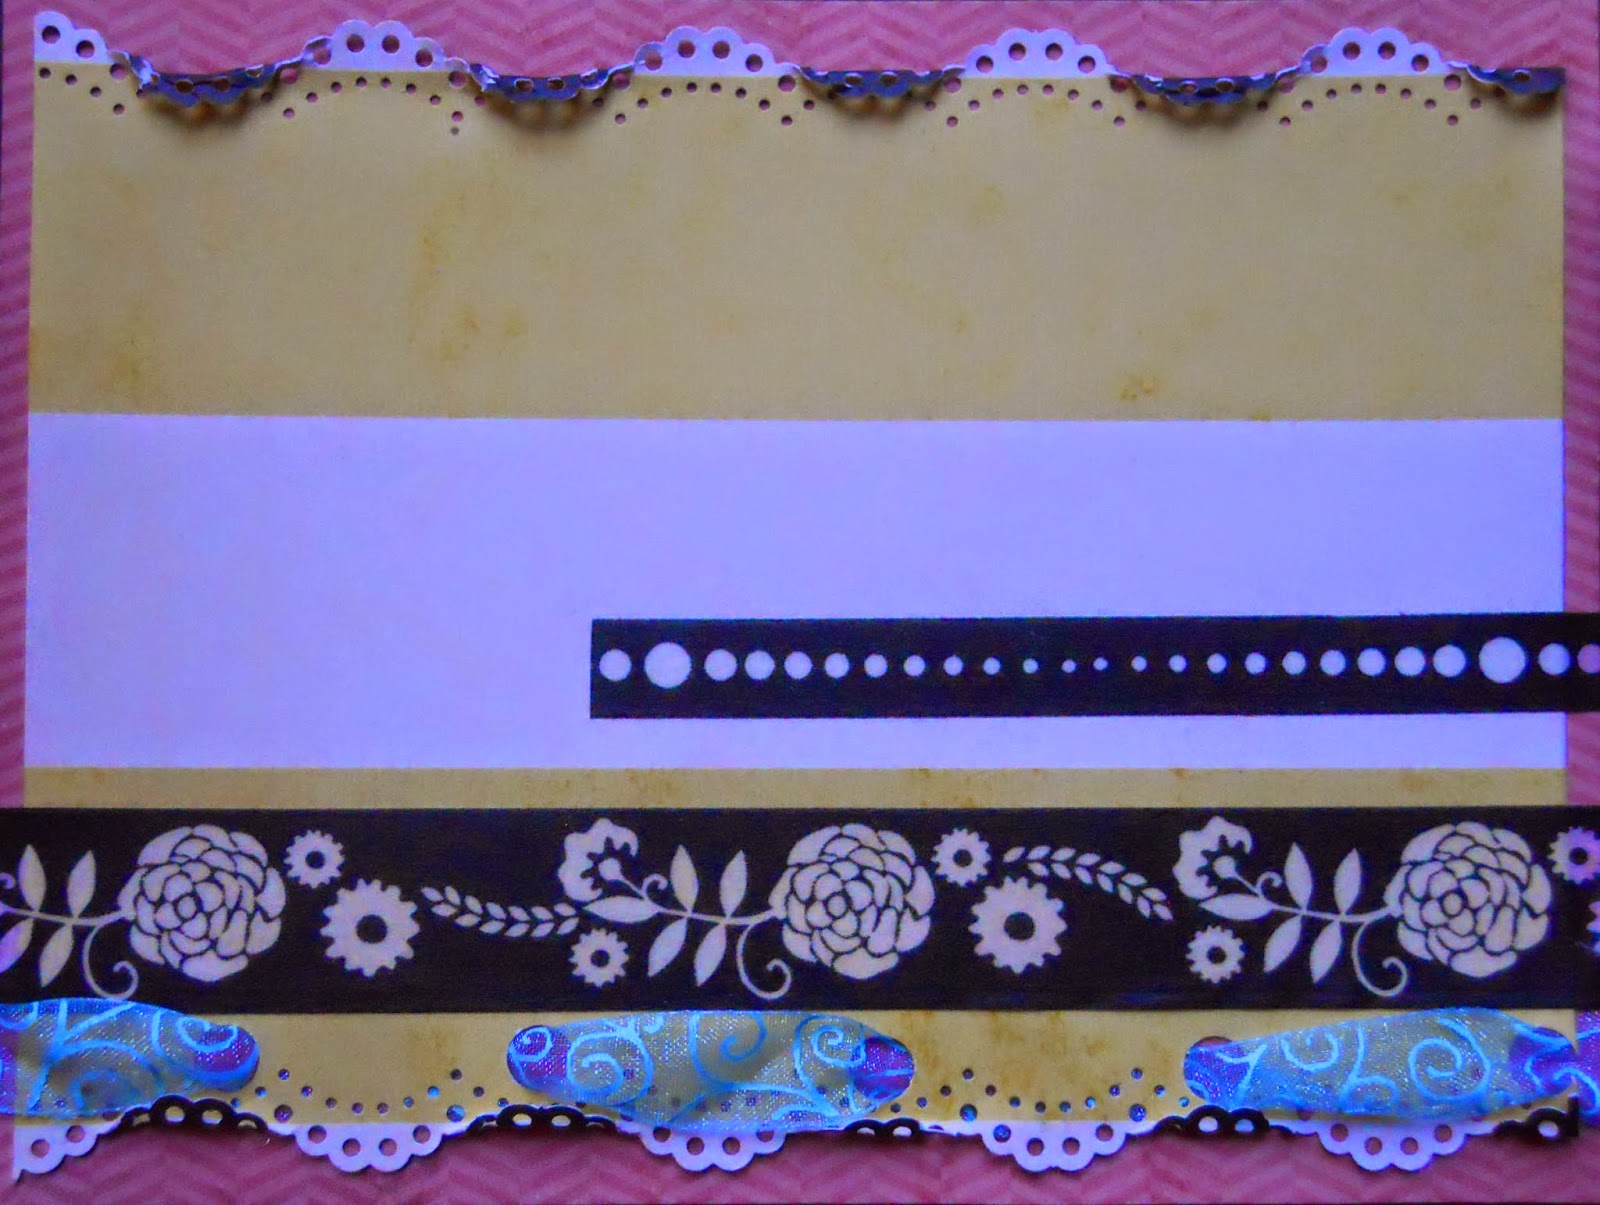
1. Cut a 5"x 6" rectangle from the yellow striped "garden" paper, and punch edges of the top and bottom with your scallop border punch.
2. Wet edges of your punching with water, and fold up every other scallop.
3. After it dries, punch holes along the bottom on every other scallop. If you do yours right above the folded scallops, like I did, then simply unfold them to get your hole punch through, and then fold them back up.
4. Secure your ribbon through the punched holes, leaving a little on the ends to attach to the back of your next layer.
5. Cut a 4 3/4" x 6 1/4" rectangle from the pink "word soup" paper, and glue the yellow striped paper to it. Attach the Decorative Tape across the top of your ribbon. Then attach the smaller dotted tape 1/4" from the bottom of the white stripe.
6. Attach the aqua striped tape through the hole of the Thank You Tag, and glue right above the dotted tape, adding the bird brad to it. Then attach the 2 brad with the pink circle scallop right over the bottom right of the tag. Now attach the yellow brad to the bottom hole on the right, right through your ribbon.
7. Cut a 5" x 6 1/2" card from black cardstock to attach your pink paper to. Now just add a flower next to your tag.
I hope you give it a try! Thanks for your visit!
No comments:
Post a Comment