


Supplies:
Orion Sheet
Die Cut Letters
Clear Stamps
Die Cut Cardstock & Transparencies
Chipboard Stickers
Stickers
Gold Ink Pad
Teal Ink Pad
Glue Dots
Double Sided Tape
Embossing Ink & Powder
Glue Stick
Tools:
Scissors
Paper Cutter
Ruler
Scoring Knife
Heat Gun
Cotton Swab
Stencil
Cut
a 11.5” x 4” piece out of the Orion Sheet.

With
a ruler or straight edge and a scoring knife, score lines widthwise, at 2.5”,
3.5”, 4.5” and 9”.

Fold
the paper strip as pictured.

Choose
a shape you would like for the gift card slot. I decided to go with a triangle.
Trace the line you want to cut on the fold flap pointing up. With scissors, cut
the shape.

With
a glue stick, glue the up flap closed. Make sure to keep the area where the
gift card will be placed, un-glued. Make sure your gift card will fit, and then
press until dry.

With
your Gift Box Punch, cut notches in the right side end, .75” in from both ends.
ft card will fit, and then
press until dry.

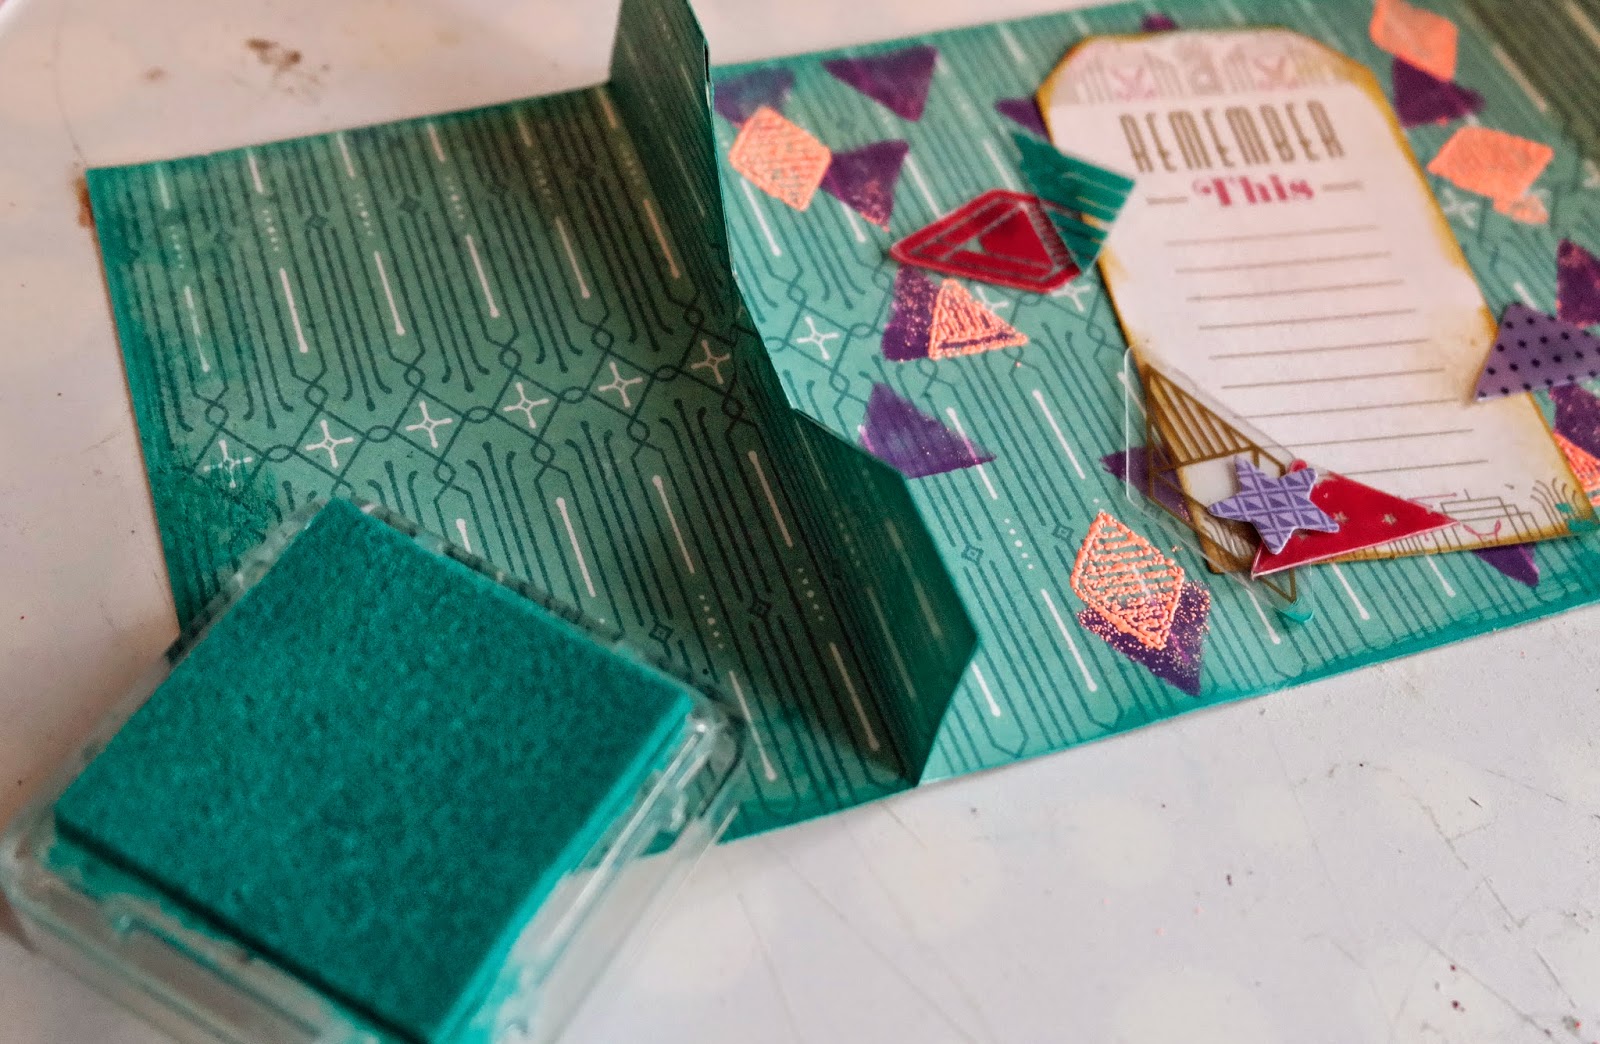
With
your choice of stencil and ink color, use a cotton swab to ink some fun designs
on the inside, focal point of the card.

Grab some colorful embossing
powder, embossing ink and the triangle and diamond shaped clear stamps from
your bundle.

Place
the stamps randomly, sprinkle embossing powder and seal with your heat gun.

Find
this Remember This die-cut and ink the edges with a gold ink pad.

Secure
the die cut tag to the inside of the card. Choose some paper die cuts and transparencies
and secure around the tag as you like.

Ink
all edges of the inside of the card with a matching ink pad.
Ink
all edges of the outside of the card with a matching ink pad.

Find
the pictured Chipboard Stickers, Chipboard Letters and Die Cut Stars.

Layer
up your chipboard on the Polaroid frame. Then cut off the backing as pictured.
This will only be secured to the left side of the front flap, so you do not
want to remove the entire backing of the sticker.

Secure
your chipboard embellishments to the front (left flap) of the card.

Layer
on the die cut stars.

Your
card is now finished!


Great idea Jeri!!
ReplyDelete