Supplies:
Special Sheet
Hello Sheet
Story Sheet
Buttons
Tiny Word Stickers
Stamps
Brads
Label Stickers
Bakers Twine
Double Sided Tape
Tools:
Hole Punch
Paper Cutter
Scissors
Using the Special Sheet of paper,
cut a 12”x5” piece.
Fold into a tri-fold, with the
inner piece shorter, so the front portion overlaps.
With some scissors, cut around
the green shapes in the card
With
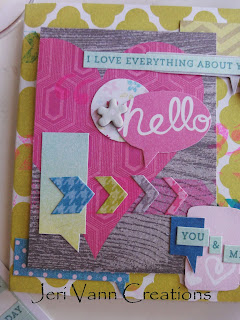
the Hello Sheet of paper, cut a bunch of conversation bubbles out. As many as
you would like
From the Story Sheet of paper,
cut the Pink Heart Box out. Secure to the front of the card. I like to put a
strip of double sided tape down the center, so it is easier to slip the
conversation bubbles under the sides.
With the Arrow Stamp, stamp a few
of them randomly on the card. Making sure there is one stamp near the bottom of
the Heart.
Grab the Arrow Stickers, and
place them on top of the Arrow Stamp.
Then secure the conversation
bubbles around the front of the card, however you would like them. I added a
few word and phrase stickers as well.
Also sticking a Flower Chipboard next to the ‘hello’
bubble.
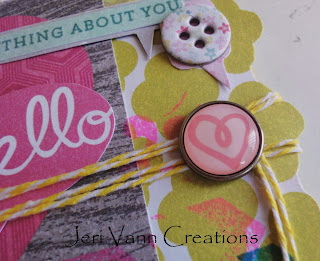
Punch a small hole in the center
of the right side. Find this cute Heart Brad, and put through the hole.
Grab some Bakers Twine or the ribbon of your
choice and wrap around the card and around the brad. This will hold the card
closed.
Here
is a picture of the back of the card.


No comments:
Post a Comment