


Jeri here again with a quick and easy tutorial for a gift tag, using this adorable Lost And Found Breeze I Want It All Bundle by My Mind's Eye
Grab the Breeze "Dream" Stamped Paper. Cut out the blue glittered part.

With this cute stamp and some brown ink, center the stamp on the tag base.

Choose a button you love out of the button package, I chose this cute wood one. Center it at the top of the tag and mark where the holes are. Poke holes on those marks.

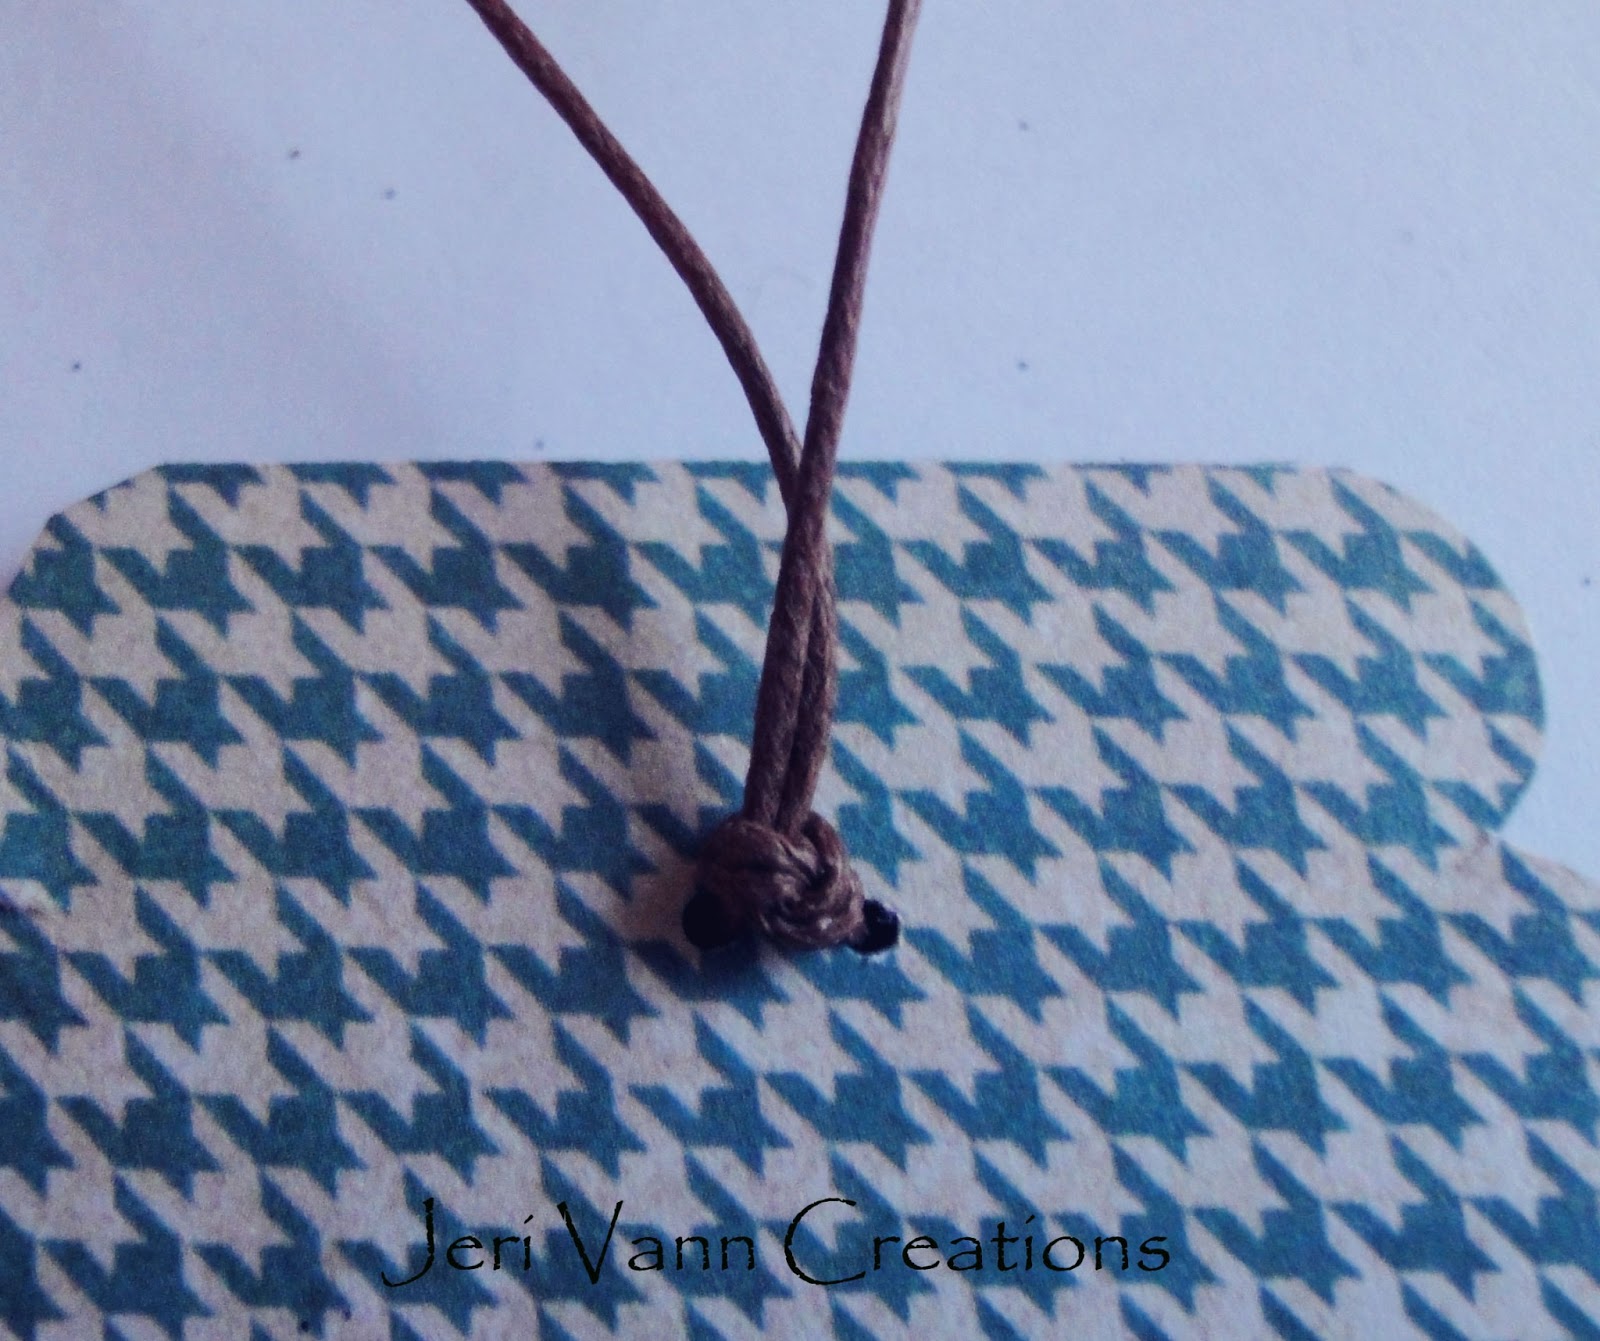
With some brown cord, loop it through the button holes, and the holes on the tag. Make sure the cord ends come out the back.

Tie the cord strings in a knot for security.
Grab the Breeze "Dream" Title Tag, and cut out an identical piece from the Breeze "Fun Day" Today Paper (stripe side).

Using this stamp from the packet, and your brown ink, stamp the stripe tag near the pointed end.

These Pom-Poms are so fun! I just had to use them on this tag. Measure a strip long enough to fit on the bottom area of the Dream tag. Using hot glue, stick the strip of Pom-Poms to the tag, them trim the fabric edges.

Using the teal color Brad, stick it through the Dream Tag, the Strip Tag and the Tag base, just under the button. Fan them out so everything is visible.

With the loose ends of the cord, loop them around and measure so the loop will fit over the button. Then knot he cord and trim the loose ends.

Wrap the cord around your gift and slip the loop over the button. This works so well to hold the tag in place, and its so fun and unique!

And now your gift tag is finished! What a fun addition to any gift

No comments:
Post a Comment