Shop FotoBella

Shop for Scrapbooking Supplies by Product Type Shop for Scrapbooking Supplies by Brand Shop for Scrapbooking Supplies by Layout Theme Shop for Scrapbooking Supplies by Color

Search This Blog

Friday, August 12, 2011

Silhouette Series Part III - Using Sketch Pens

Welcome back to the Silhouette Series: Part III. 

Today we are going to show you how to use sketch pens with your silhouette. Let's first start by making sure your Silhouette is hooked up to your computer.

Then, replace your blade in your Silhouette with one of the sketch pens. Remove the blade and the blade cap completely and chose what color sketch pen you want to start with and place that sketch pen where the blade was.


 Choose what paper you want the sketch pens to draw on and load that paper on the cutting mat and into the Silhouette.  Now going back to your computer, change the size of you paper if you have chosen to use anything less than 8.5" x 11"". 

Pick the image you want to use and embed that image into your design.  We are using the leaf for this demonstration. In order to see where the design will sketch on your paper, go to view and show grids. That way you can line up the design exactly where you want it, just be sure to keep the design within the given parameters.


Next, go to CUT settings, where the scissor symbol is at the top of the page. Make sure that cut is selected before you send to Silhouette.  Now File, send to Silhouette.

The following settings should be as follows:
Change Settings : select sketch pens  
(once selected, the paper and speed will automatically change to necessary setting)

 Now cut page, and that will start the sketch on the paper. Remove the media from the Silhouette and you will have your finished product.


  • If you would like to add another color/design, you can reinsert your page into the Silhouette and follow the steps one more time with a different color or design.

 Thank you for visiting. All the materials are available at FotoBella.com


Tuesday, August 2, 2011

Cutting Vinyl with Your Silhouette

Your Silhouette has a variety of different uses. Throughout the next couple weeks, we will be showcasing the Silhouette Series: all the different ways to use your Silhouette.  Cutting Vinyl with Your Silhouette is easy and fun. Vinyl is the perfect way to add your designs or favorite quotes to the walls in your home, photo frames or projects.

Let's Get Started:
1. Be sure to change your blade cap to the blue cap. The Blue blade cap is designed for our thinner media such as vellum or vinyl.
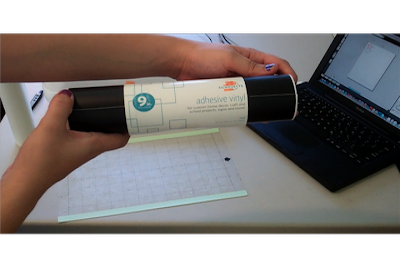
2. I am going to have on hand one roll of black vinyl and one roll of transfer paper. The transfer paper is important to be able to transfer your design after being cut to the appropriate project. Premium Vinyl is a stronger adhesive, which you can still use for indoor use, but is also made for outdoor use.
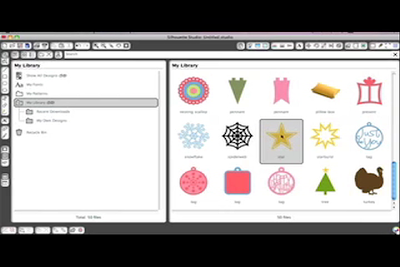
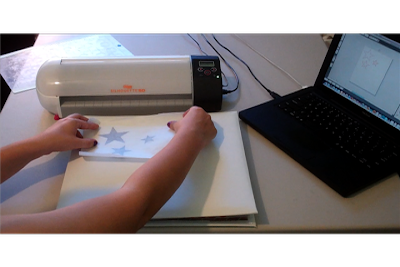
3. Next, I am going to create my design on my computer in the Silhouette Studio Software. Today, I have chosen to use three stars from my library, in order to decorate the cover of my scrapbook.


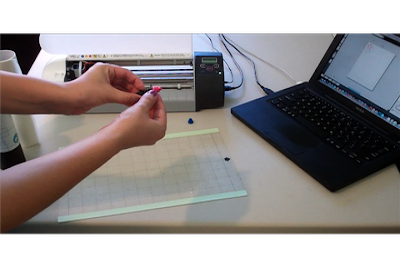
4. Now it's time to cut the Vinyl. Since I am only going to cut out three stars, I will cut a small piece of vinyl to use. I will take my vinyl and place it on the cutting mat, in order to keep it flat and free from bubbles.  Now place the mat into my Silhouette machine and load media. Then, go back to your computer and Send that file to Your Silhouette. Reminder: Change Your Settings as follows:
1. Media  - Silhouette Vinyl
2. Speed - 1
3. Thickness - 4


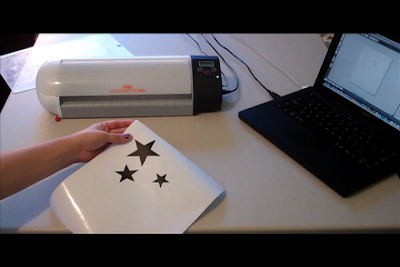
5. Once your Silhouette is done cutting your design, remove your media from the machine. Now remove the access vinyl, so the only vinyl that remains on the vinyl backing is your design.


6. Take a piece of the transfer paper and cover your design. Use your scraping tool to smooth the transfer paper to the vinyl. This will help keep your design in place so you can arrange to your project. Take your transfer paper, with the design and place on a smooth, clean surface. Use your scraper tool to scrape the design from the transfer paper. Slowly Remove the transfer paper, making sure all of the vinyl is firmly stuck t your project.


Let us know what your favorite Vinyl Project is! Check back with us for more on the Silhouette Series. 

Monday, August 1, 2011

Fall 2011 Collection by Bo Bunny

We found a lot of great things at the CHA Convention, including a great new Fall lineup by Bo Bunny. Take a look at the below video for a sneak peek of what's to come! 


You can sign up for the Bo Bunny Monthly Membership...
Available at http://www.fotobella.com/Monthly_Bo_Bunny_Bundle_Membership_p/fb-bb-member-all.htm