Shop FotoBella

Shop for Scrapbooking Supplies by Product Type Shop for Scrapbooking Supplies by Brand Shop for Scrapbooking Supplies by Layout Theme Shop for Scrapbooking Supplies by Color

Search This Blog

Wednesday, June 27, 2012

Red, White and Blue Design Team Project

This week's Design Team projects were completed by Nina using the Red, White & Blue I Want It All! Full Collection Bundle from We R Memory Keepers. She has created a variety of items using this patriotic collection. Don't miss her tutorial on creating a heartwarming Welcome Home card! 


Welcome Home Card


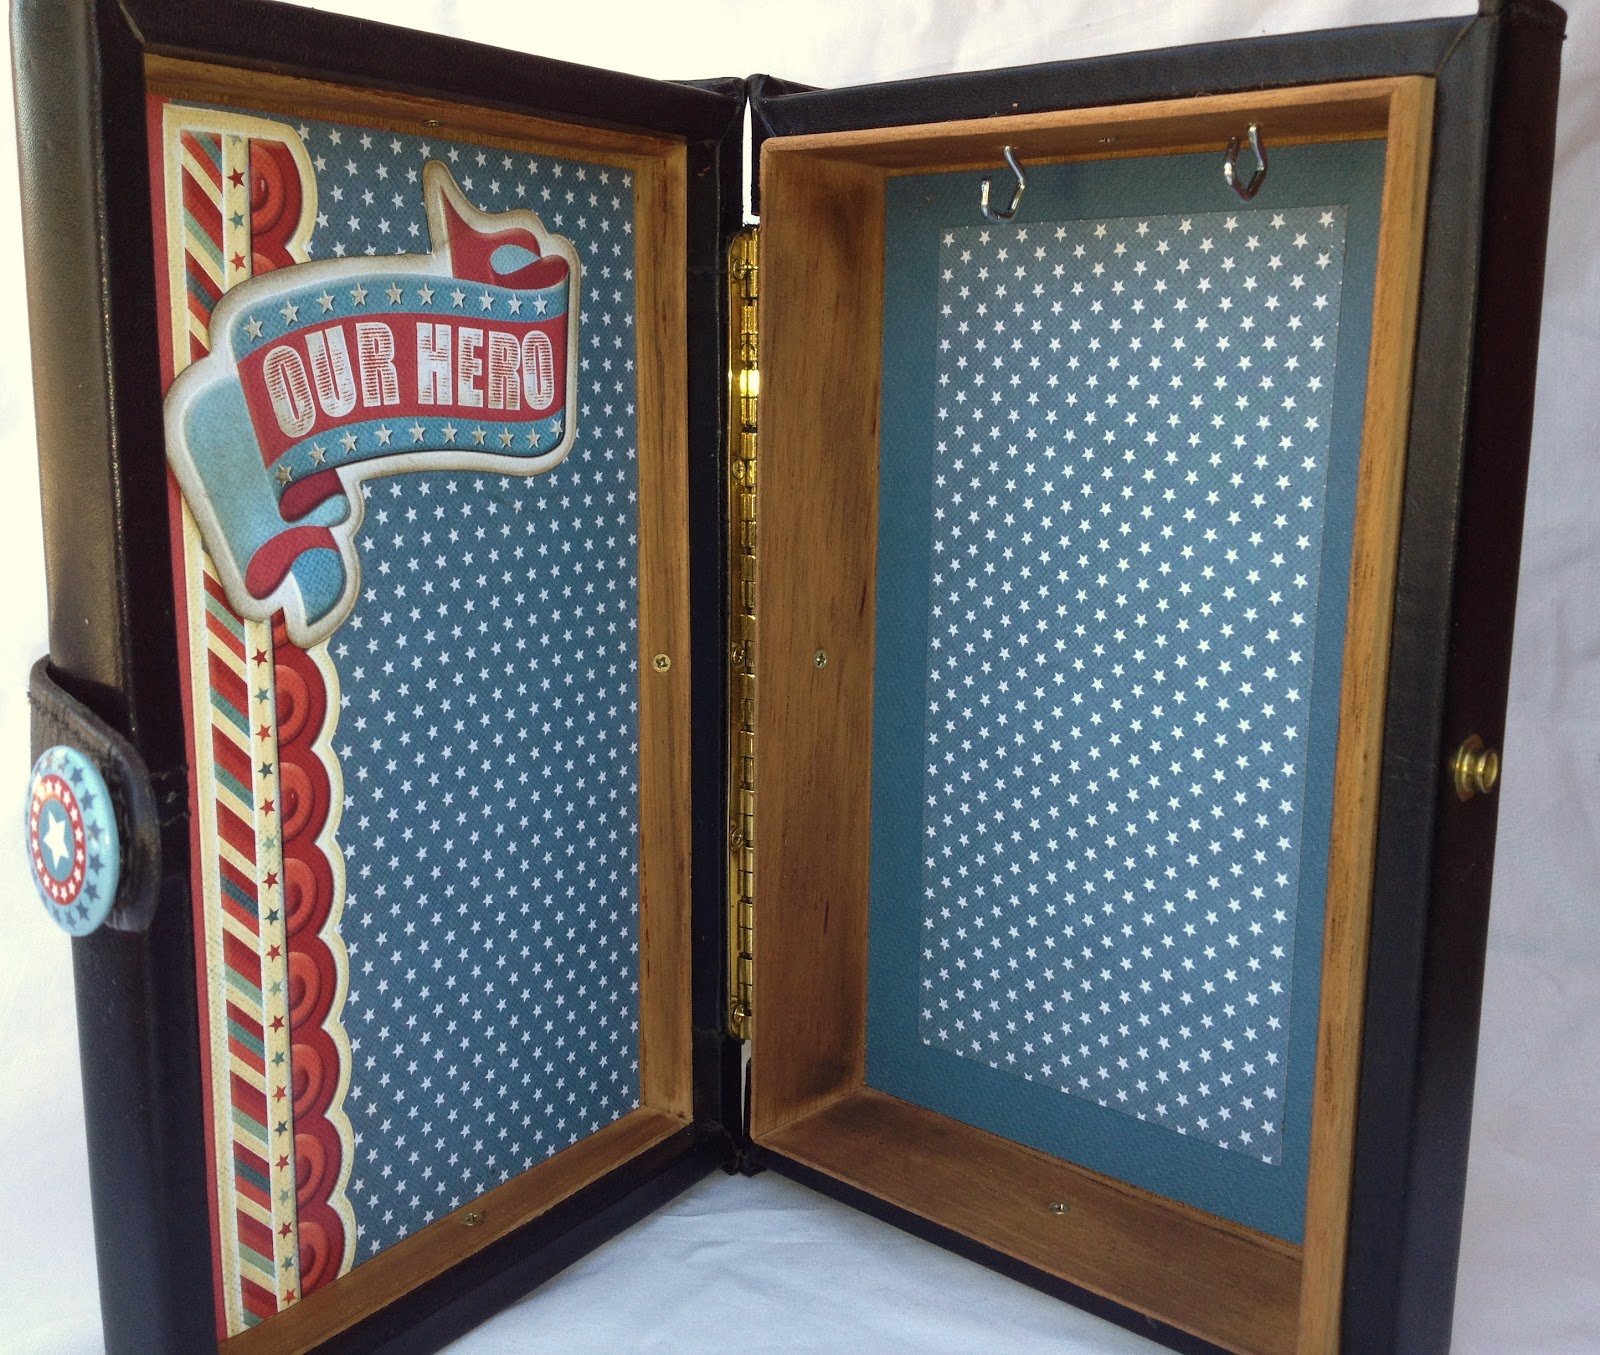
Supplies needed: Red White and Blue Bundle We R Memory Keepers
1.     Start by taking a solid blue sheet from this collection and cut into 6x6 and fold in half. Ink up edges of card using We R Memory Sweetheart Inker in brown.
2.     Take the airplane clear stamp and We R Memory Sweetheart Inker in brown and stamp image on the left hand corner making the front of the plane face the edge of the paper.
3.     Now take a sheet from the collection that has the small banner images and cut out four and place them next to each other to form a banner place it down with foam glue dots.
4.     Take a marker of choice - I chose a blue one to draw lines to connect all banners.
5.     Now cut out two border images from one of the sheets that measure 6’’ long and place across the bottom of card.
6.     Take the dimensional sticker that has Welcome Home and place on the lower bottom right hand corner.
7.     For the inside of card cut out a 5 ½ x 5 ½ paper from the collection and ink edges with Sweetheart inker in brown and glue inside.


Monday, June 25, 2012

Creative Uses for the Silhouette Cameo

The Silhouette Cameo is an electronic cutting tool. Sounds pretty basic, right? Well, it's anything but. The Silhouette Cameo is not your standard die cutting machine. It's a designing / decorating / sketching / scrapbooking powerhouse.

Once you start looking around at some of the inspiration out there, you realize that there isn't much that you can't do with the Cameo. We've cruised around the web to bring you a little of that inspiration right here.

Stop by the FotoBella Pinterest Inspiration Station to see even more fun uses for this amazing machine!

Here's a great video showing the Cameo in use.


Don't have your own Silhouette Cameo yet? Stop by FotoBella.com and pick one up! 

 After all, if Ryan Gosling thinks it's a good idea, it must be! :)
Source: via Silhouette on Pinterest

Wednesday, June 20, 2012

PB and J Design Team Projects by Kristie

This weeks design team projects were created by Kristie who used the BasicGrey PB&J I Want It All! Full Collection Bundle from FotoBella.com

This scrapbook kit includes 24 sheets Premium 12x12 Heavy Weight Paper (2 each of 12 patterns), Element Stickers, Alphabet Stickers, Titles Stickers, Wooden Buttons, Die Cut Shapes, Chipboard Shapes and Alphas, Layered Stickers, Chiffon Flowers, Metal Flowers, Pins and Tags.


Jam-packed with a hearty helping of heartfelt style, PB&J is the perfect blend of classic comfort and down-home design. As you prepare your creative spread using this signature collection, your options are limitless. Maybe a mixture of banana yellow and strawberry-preserves red is a personal favorite, or perhaps you’re a fan of trimming away those crusts . . . No matter how you slice it, your sweet treat is sure to impress as you create paper projects and preserve your memories.


Tuesday, June 19, 2012

Scrapbooking 101 - Albums

Scrapbooking 101: The Basics / Albums

Before you begin scrapbooking one important decision to think about is what size pages you'll be making. Scrapbook pages - or layouts are usually stored in an album of some type. Albums can take on many forms, but the pages you create will be stored inside the album you choose. The two most popular sizes are 8.5" x 11" and 12" x 12". There are also many sizes and shapes in between and beyond.

 Here are some examples of types/themes of albums:

Mini albums may come with pages attached, using patterned paper or sometimes chipboard. You just need to add your photos, journaling, memorabilia and any extra embellishments. Mini albums usually don't have page protectors.


Theme albums might include anything from only the album all the way to patterned papers and even coordinating embellishments. There are a variety of themes to choose from - birthday, new baby, school, summer, wedding, etc.

School Theme Kit:


Birthday Theme Kit:


Post Bound Albums usually come with page protectors already added to the album. Post-extenders can usually be purchased to increase the amount of page protectors or bulky pages that an album can hold.


3-Ring Binders come in smaller sizes as well as 8.5" x 11" and 12" x 12". You can purchase page protector refill kits in the appropriate size and easily change the order of your completed pages just by opening the rings in the spine.


Friday, June 15, 2012

More Father's Day Card Ideas

In addition to yesterday's blog post showing Steph's Father's Day Gift Bags and Handmade Cards, today we're going to highlight even more Father's Day Card Ideas. If you want your card to stand out from the store-bought crowd and show a dad in your life how much you care, why not try some of these?

Are you making a card or handmade gift for Father's Day? If so, we'd love to see you share it on the FotoBella Facebook wall!

Here's a little inspiration from the FotoBella Pinterest boards.


If you know a dad who'll be enjoying a brand new iPhone, iPad, or even an iPod, what about this awesome idea for a Father's Day card?


Simple yet Sophisticated
Source: bing.com via FotoBella on Pinterest


Love this clever use of words and letters
Source: etsy.com via FotoBella on Pinterest


For the buttoned up dads


For the handy dads


For new dads (or soon to be dads)

Thursday, June 14, 2012

BoBunny Weekend Market Design Team Projects

In addition to a gorgeous layout and tag, this week's design team projects feature handmade gift bags and cards for Father's Day! 


This scrapbooking kit includes 20 sheets Premium 12x12 Heavy Weight Paper (2 each of 10 patterns), 2 sheets Cut-Out Cards, 2 sheets Aquarium Die Cuts, 1 sheet Combo Stickers, Chipboard Sheet, Rub-Ons, 1 sheet Priceless Cardstock Sticker, 1 sheets My Dad, My Hero Cardstock Sticker, Dimensional Stickers, iCandy layered chipboard stickers, iCandy Jewels, iCandy Brads, Clearly Stamp, Note Worthy Journaling Cards, Buttons, and Trinkets


Monday, June 11, 2012

Scrapbooking 101 Series


Scrapbooking 101

scrapbook (noun) a book or album of blank pages in which to mount newspaper cuttings, pictures, etc.

scrapbooking (verb) The creative art of taking books with blank pages and adding photos, memorabilia, journaling and embellishments. The primary purpose of scrapbooking is to preserve memories for future generation, but a secondary purpose often is to exercise creativity and display memories in a scrapbook.

You’ve got some photos of the kids (or the fish!) growing up, saved a few report cards along the way and a notebook with some random memories jotted down. Why not scrapbook them before the cute stories and memories of special events are completely forgotten?

Have you ever wanted to start scrapbooking, but didn’t know how to begin? Join us in an ongoing blog series called Scrapbooking 101. We’ll start with the basics and show you how to make it all a little less overwhelming.

It doesn't have to be overwhelming!
As a beginner, scrapbooking seemed a little overwhelming to me. I can clearly remember the day (11 years ago and 5 months ago) I first stepped into my LSS – Local Scrapbook Store. Actually it wasn’t even MY LSS at the time, I was on vacation in the state I would end up moving to 3 months later. I had been scrapbooking for only about a month at the time and I had been using a kit I purchased from a chain craft store. It was a very basic kit containing some cheap colored paper (not even cardstock!), a pair of zig-zag  (and boy did I take advantage of THOSE!) deco scissors and an odd assortment of cornea-bruising patterned papers (think small checkered patterns, tiny polka dots, zig zags and stripes.


Finding Inspiration
I soon discovered magazines like Creaking Keepsakes. As soon as the latest issue would hit the mailbox I was pouring over the "scrapbook-layouts-as-art" that filled the pages. With frustration, I would look at my own completed layouts - which had more of a “preschooler-gone-balistic” look to them and wonder where I went wrong.

Scrapbooking is a personal way to express your artistic side while archiving your  memories, so I’m not advocating a correct or right way to do this. I only knew the way I was doing it was not the way I wanted my memories recorded. 

The Right Tool for the Job
My disappointment came more from the little things – all the crazy cut edges on EVERYTHING, the photos that got lost in the busy patterned paper, the randomly plopped cut outs of shapes that had nothing to do with the memory I was trying to scrapbook and most of all the crooked photos where I had cut them down using scissors. Yes, scissors – I didn’t realize there was a better tool for the job -- the paper trimmer!! I didn’t know what purpose photo mats had and I thought stickers should cover your page as if the sticker fairy had sneezed them all out at once!

If you are just beginning this wonderful journey into scrapbooking, I hope these upcoming tips might help you avoid some of the mistakes I made when I started out.

No matter how you scrapbook, it’s an addictive hobby filled with nothing but goodness. However you choose to record your moments and tell your story through your words and photos is the right way.  There are no wrongs when it comes to crafting, creativity and getting your art on, but there are some techniques and tools that can help make your scrapbooking time a joy.

Next week: Scrapbooking 101 - The Basics

Wednesday, June 6, 2012

Miss Caroline - Howdy Doody Design Team Project

This weeks design team project was created by Jeri, who used the Miss Caroline - Howdy Doody I Want It All! Full Collection Bundle to create the fun projects you see here. 

Scroll down to the end of this post to see the amazing earrings she made with this paper!


Earring Tutorial


First, find a couple shapes you would like to add to your earrings. I chose these 3.


Grab a couple of the sheets of paper that you love. Trace out some shapes. I did 1 large flower, 2 medium flowers and 1 of the oval drop shape. Cut those out.
Place them on top of each other in the order you want them, and punch a small hole at the top.


I used some tie wire. You want a wire that is a bit stiff and will hold its shape. I set up a triangle shape with these pins and wrapped the wire around it, and snip the ends a ½ inch longer then the triangle shape.


Go ahead and slide the paper charms onto the wire. I used some small transparent spacer beads to keep the charms separated. If you want, you can use as many paper charms as you want, and may not need spacer beads.  Make sure the triangle opening is in the back. Use your needlenose plyers and wrap one end of the wire around the other. Then fold the other wire up. Make sure its not poking out and could hurt you. If there is leftover wire poking out, just trim off with wire cutters.


I then attached an adorable brad from the bundle to the circle end of the oval drop charm. Just simply fold the brad ends up, so they aren’t noticeable.
I added a jump ring to the top of the earring triangle and attached it to an earring hook.